



Follow the steps below to set up the ExpressKeys browser extension, ExpressVPN’s password manager, on Chrome.
You can download the extension from the Chrome Web Store. The Chrome extension is also compatible with Opera, Edge, Vivaldi, and Brave.
Jump to…
How to set up (new ExpressKeys users)
How to set up (existing ExpressKeys users)
How to use ExpressKeys
How to set up (new ExpressKeys users)
1. Download
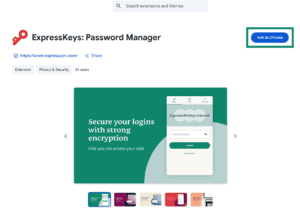
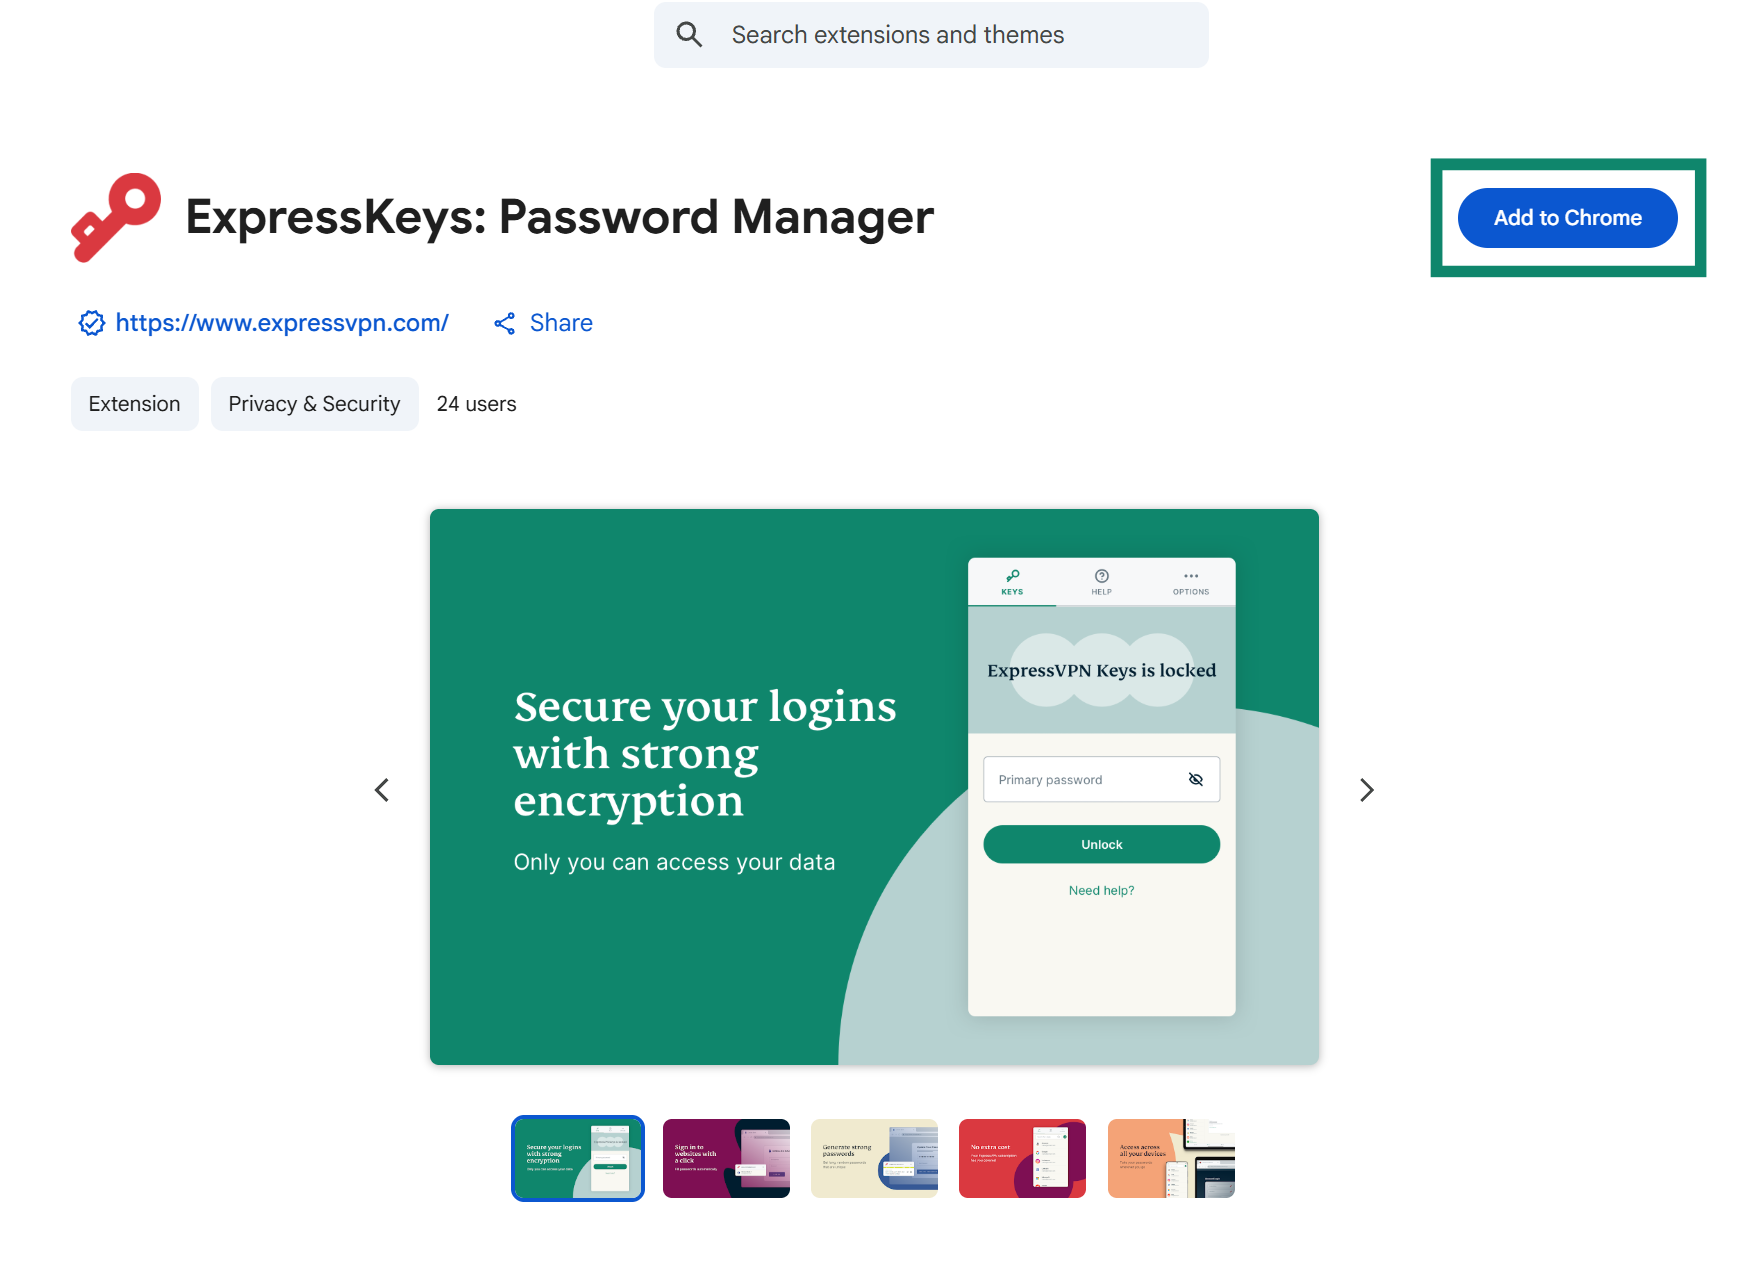
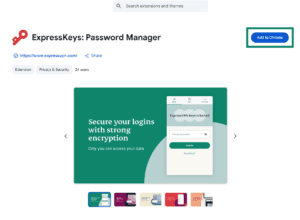
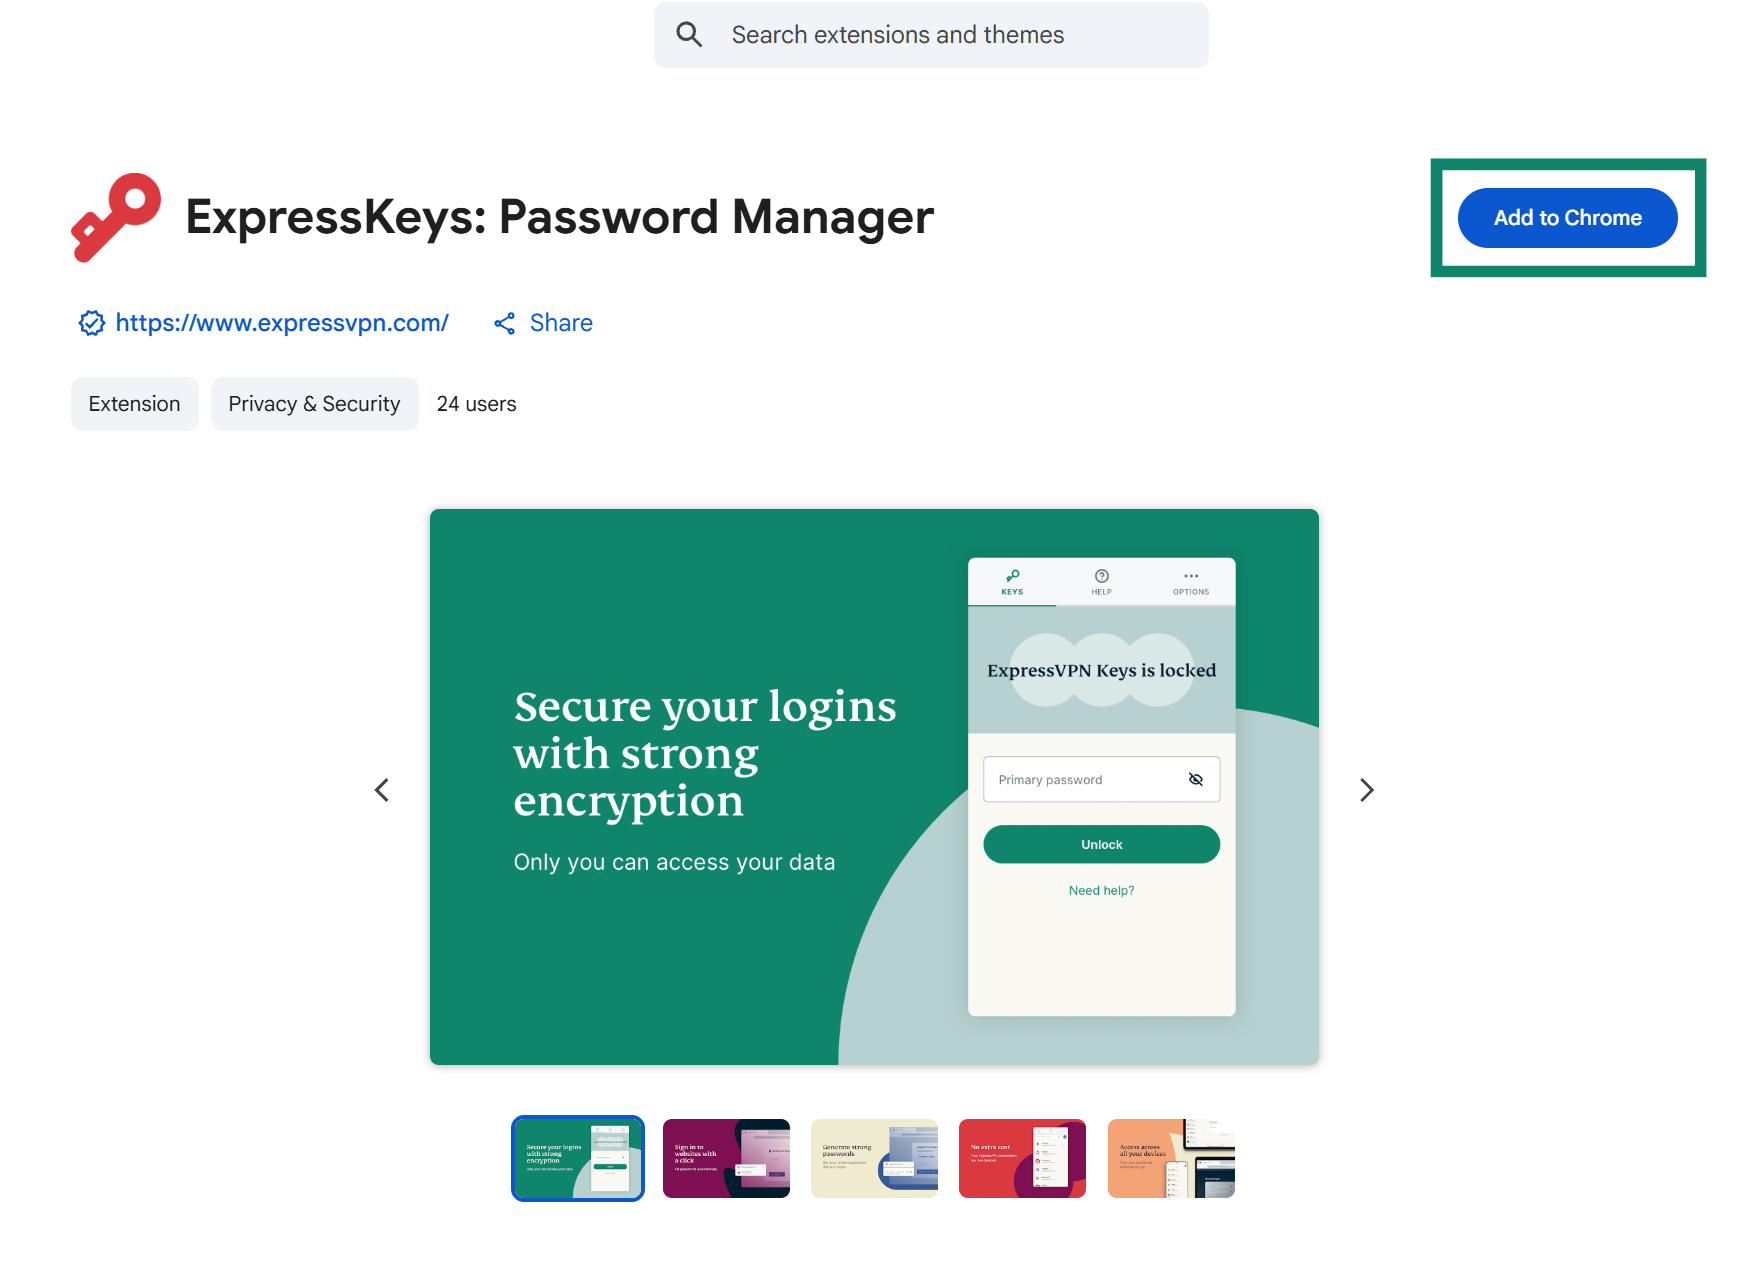
- On Chrome, Opera, Edge, Vivaldi, or Brave, visit ExpressKeys in the Chrome Web Store.
- Click Add to [browser]. If you are using Edge, the button may say Get or Get extension.

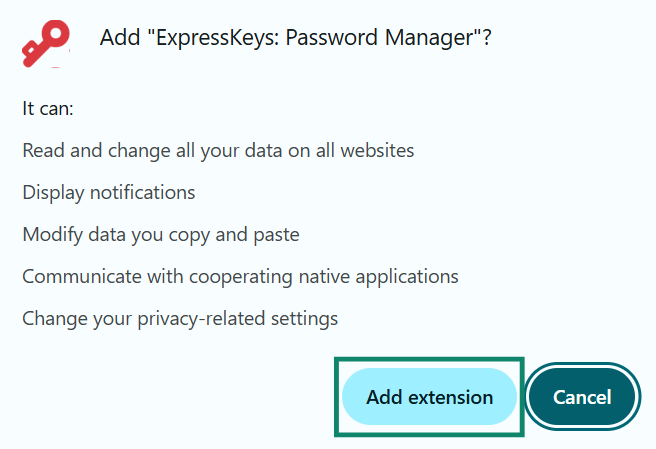
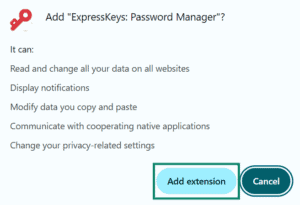
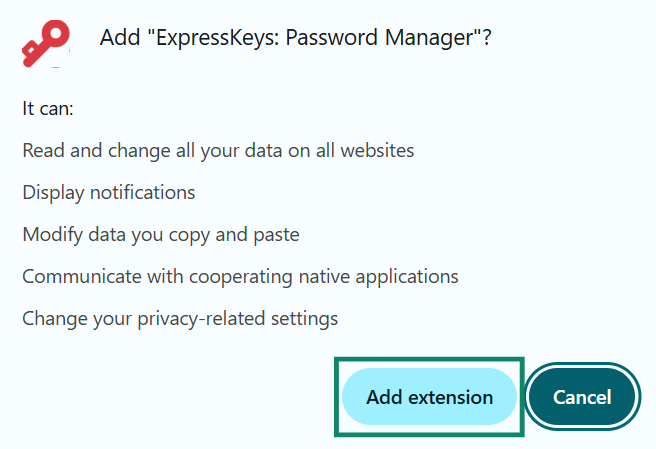
- Click Add extension and wait for the extension to be added to your browser.


2. Setup
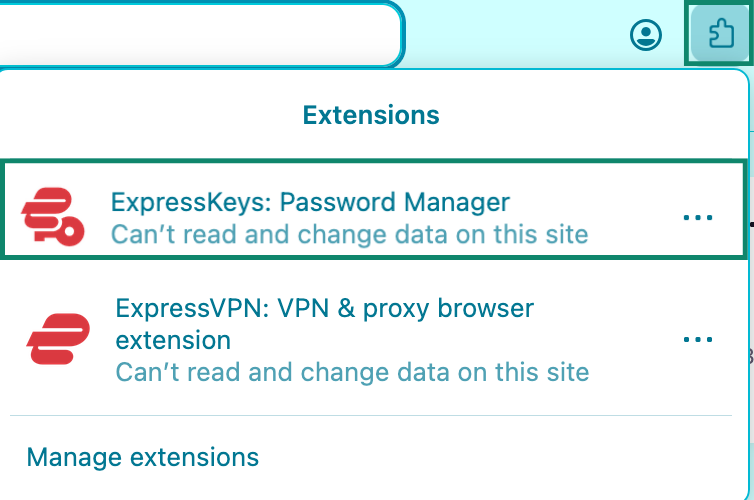
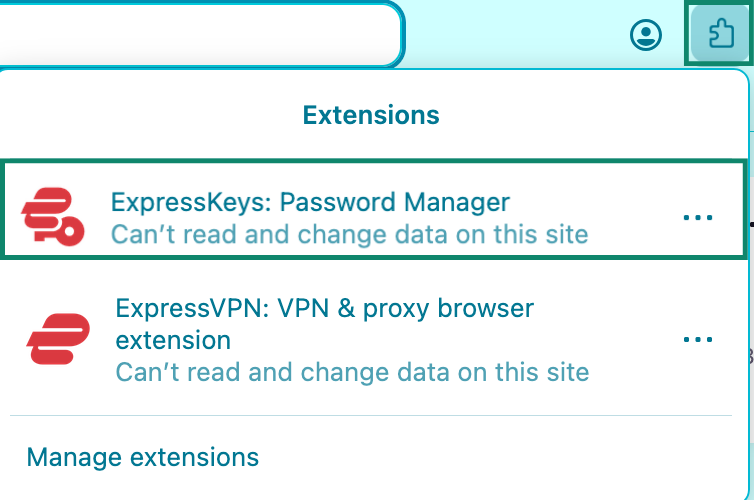
- Click the extension button in your browser and select the ExpressKeys browser extension from the list.


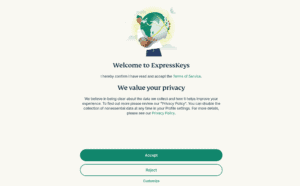
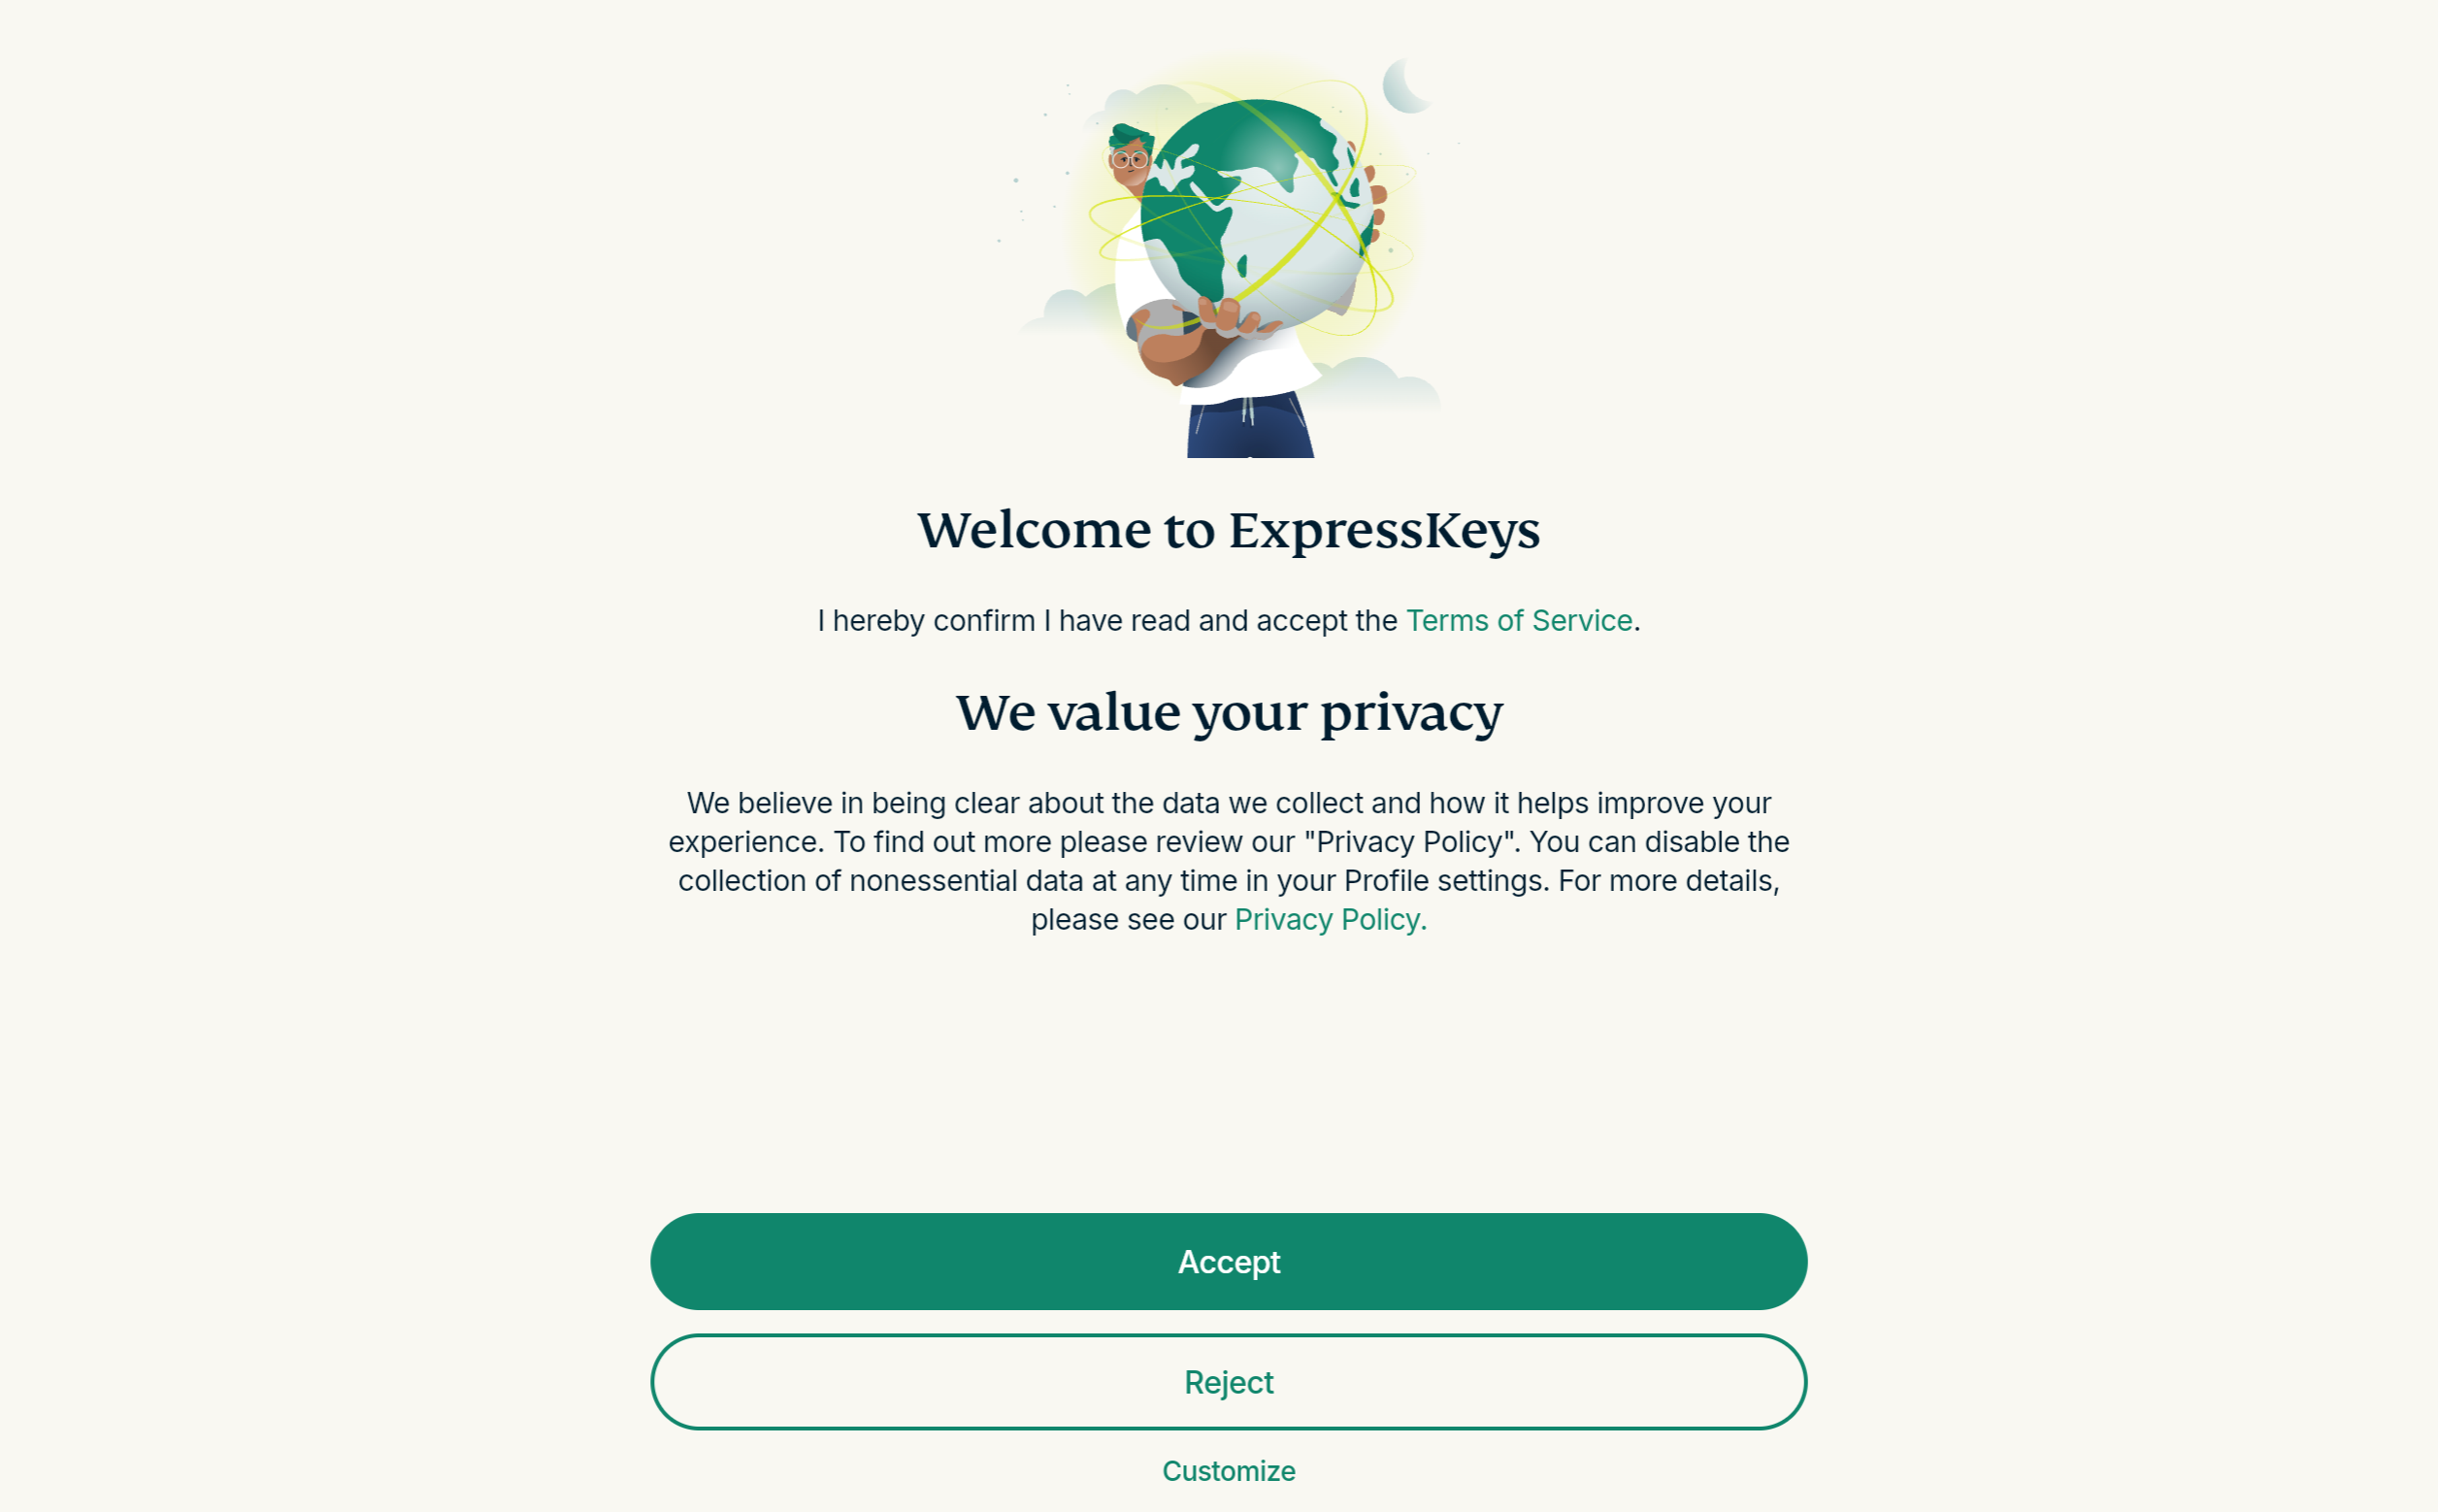
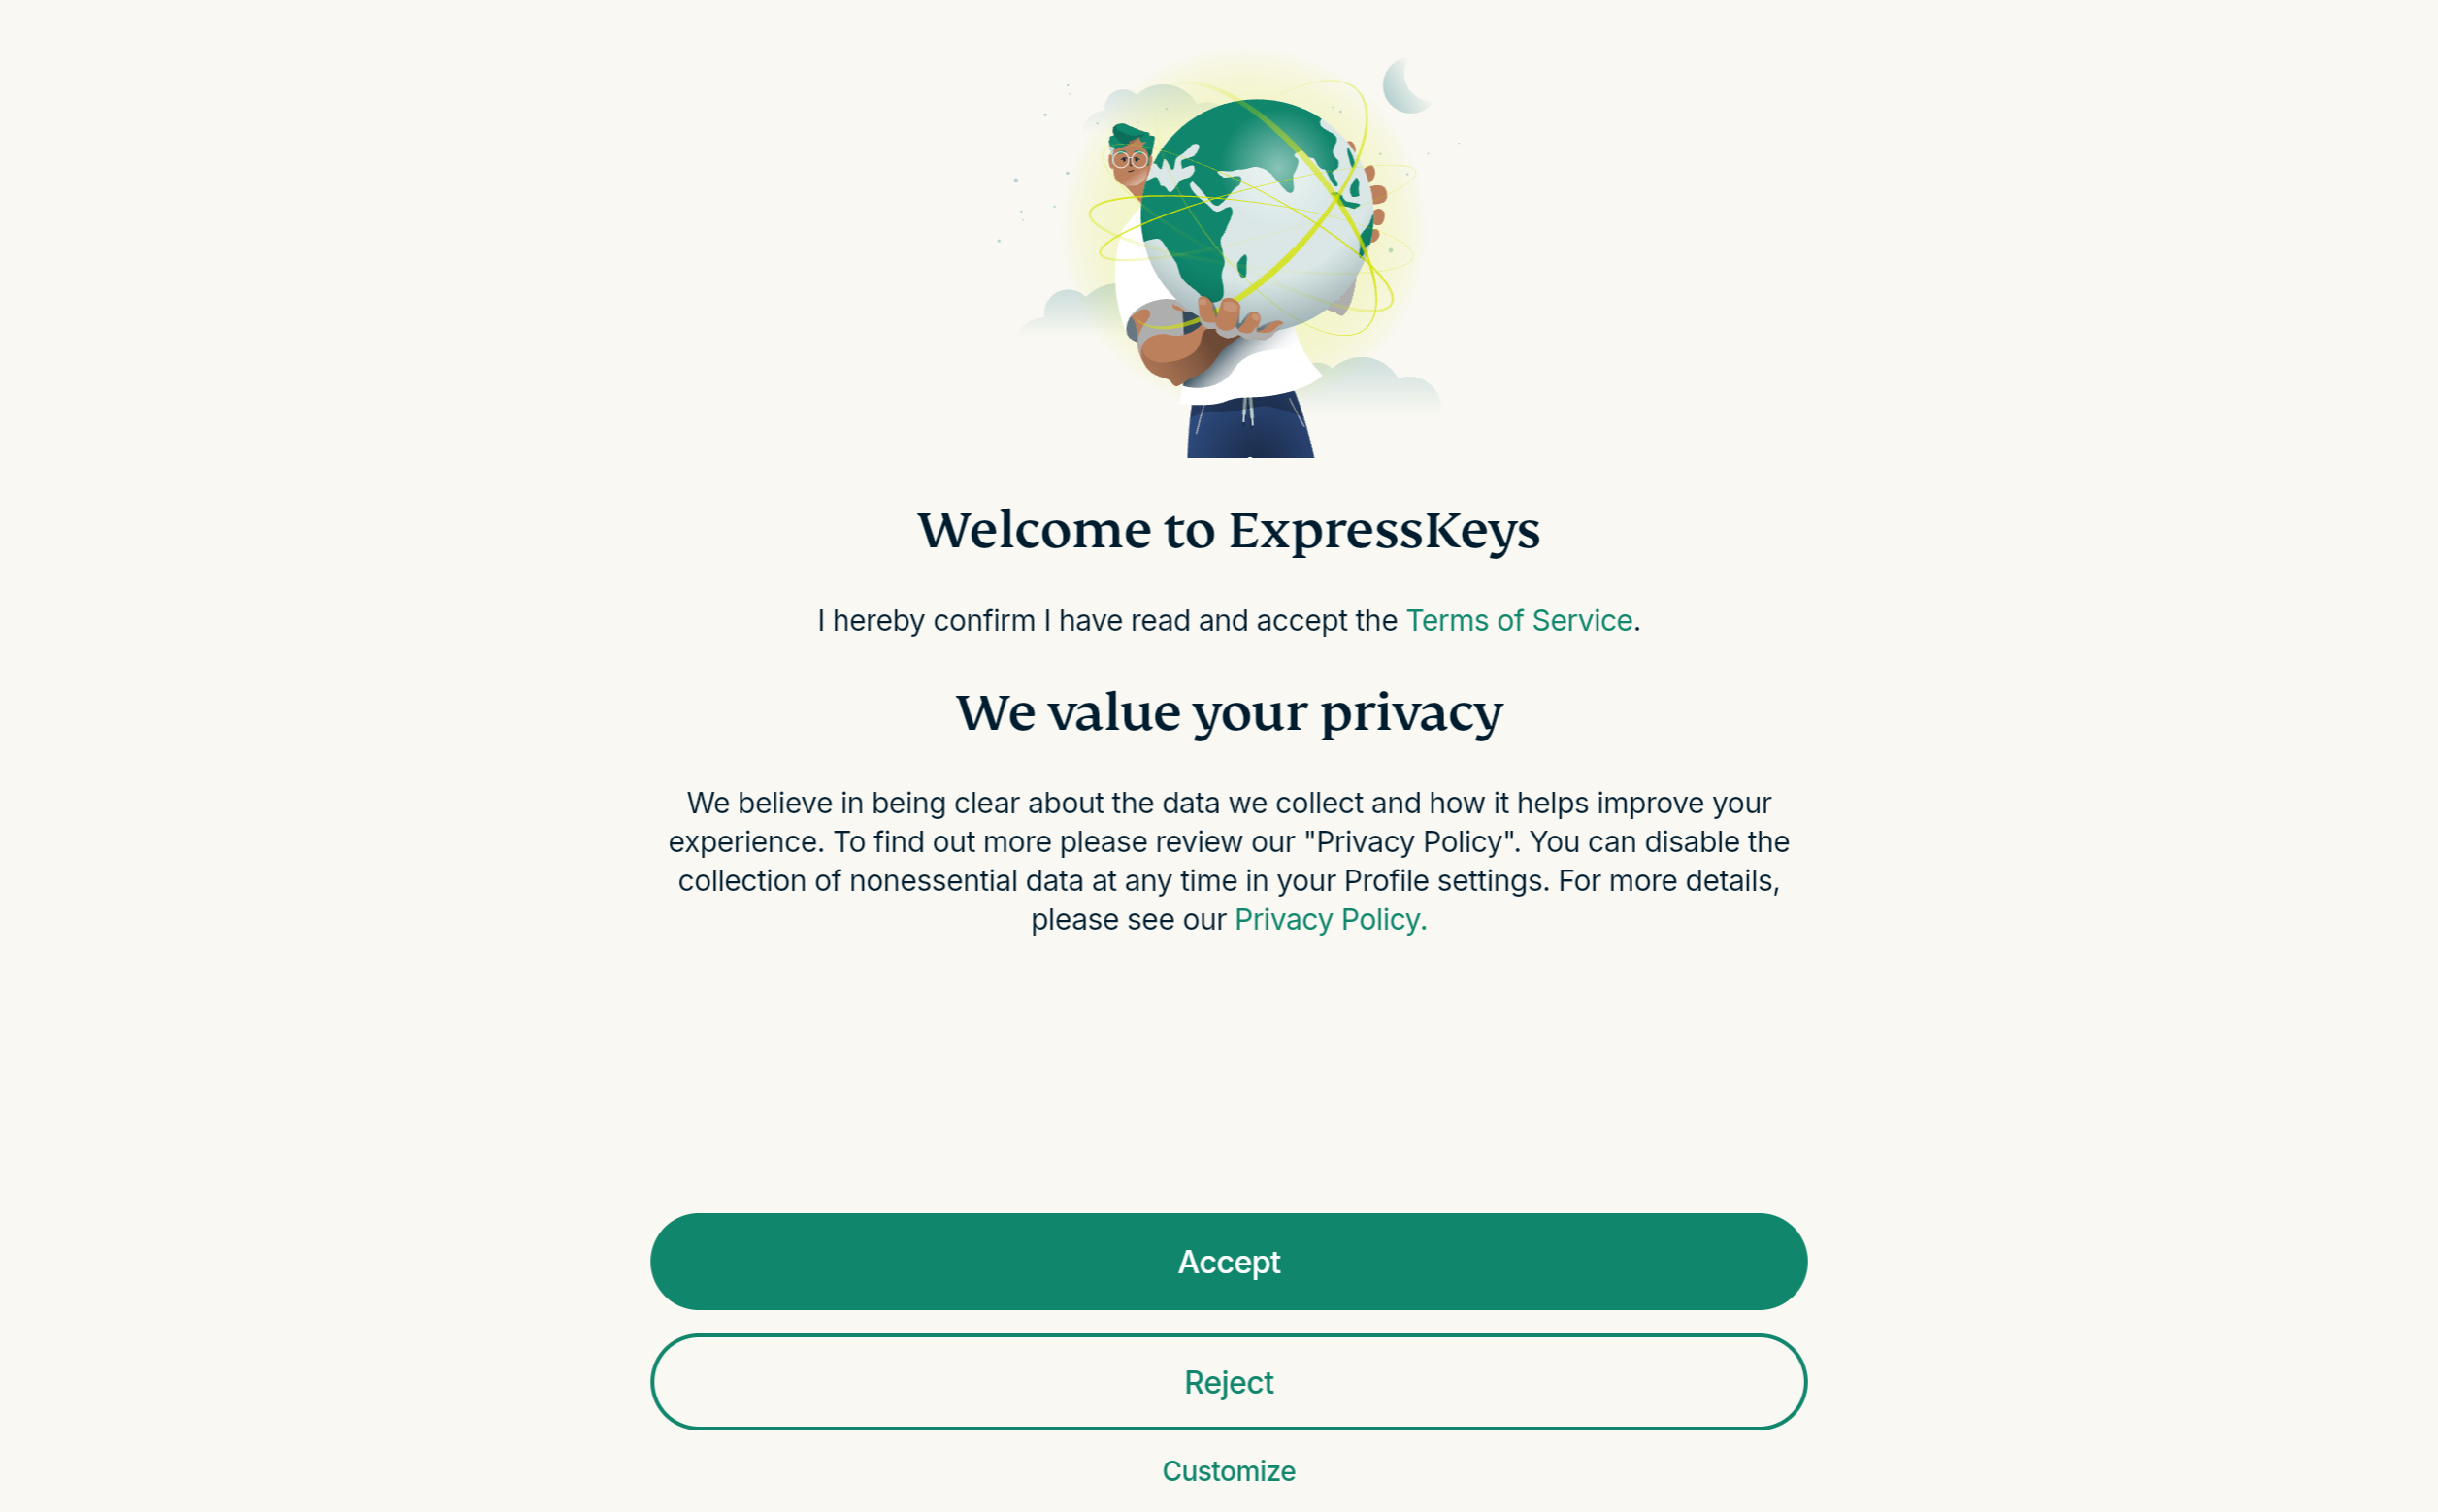
- A tab will open in your browser. The page will notify you about ExpressVPN’s Terms of Service (ToS) and privacy policy. Select your preference to continue.

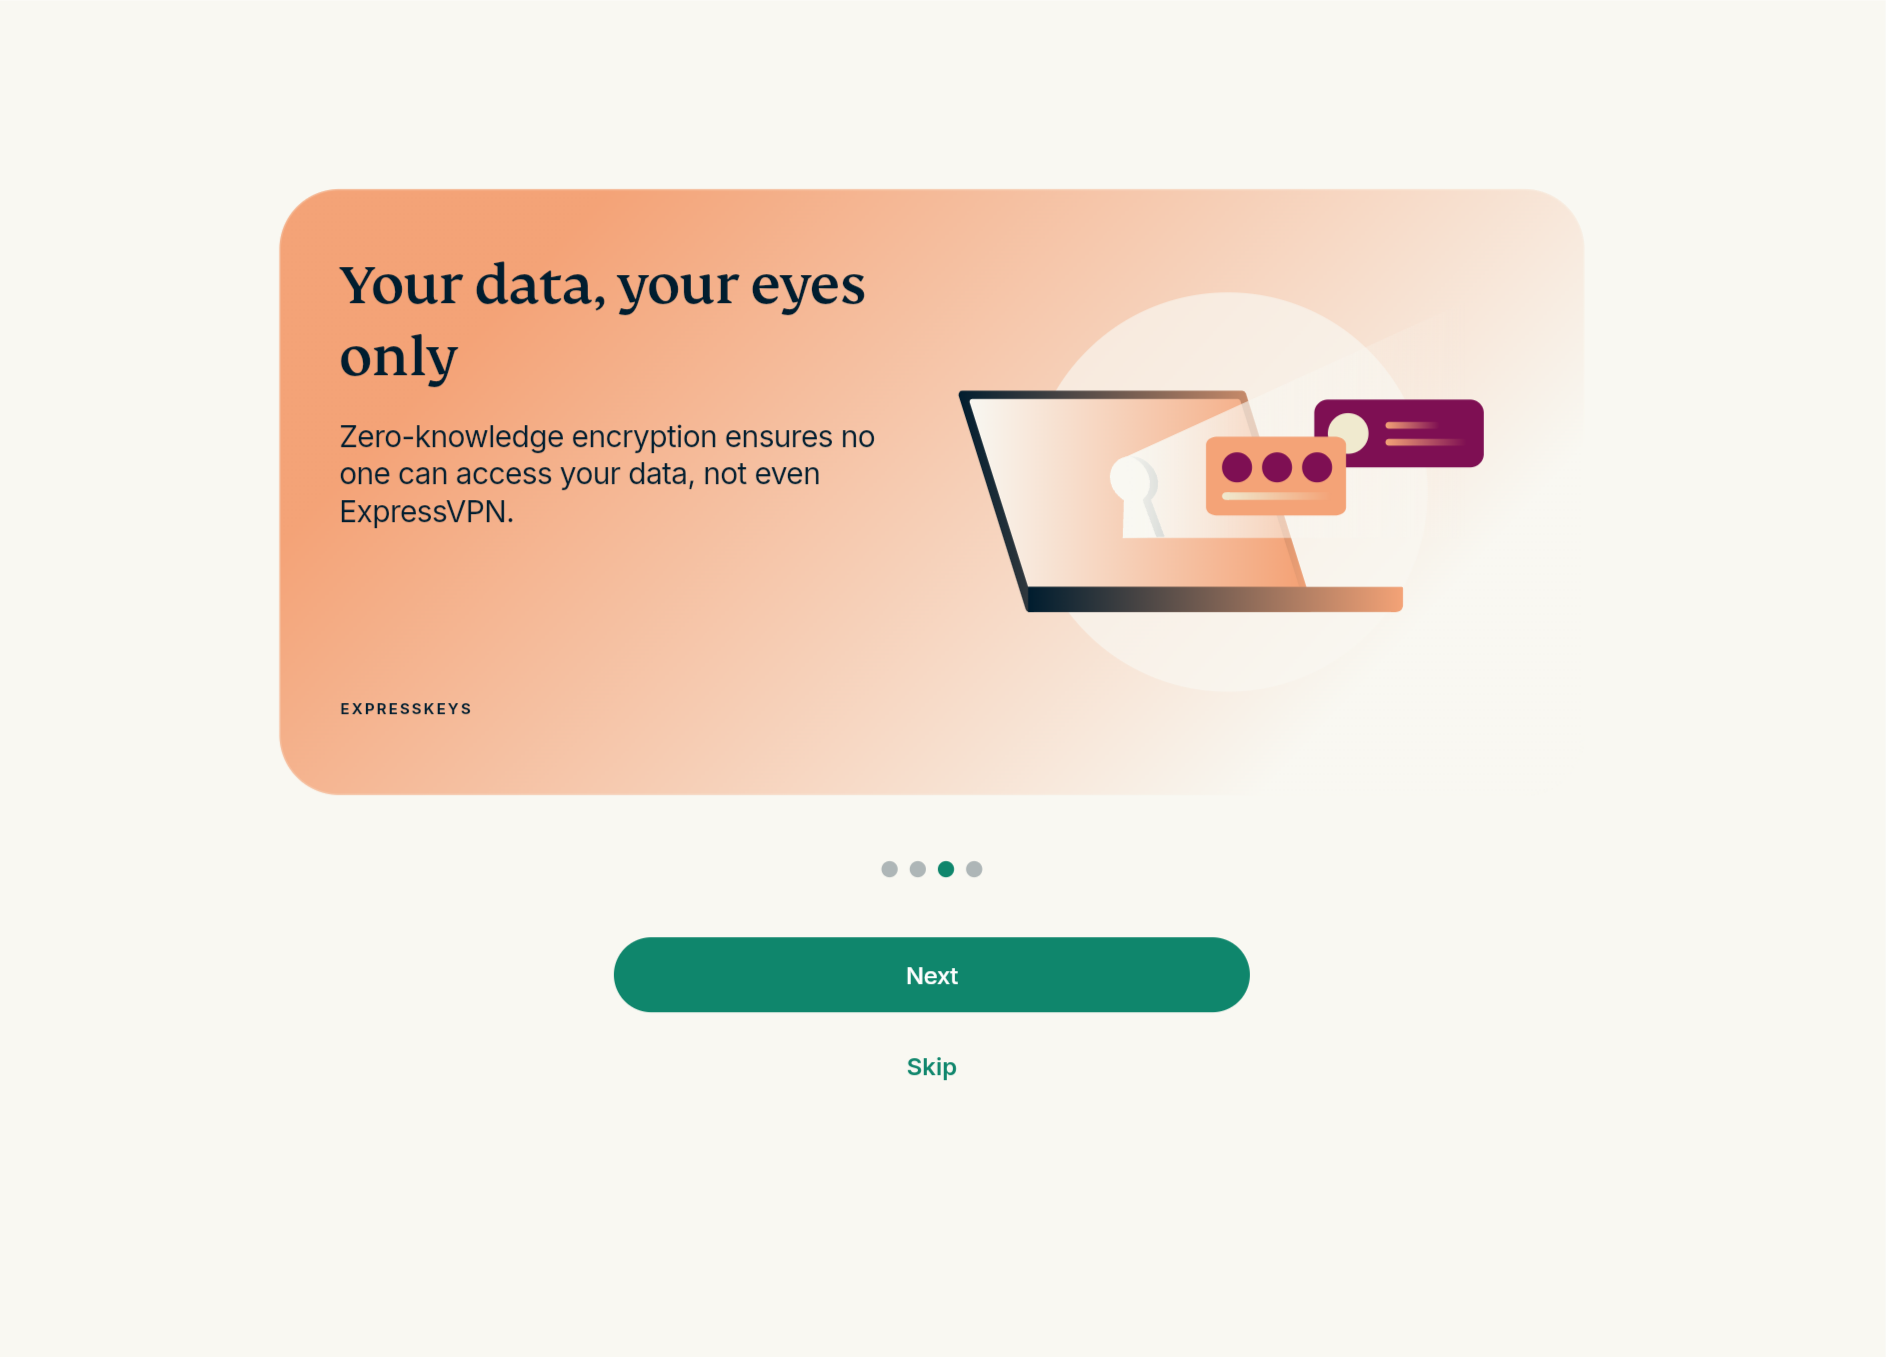
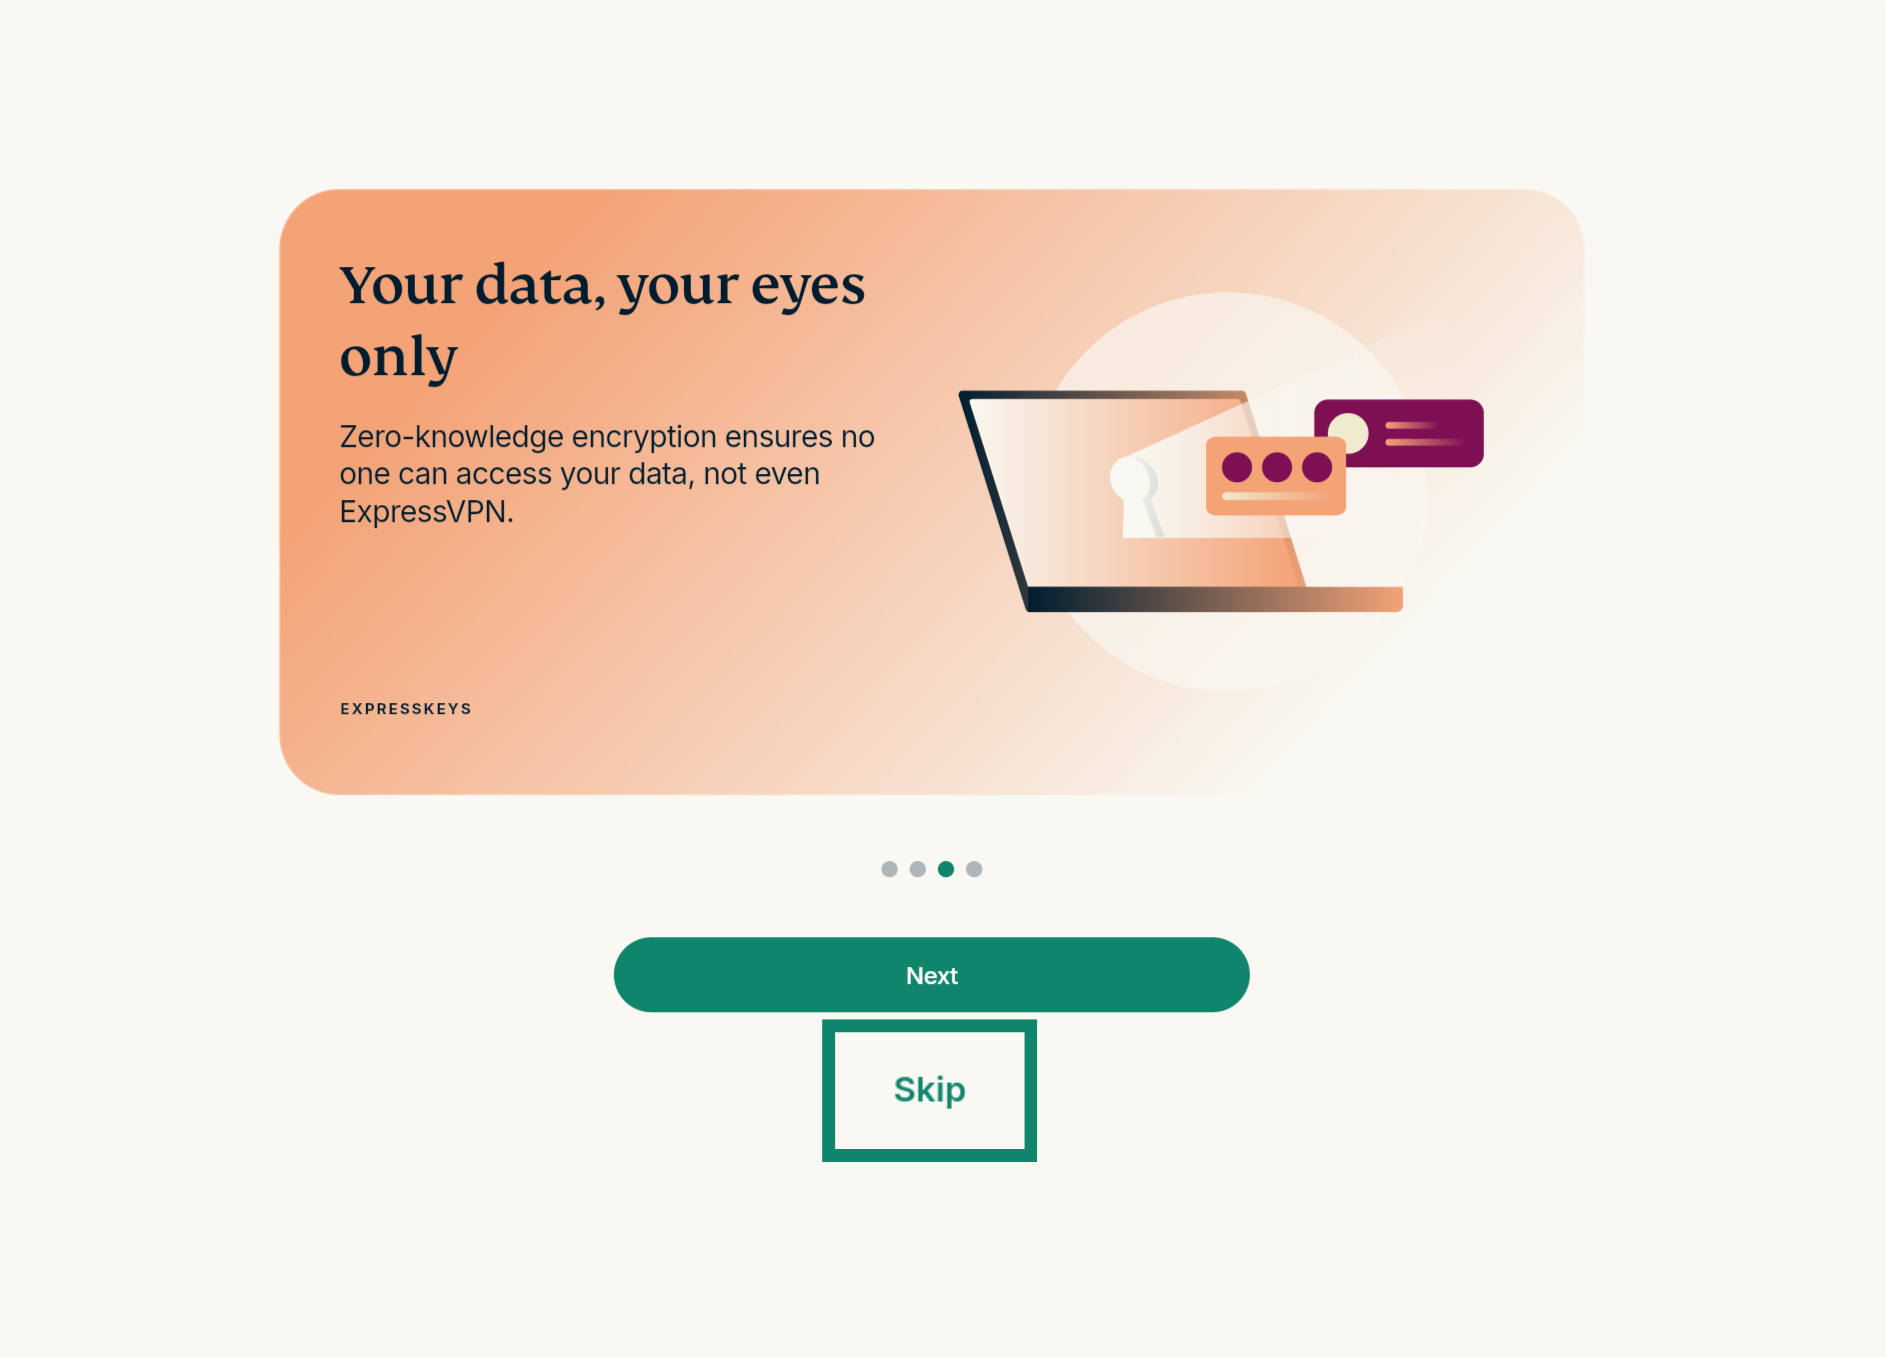
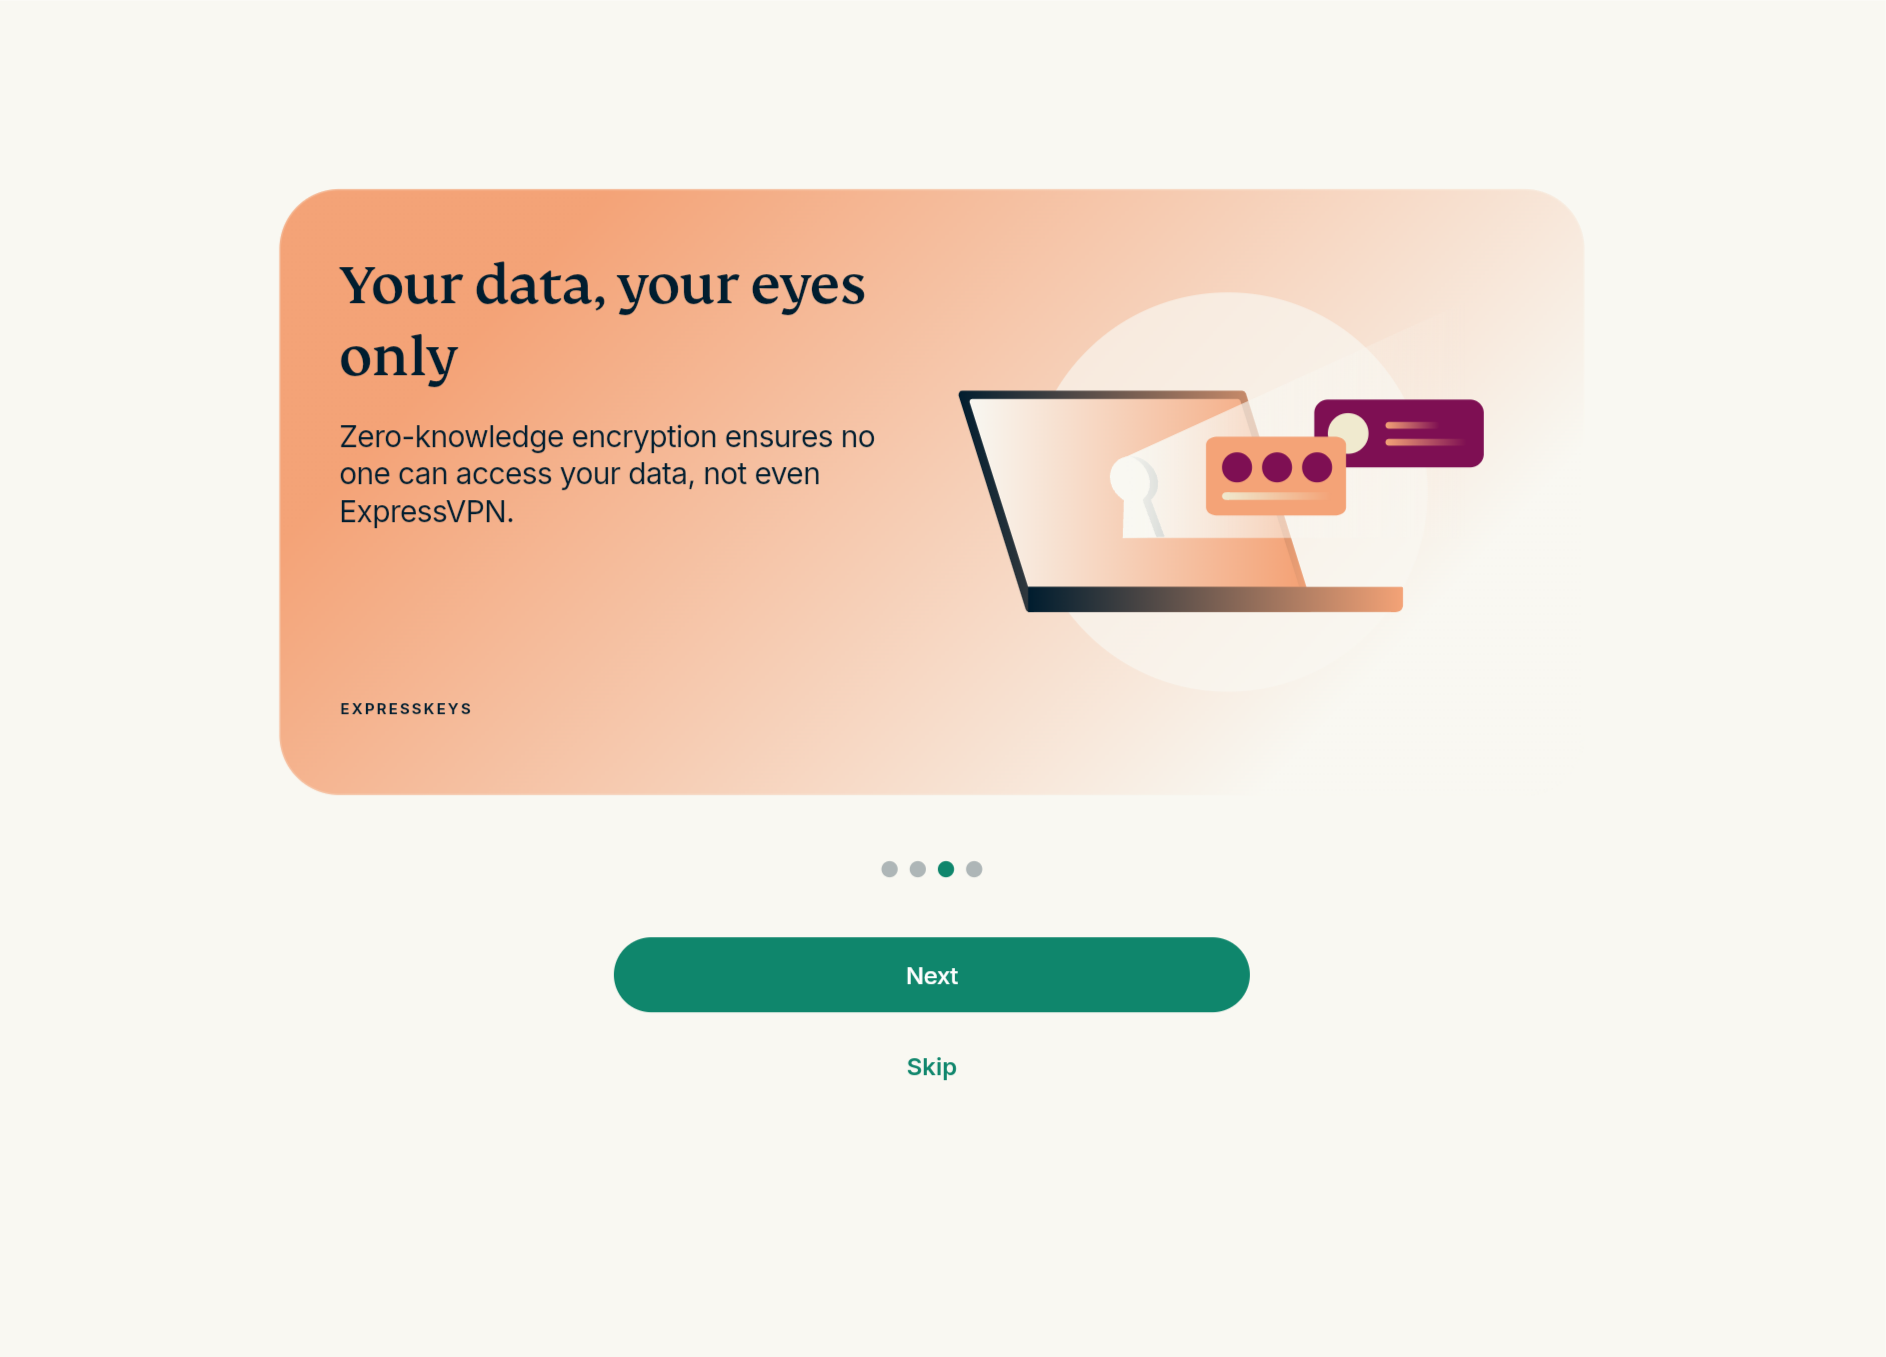
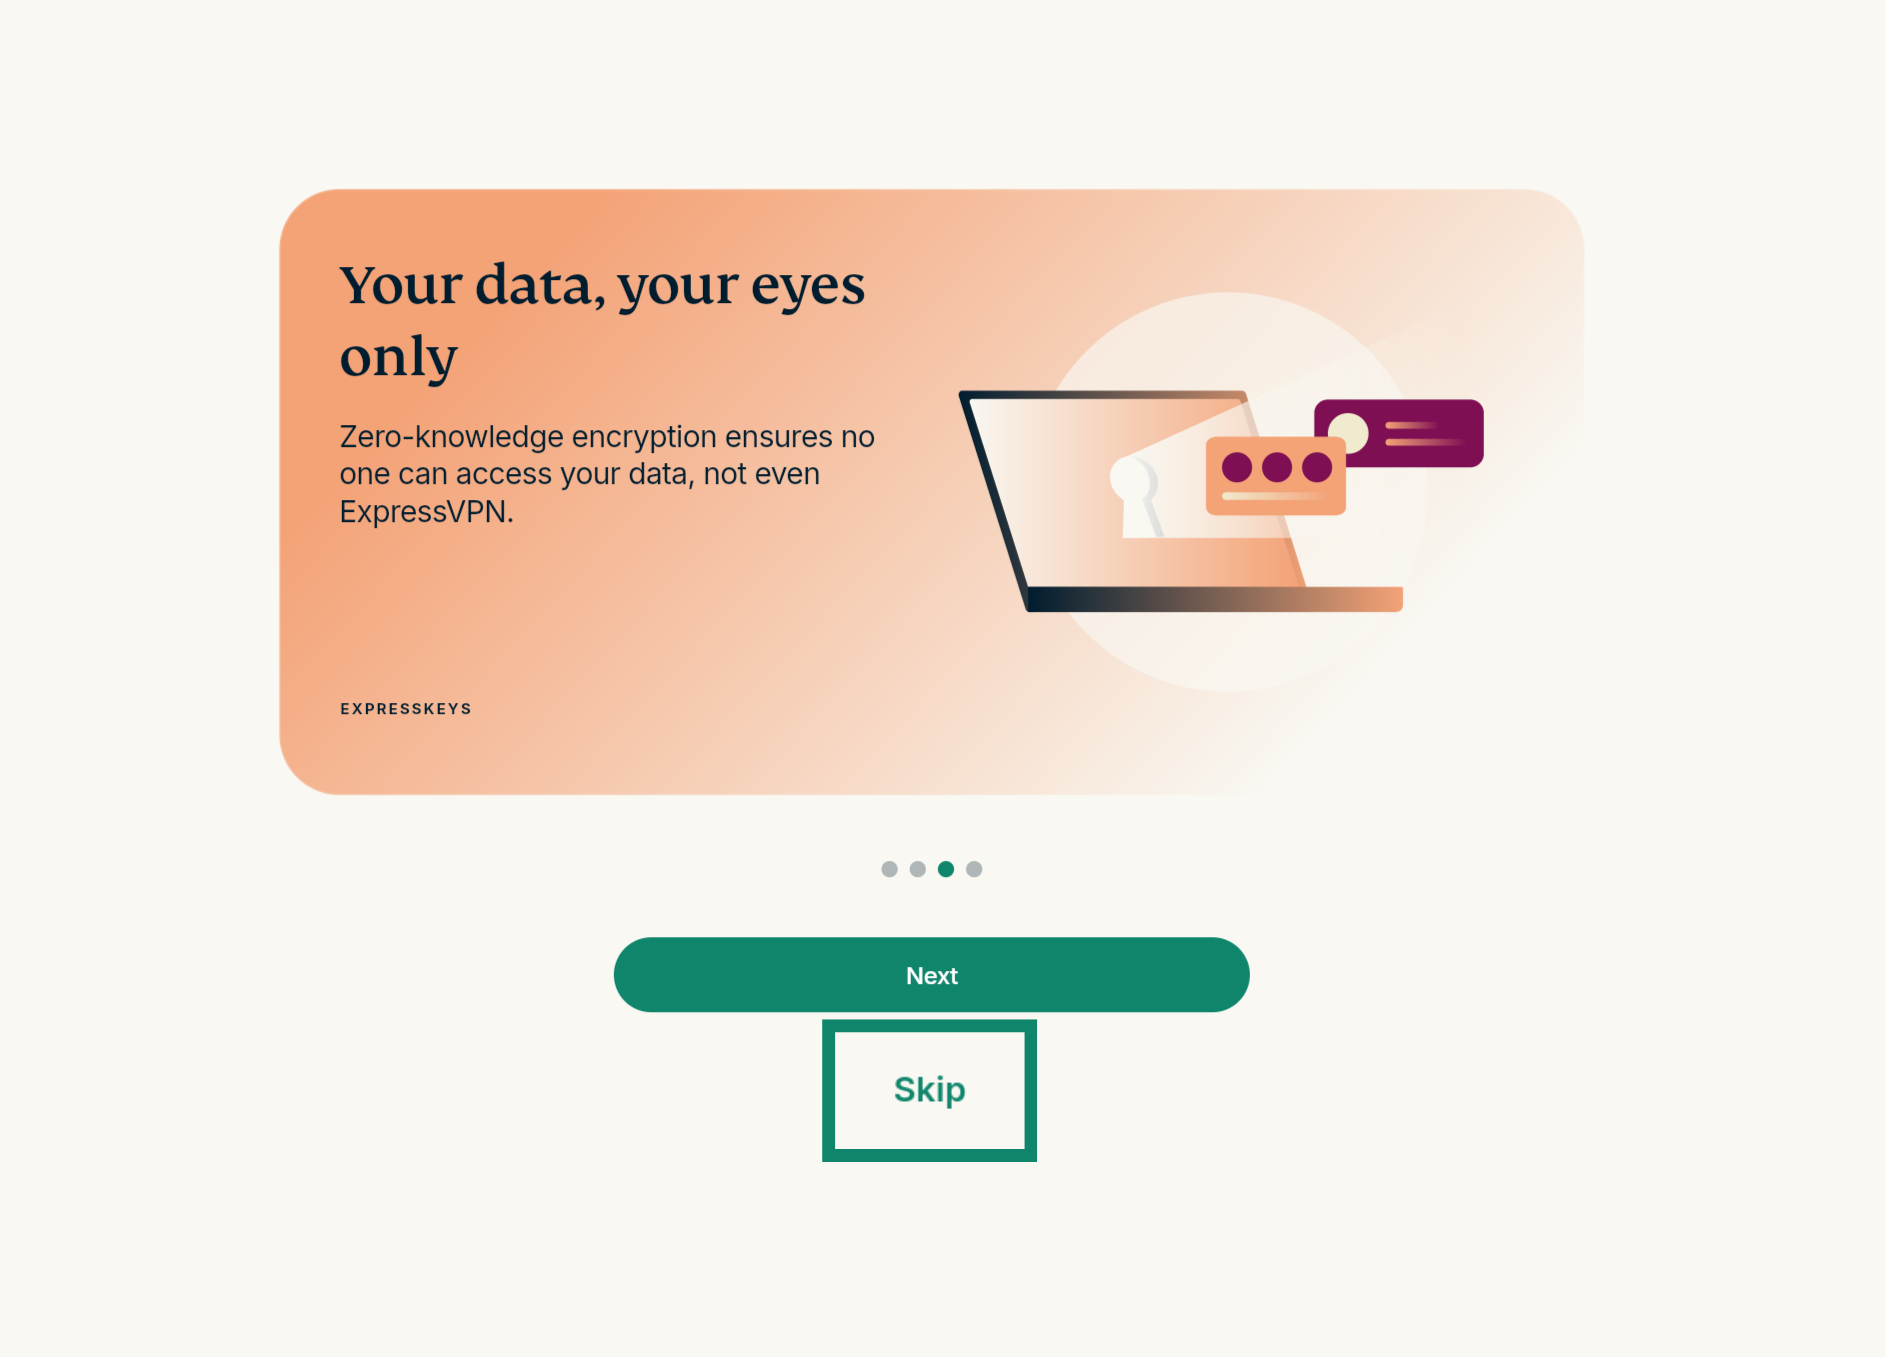
- Next, you will see several welcome screens detailing what ExpressKeys has to offer. Click Next through each window.
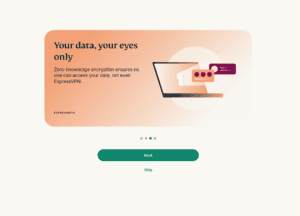
 Note: Alternatively, click Skip to navigate directly to the sign-in screen.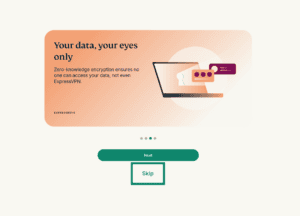
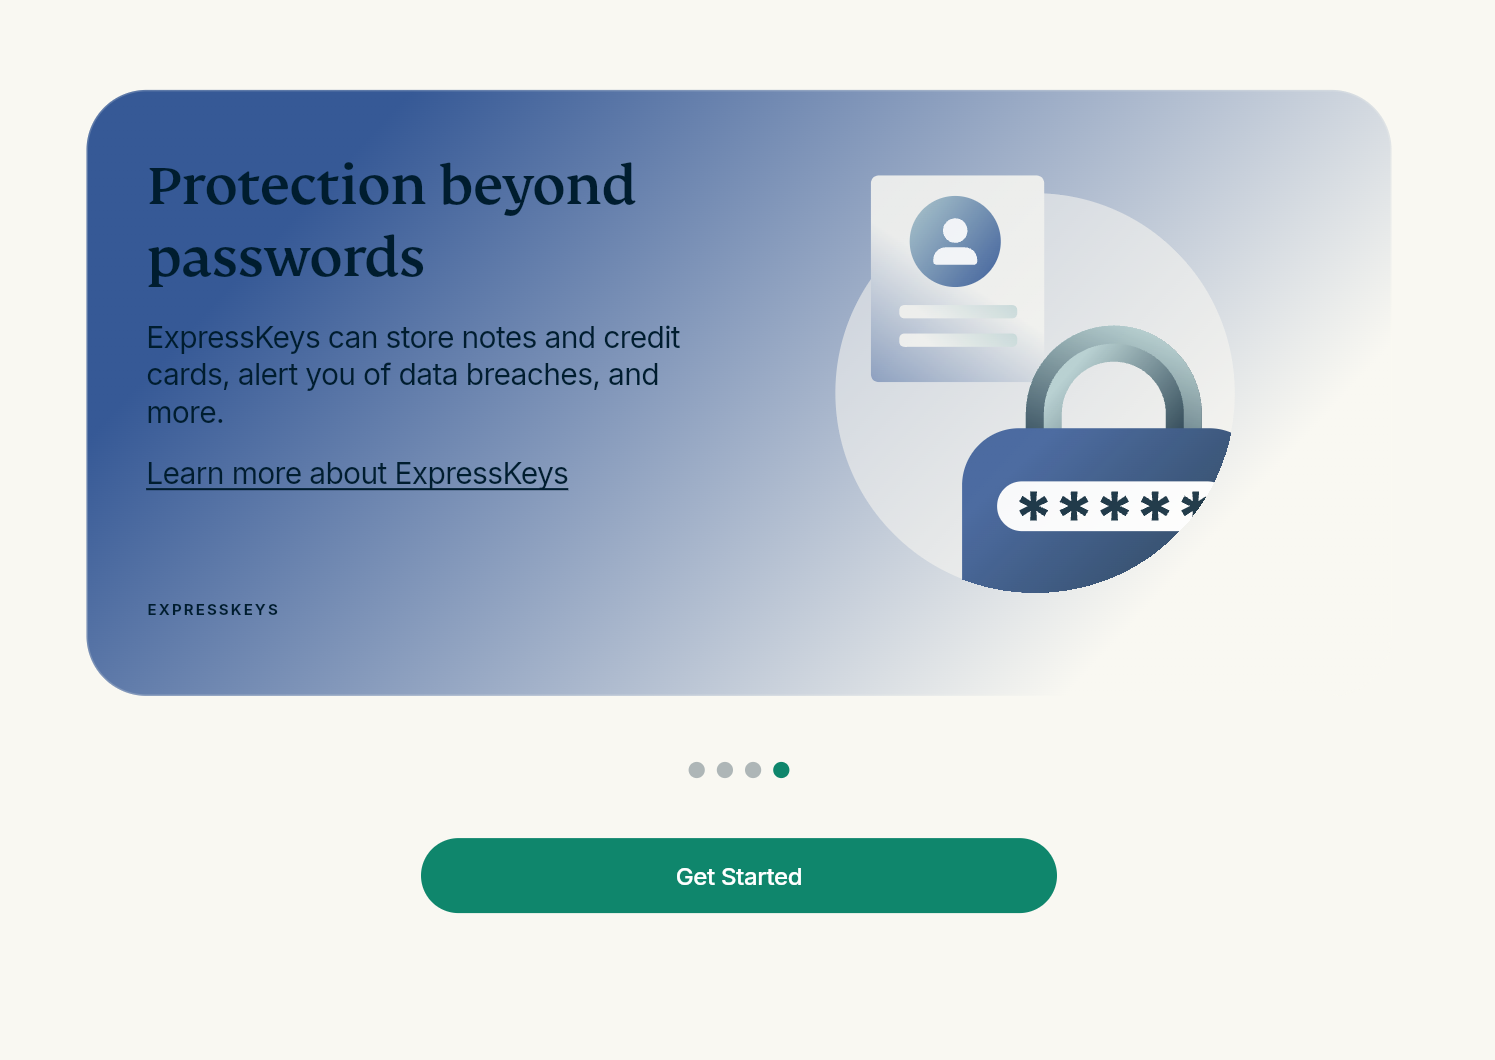
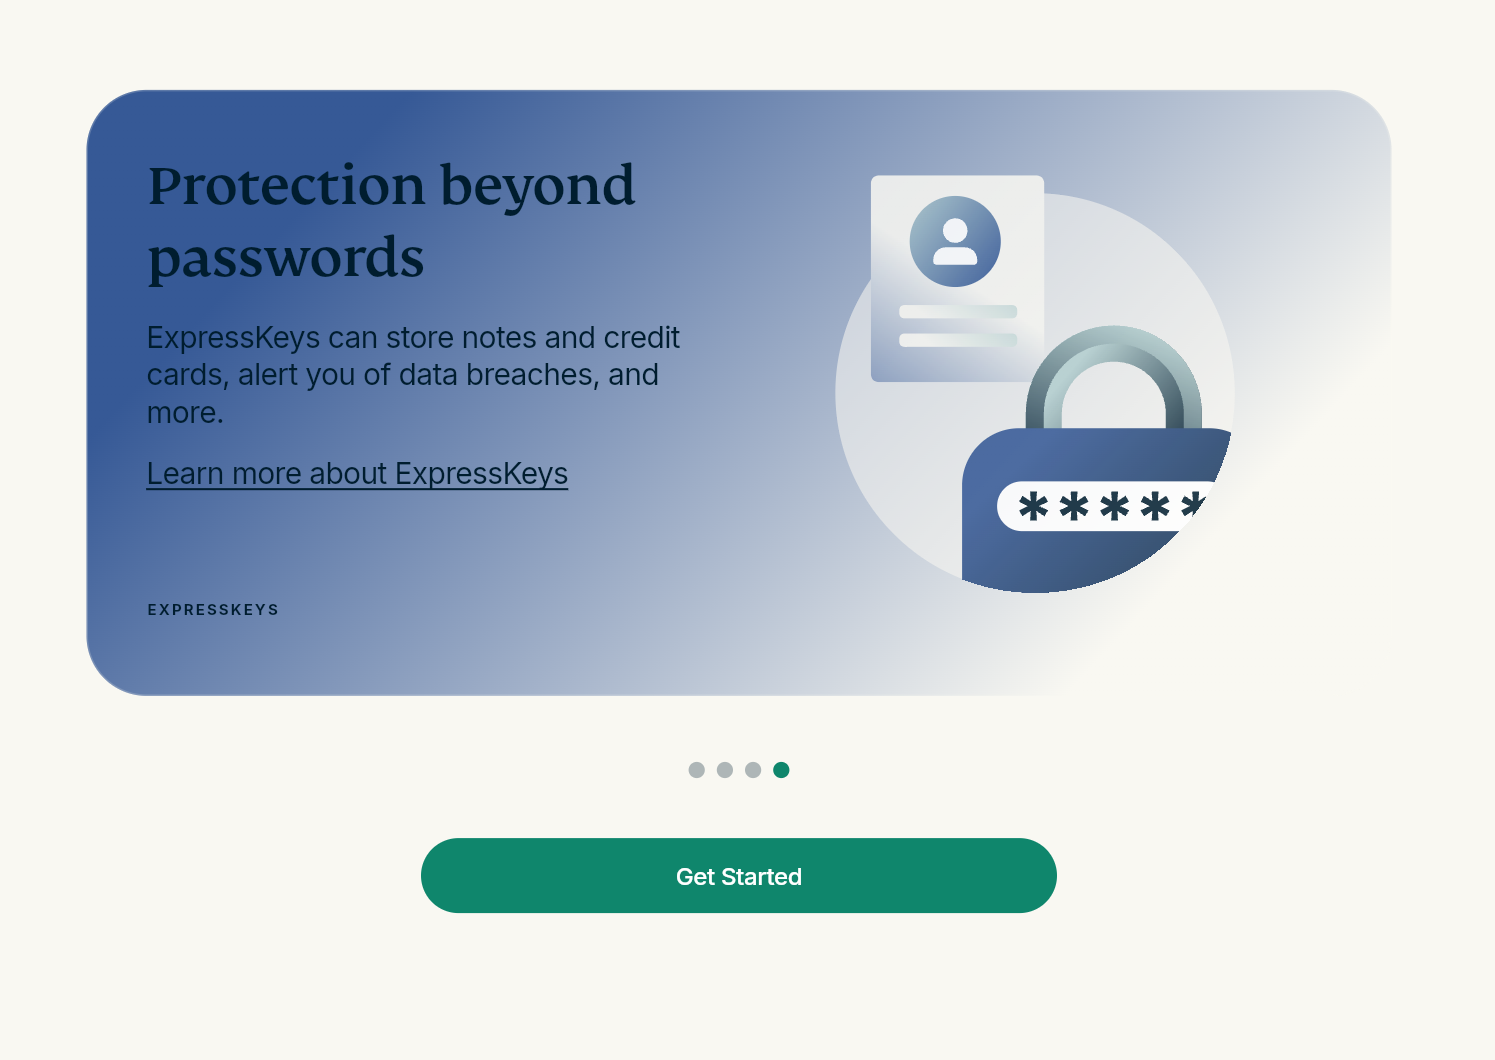
- Click Get Started.
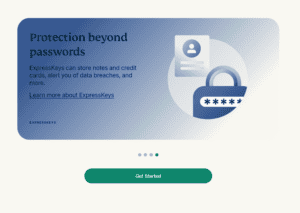

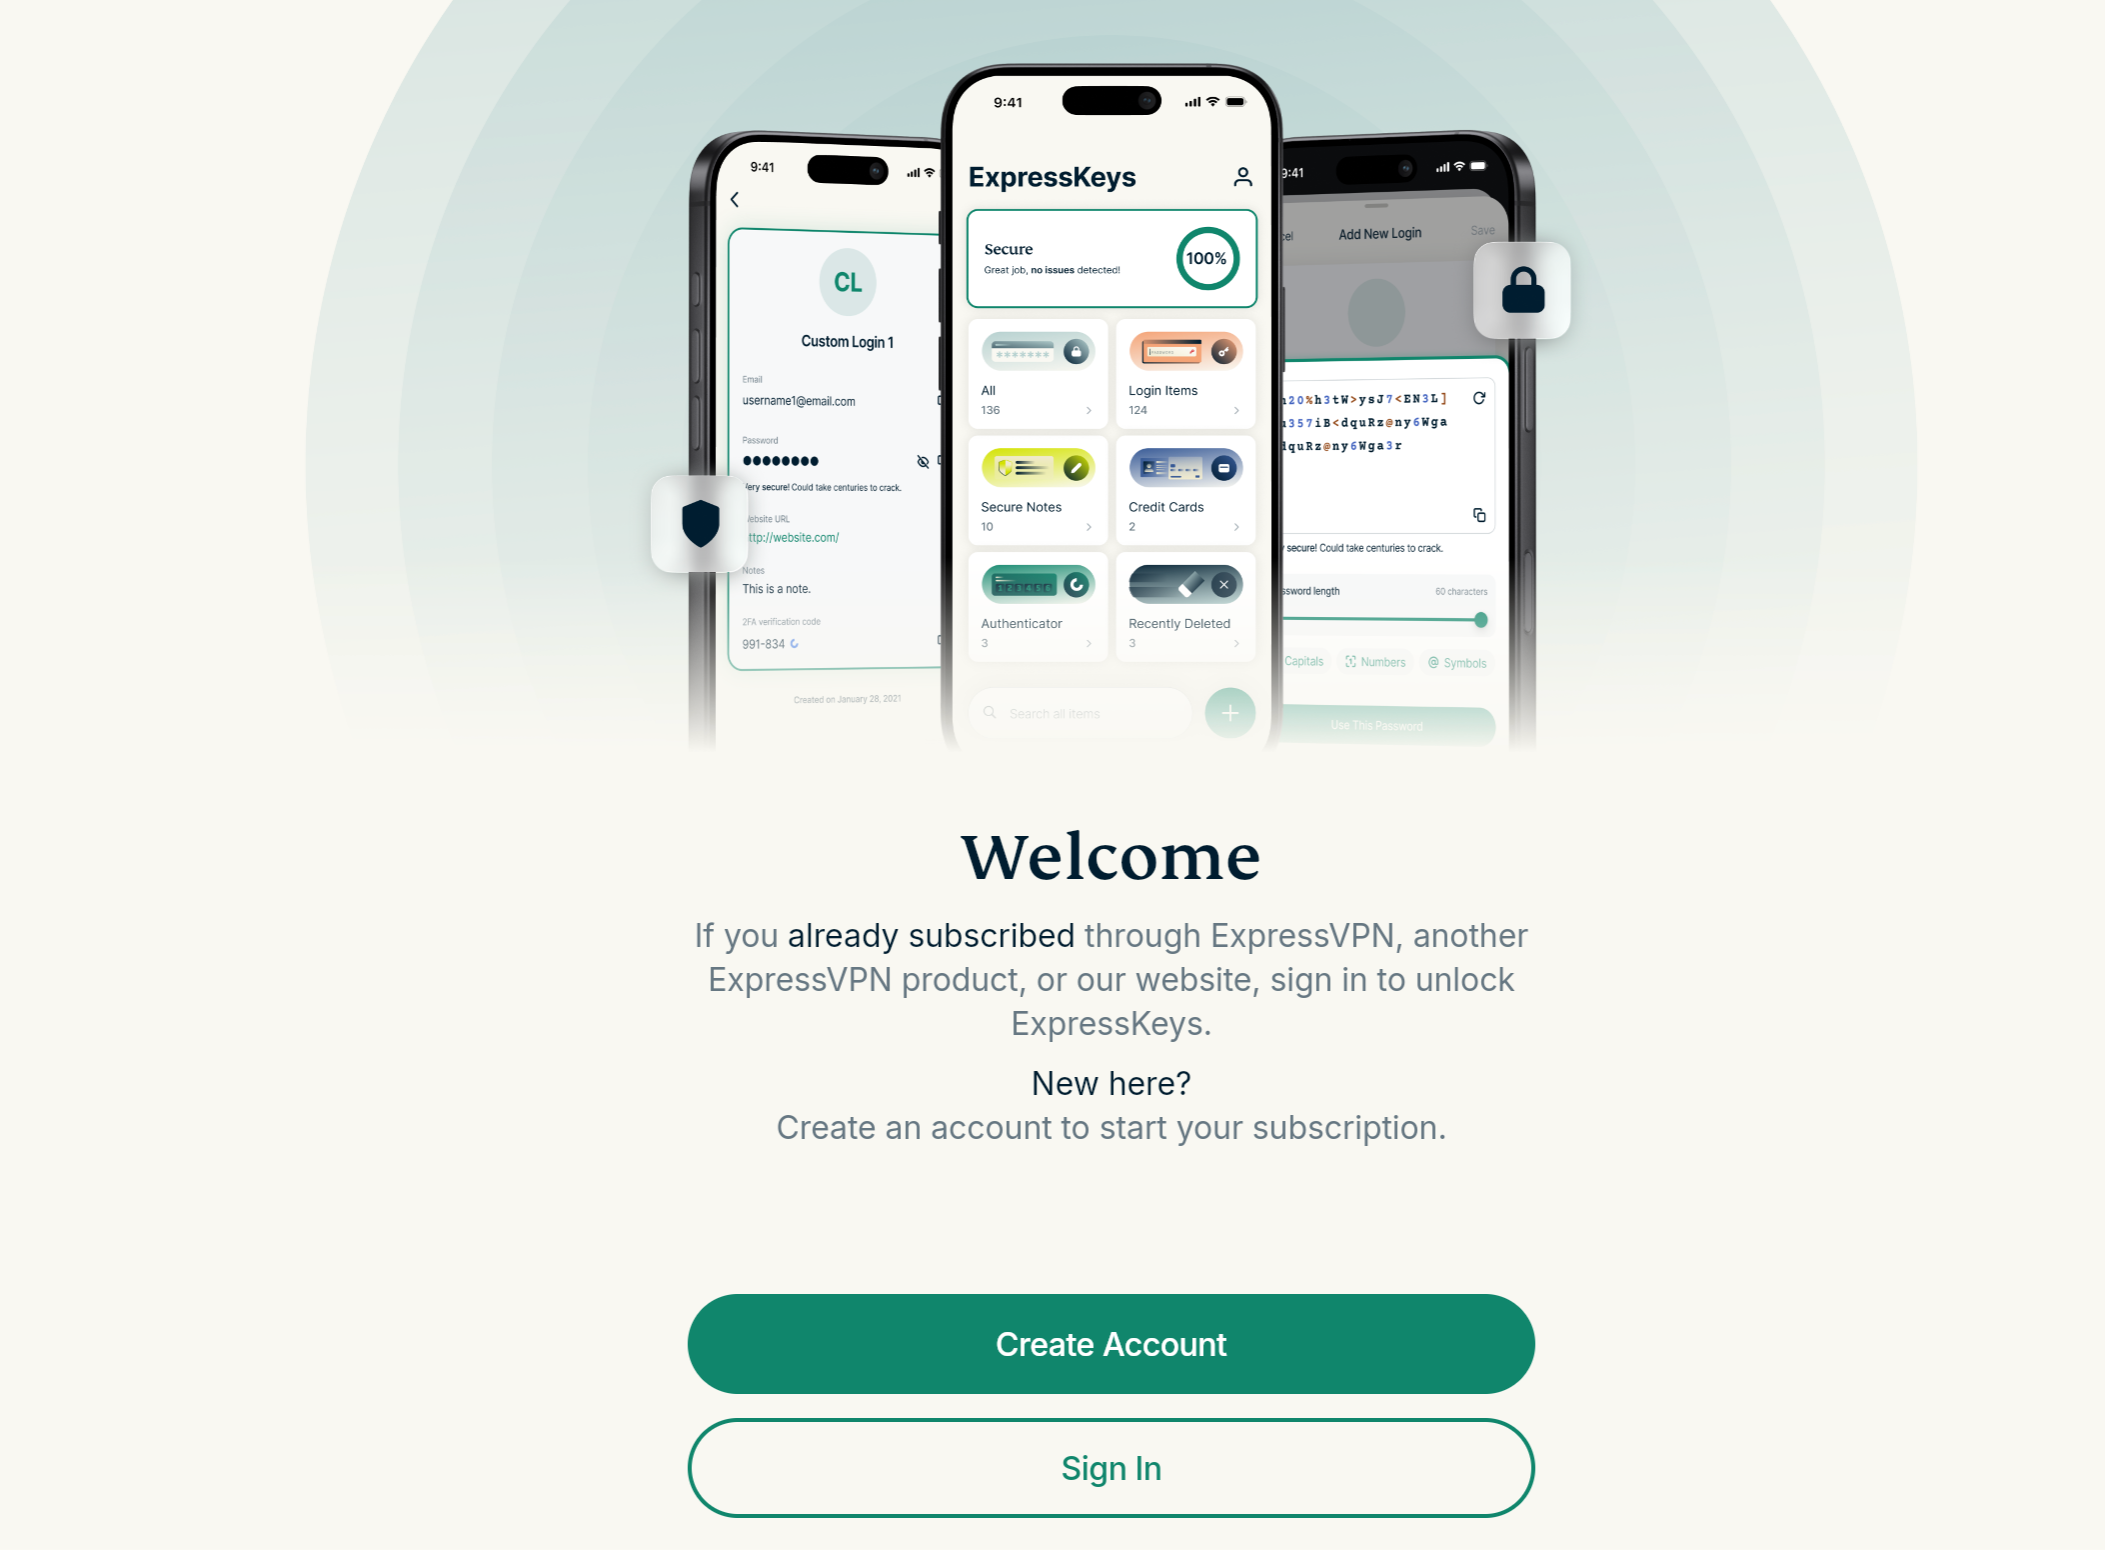
- On the welcome screen, select:
- Create Account: If you do not yet have an ExpressKeys or an ExpressVPN subscription.
- Sign In: If you have an active subscription that includes ExpressKeys.
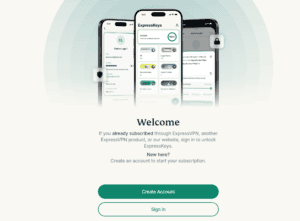

- Then, follow the on-screen prompts to either buy a subscription, set up an account, and sign in, or sign in directly if you already have an active subscription that includes ExpressKeys.
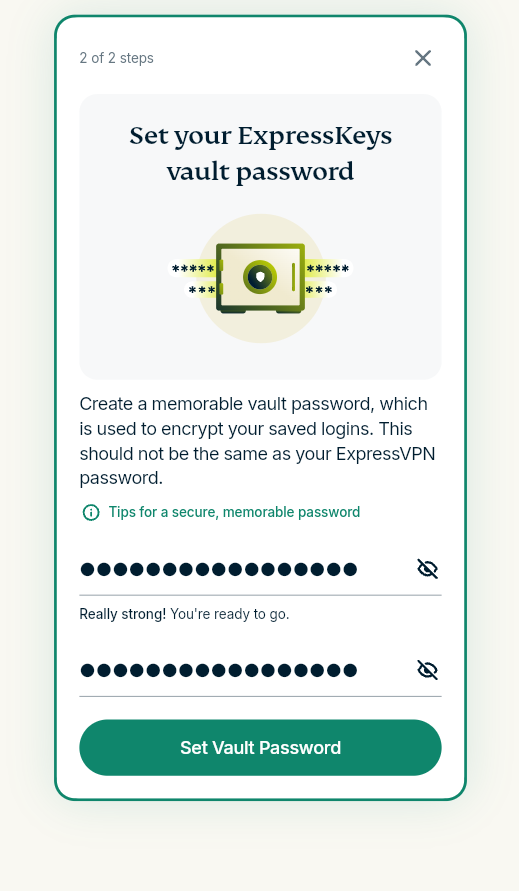
- Once you have signed in, you will be prompted to create a primary password (known as a vault password). Follow the on-screen instructions to create the primary password, then click Set Vault Password when ready.
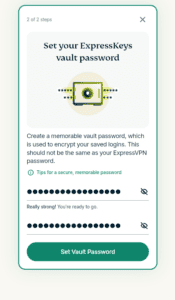
 Note: Follow the instructions in this guide to learn how to create a strong vault password.
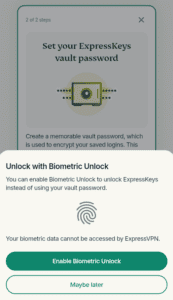
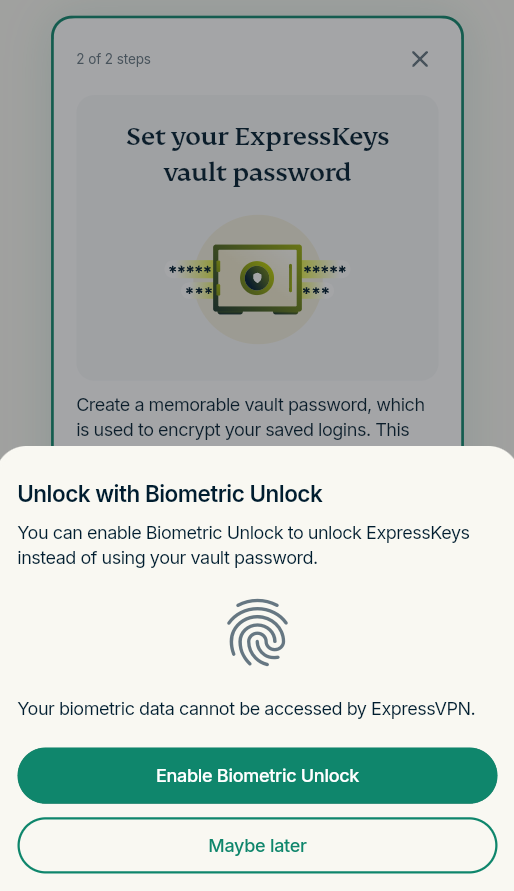
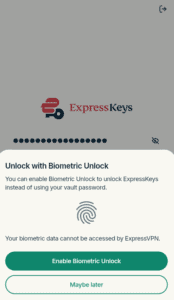
 - ExpressKeys will ask whether you want to enable biometric authentication. To enable it, click Enable Biometric Unlock and follow the instructions. Otherwise, click Maybe later.

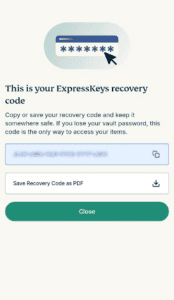
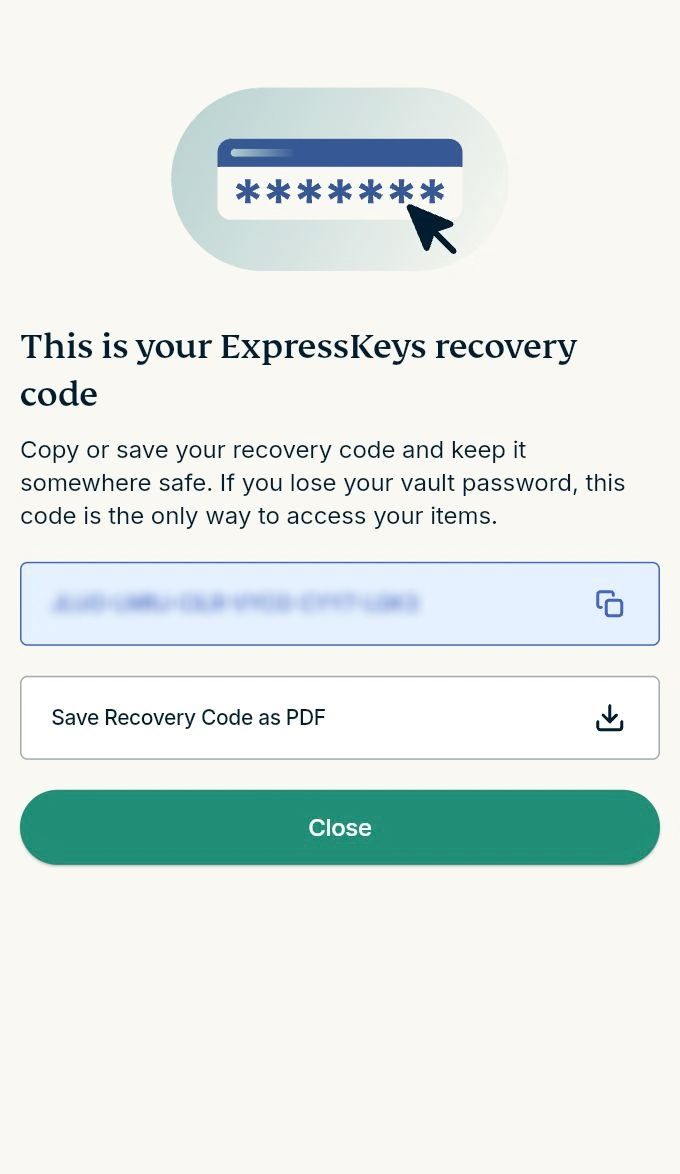
- On the next screen, ExpressKeys will show you your recovery code, a unique string of letters and numbers you can use to gain access to your password manager vault in case you forget your vault password. You can copy it directly and store it in a safe place or download it in a PDF file. Once done, click Close and you’ll be taken to the main ExpressKeys screen.

You are now all set to use ExpressKeys.
Need help? Contact the ExpressVPN Support Team for immediate assistance.
How to set up (existing ExpressKeys users)
1. Download
- On Chrome, Opera, Edge, Vivaldi, or Brave, find ExpressKeys in the Chrome Web Store.
- Click Add to [browser]. If you are using Edge, the button may say Get or Get extension.
- Click Add extension and wait for the extension to be added to your browser.
2. Setup
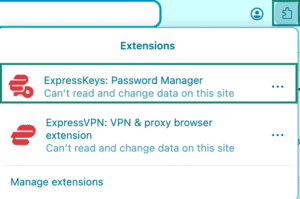
- Click the extension button in your browser and select the ExpressKeys browser extension from the list.
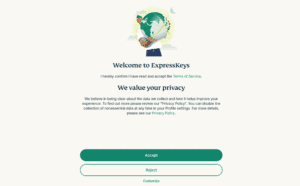
- A page notifying you about ExpressVPN’s Terms of Service (ToS) and privacy policy will open. Select your preference to continue.
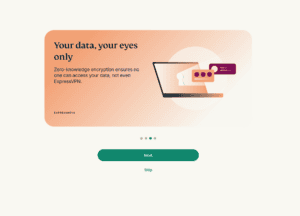
- You will now see several welcome screens detailing ExpressKeys’s features. Click Next through each window.
 Note: Alternatively, click Skip to go directly to the sign-in page.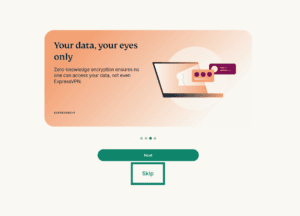
- Click Get Started.
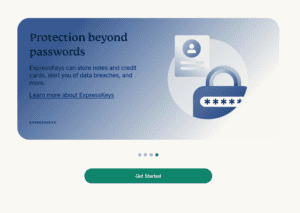
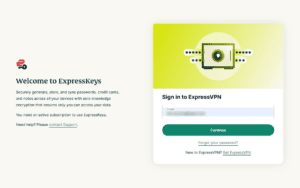
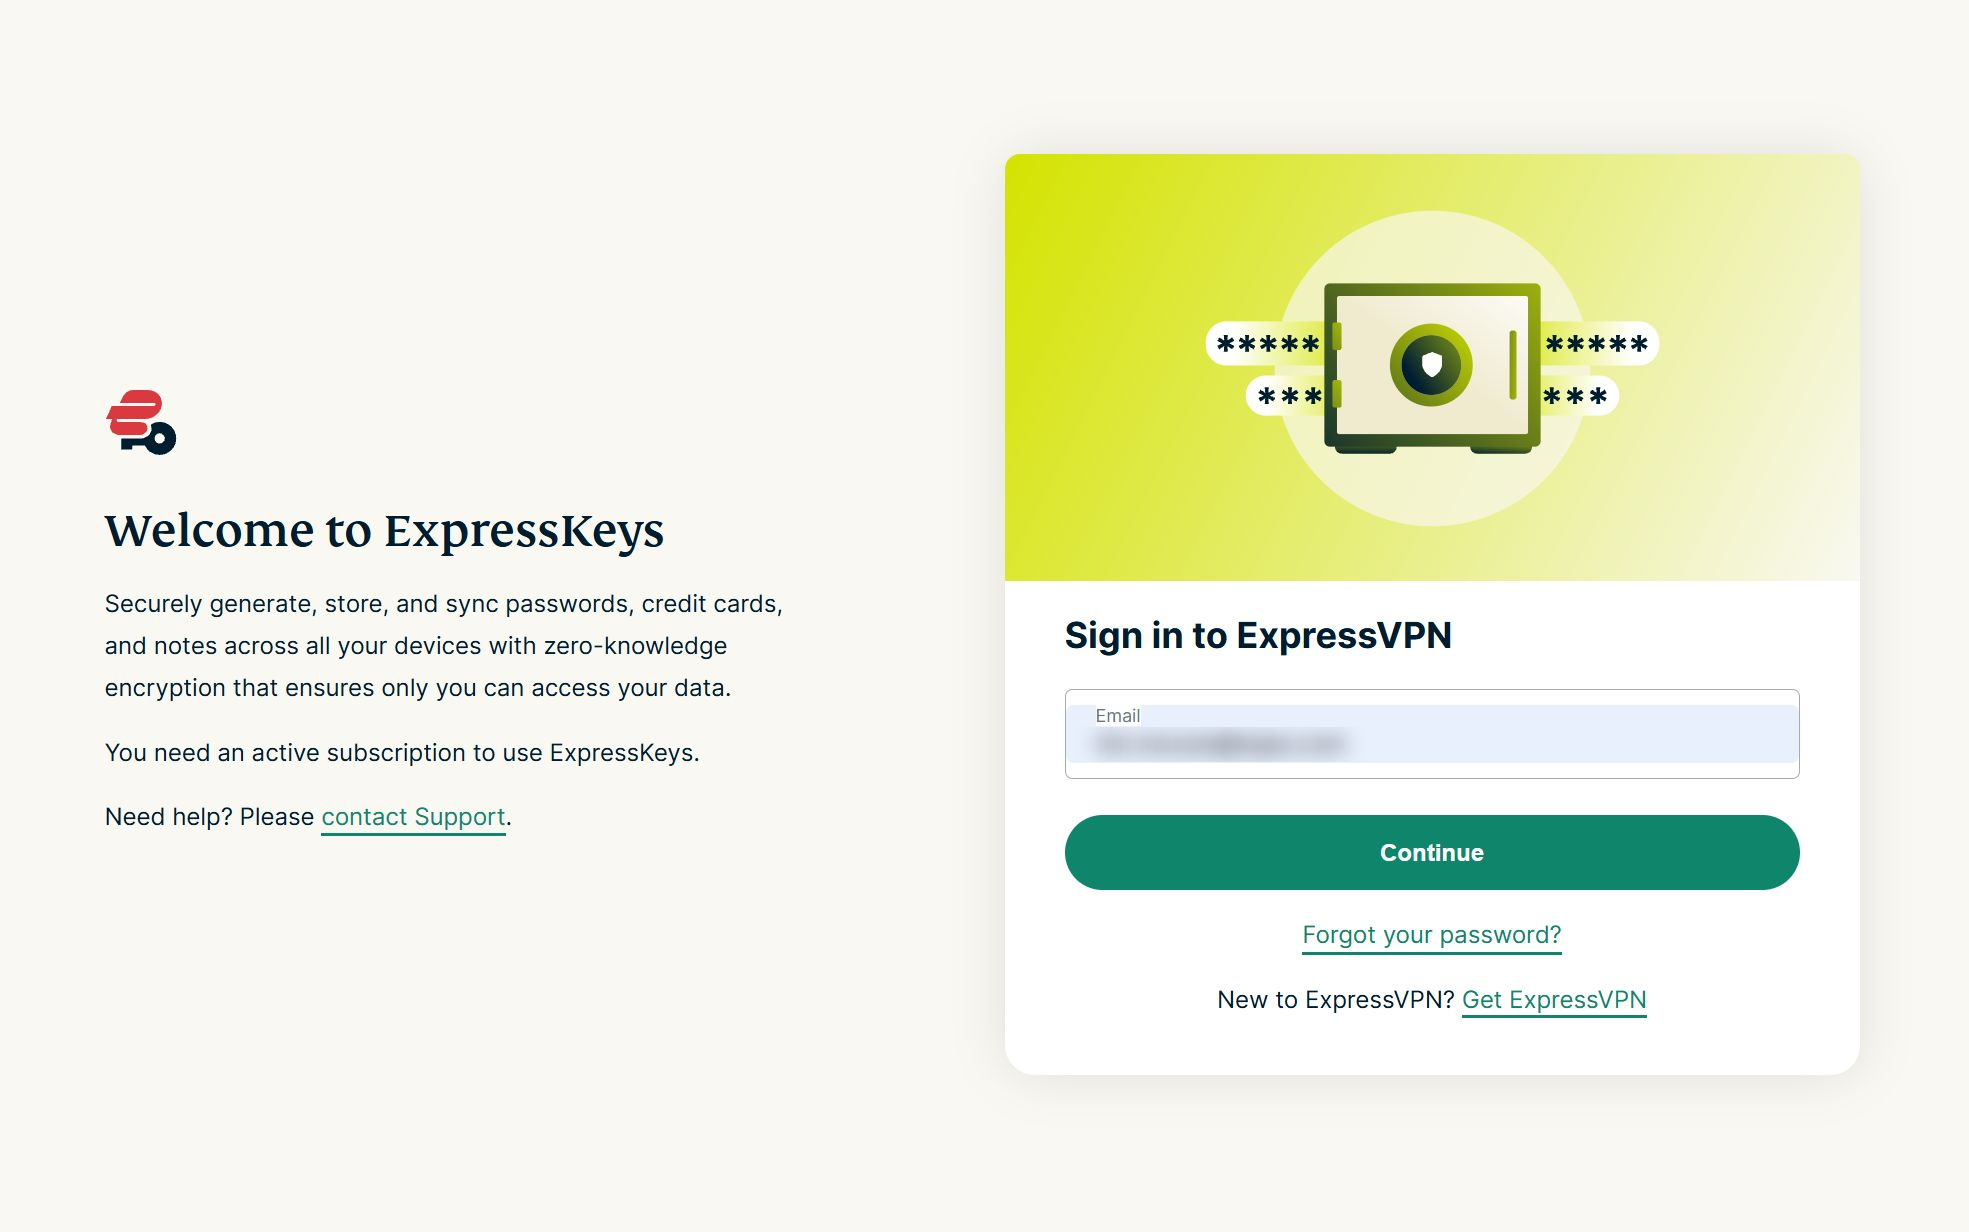
- The sign-in screen will now open. Enter the email address linked to your ExpressVPN account and click Continue.

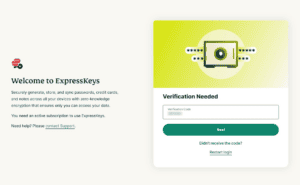
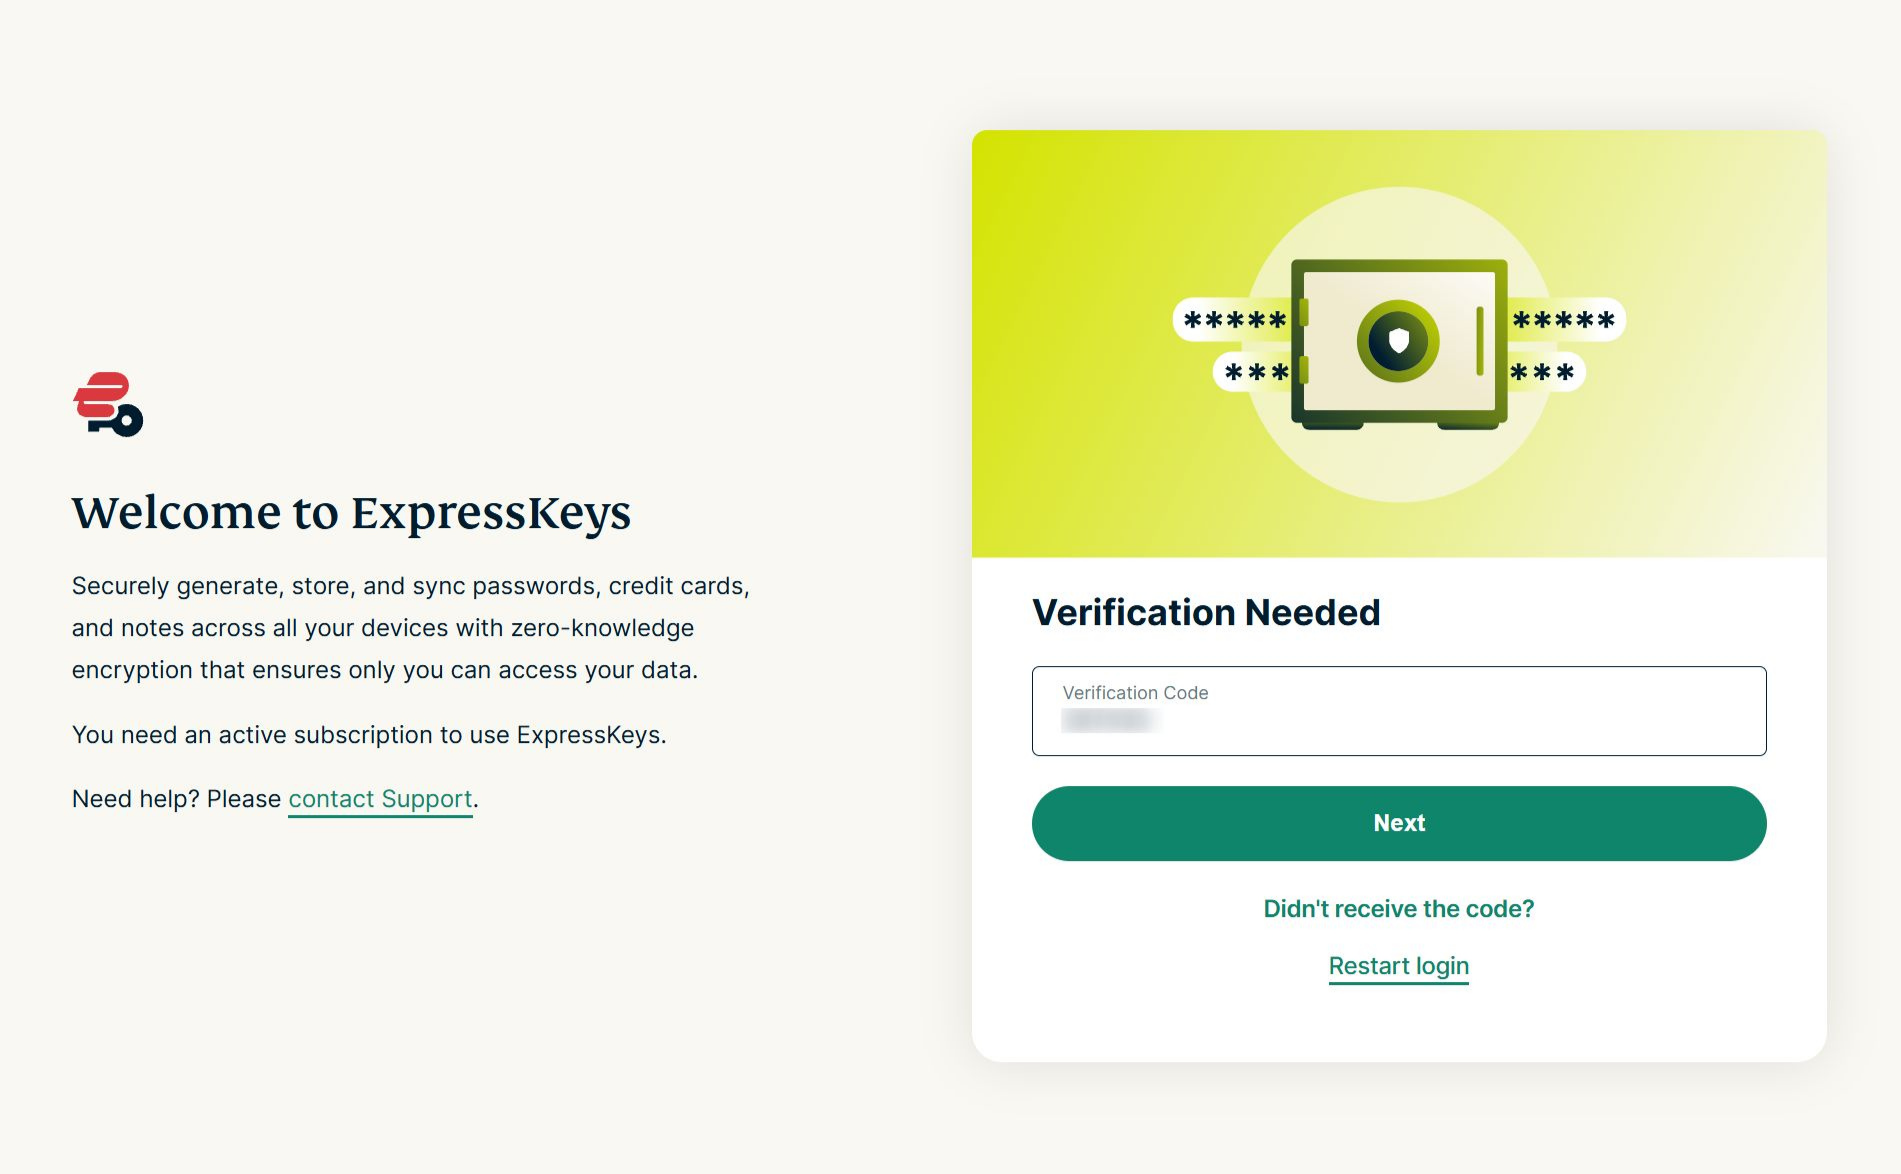
- Enter the verification code sent to your email address, then click Next.

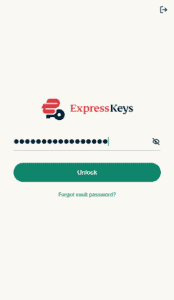
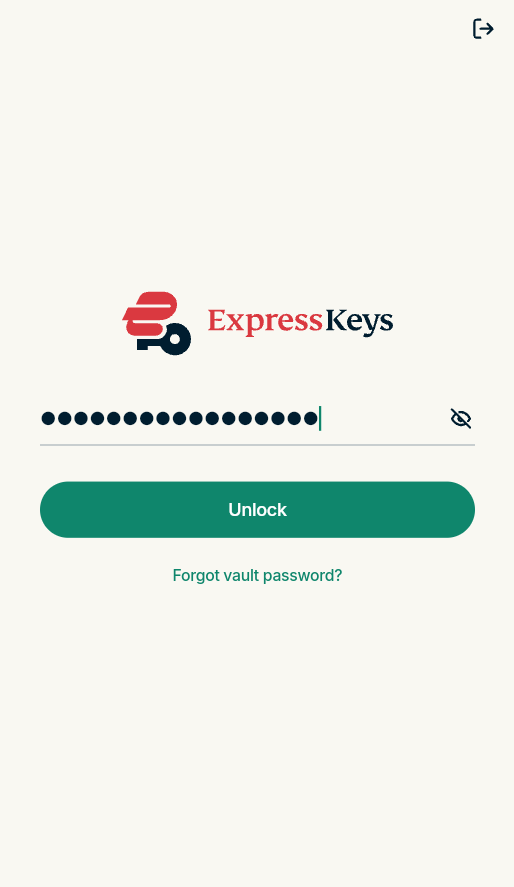
- The ExpressKeys browser extension will now open. Enter your vault password and click Unlock to access the extension.

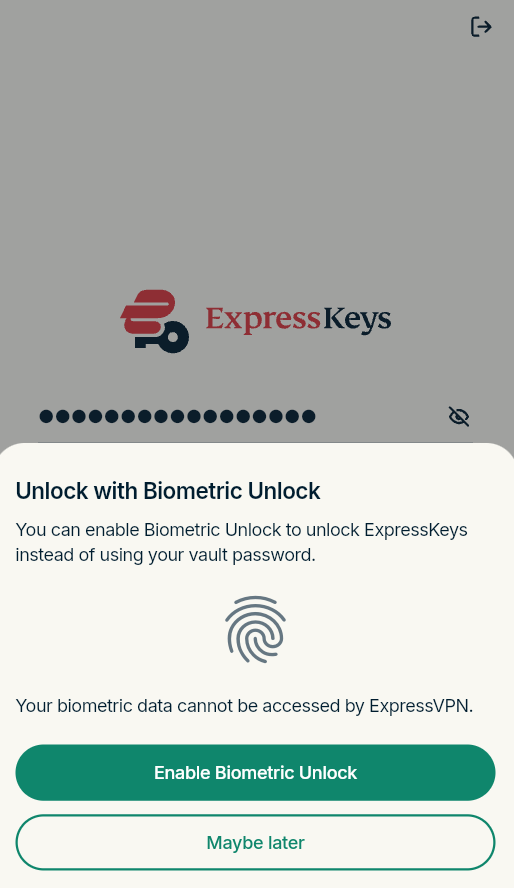
- You will be prompted to enable biometric unlock. Either click Enable Biometric Unlock and follow the instructions, or click Maybe later to proceed with the sign-in.
You can now start using the ExpressKeys Chrome extension.
Need help? Contact the ExpressVPN Support Team for immediate assistance.
How to use ExpressKeys
To learn how to use the ExpressKeys extension, refer to the corresponding instructions:
Need help? Contact the ExpressVPN Support Team for immediate assistance.