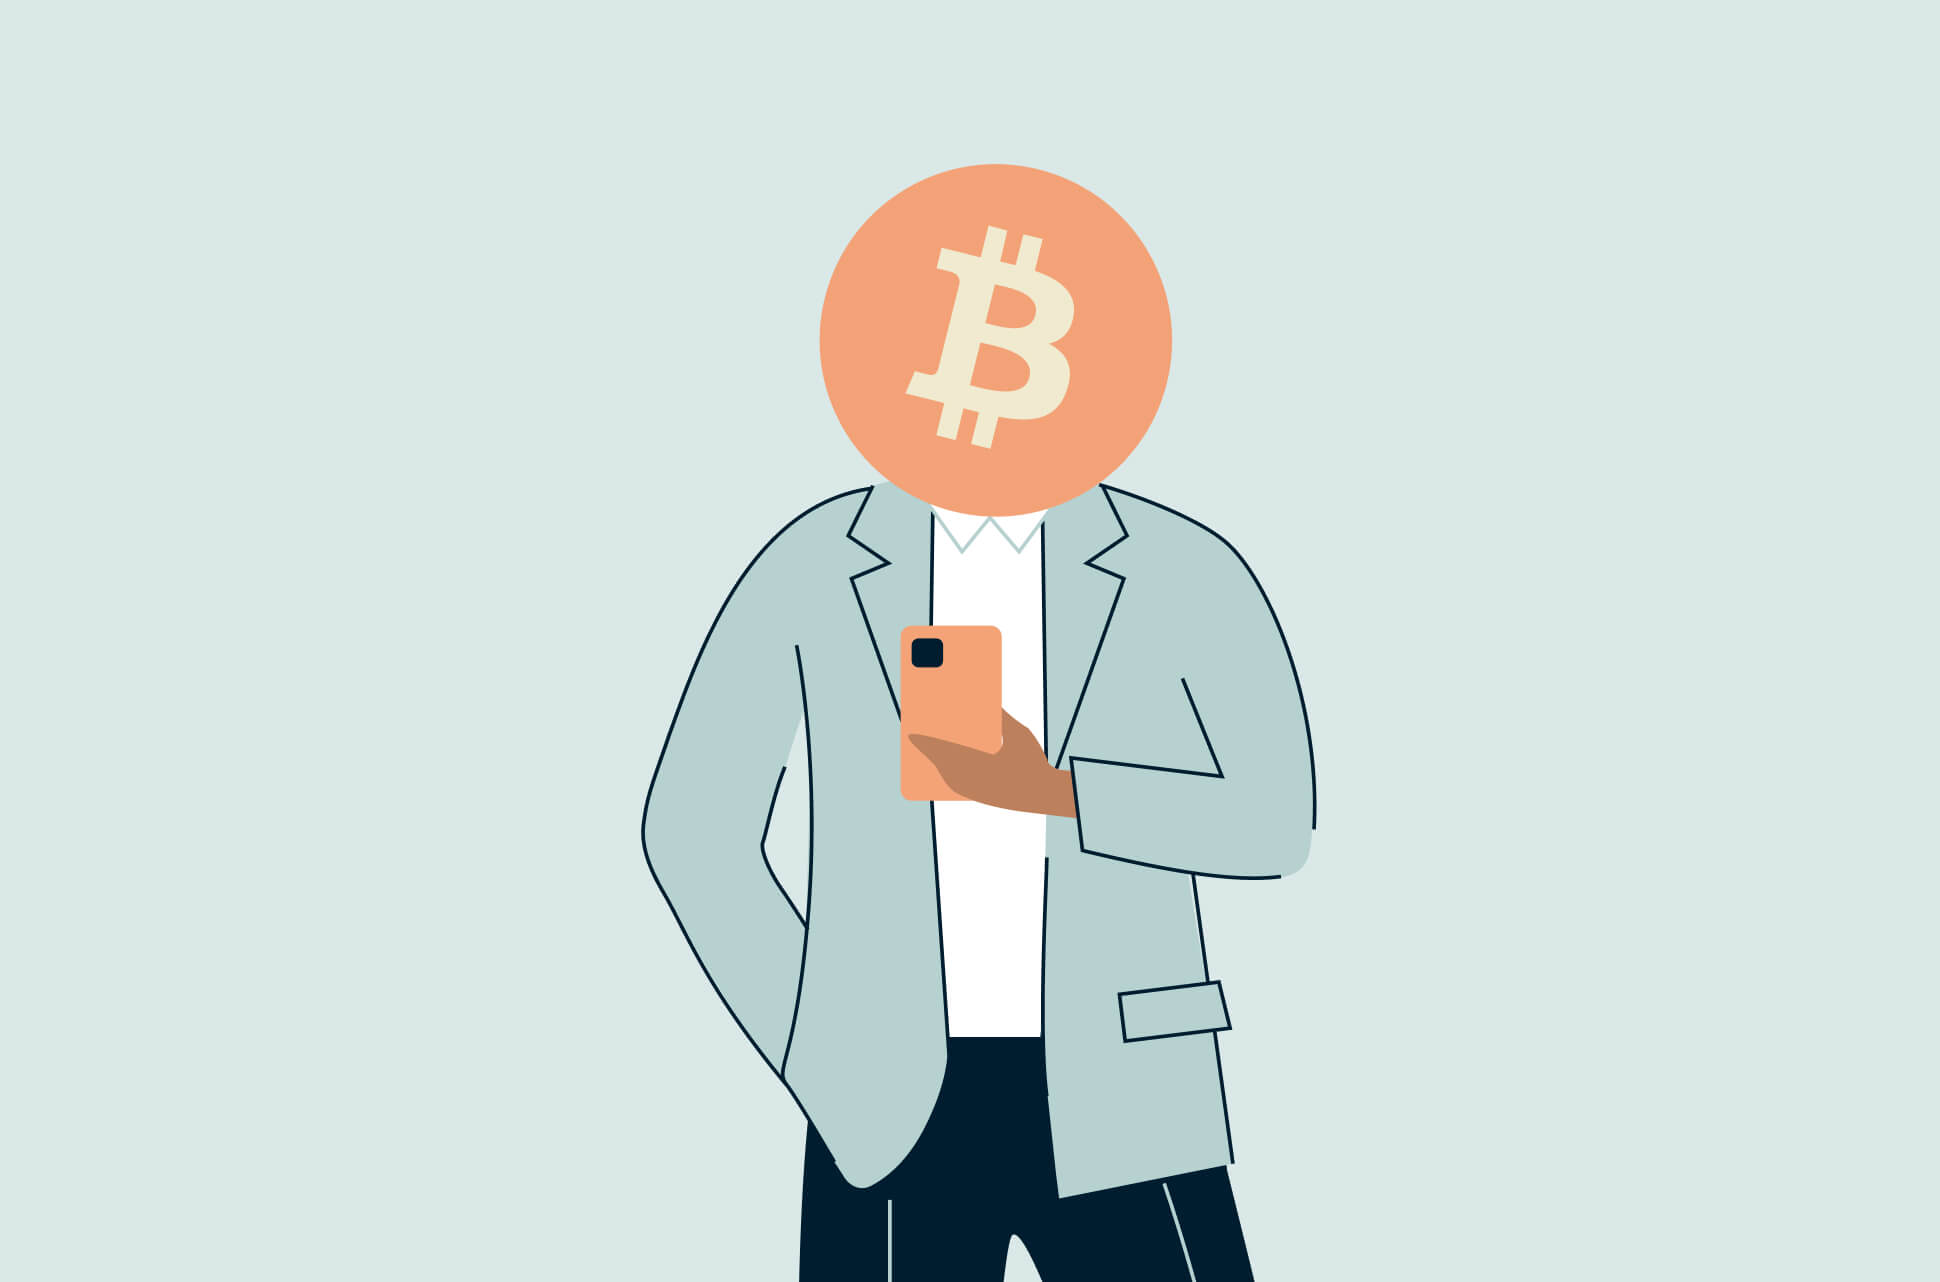
Many people think cryptocurrency like Bitcoin is anonymous and untraceable back to an individual—but this is not true. Using sophisticated tools, it is possible to link Bitcoin payments back to people.
The reason for this is when you buy crypto with money (or sell crypto for money), you have to provide personal details, due to various financial regulations. However, if you want to ensure total anonymity, there are some ways around this requirement.
In this guide, we show you how to buy Bitcoin anonymously—weighing the pros and cons—so you can make an informed decision about how to protect your financial privacy and digital assets.
Jump to…
Understanding KYC and AML compliance
How do anonymous Bitcoin transactions work?
Where to buy Bitcoin anonymously
8 tips for buying Bitcoin anonymously
The pros and cons of buying Bitcoin anonymously
Understanding KYC and AML compliance
The price of entry into buying cryptocurrencies like Bitcoin isn’t necessarily just your hard-earned cash, but also your personal data. In a bid to comply with regulatory requirements, most major crypto-exchange platforms have implemented Know Your Customer (KYC) and Anti Money Laundering (AML) compliance measures.
These typically involve collecting personal information from users (such as their full name, date of birth, and address) and verifying their identity through government-issued ID documents. This information is then stored in online databases, where transactions are monitored for suspicious activity—with platforms reporting any unusual findings to the relevant authorities.
While the main purpose of AML and KYC regulations is to prevent financial crimes, they can leave Bitcoin buyers vulnerable. For example, by handing over personal information during the KYC process, users run the risk of having their data hacked and information leaked. This could compromise their digital assets, and even lead to identity theft.
Read more: How to boost online banking and security
How do anonymous Bitcoin transactions work?
One of the greatest advantages of Bitcoin and blockchain technology is full transparency; its open-ledger feature means that all confirmed transactions are recorded on the blockchain for anyone to see. However, this system raises privacy concerns. Although Bitcoin addresses are pseudonymous—meaning they’re not directly associated with the identity of the owner—they can be traced through KYC procedures implemented by some exchanges.
Anonymous Bitcoin purchases allow individuals to buy the cryptocurrency without revealing their identity or personal information by bypassing the KYC and AML process, effectively hiding the connection between the buyer and the transaction.
To do this, one would need to purchase coins from an exchange or vendor that doesn’t request personal information and accepts payment methods that don’t leave a paper trail, such as cash or prepaid debit cards.
Where to buy Bitcoin anonymously
You can keep your identity under wraps while buying Bitcoin via a handful of methods:
1. Peer-to-peer (P2P) marketplaces
One of the simplest and most effective ways to buy Bitcoin without leaving a digital footprint is to use cash and to do it in person. There are several peer-to-peer marketplaces such as LocalBitcoins and Paxful that can connect you to people in your area who are willing to sell Bitcoin for cash. Some buyers also accept gift cards or prepaid debit cards as a means of payment.
However, while meetups are a cost-effective and private way to buy Bitcoin, they also carry the risk of you getting scammed or robbed—especially if the seller knows that you intend to buy a large quantity of Bitcoin.
2. Bitcoin ATMs
Bitcoin ATMs, also known as BTMs, serve a different purpose than traditional ATMs. Instead of allowing customers to withdraw funds, BTMs enable users to buy Bitcoin and other altcoins by exchanging cash.
The transaction is processed through the blockchain and the purchased cryptocurrency is sent to the user's wallet through a QR code. If you don’t want to use your Bitcoin wallet, the BTM can generate a paper wallet for you that you can import a private key from, allowing you to send the Bitcoin anywhere you like.
There are over 38,000 BTMs spread out across 81 countries, with a majority located in the United States. However, the transaction fees for using a BTM can be high, ranging from 7% to 20%.
While many BTMs have become subject to regulations, there are still a handful that allow users to buy Bitcoin anonymously with cash. You can visit Coin ATM Radar to locate a BTM near you, and to check for any KYC requirements.
3. Decentralized exchanges
Decentralized exchanges (DEXs) are peer-to-peer exchanges that allow you to trade Bitcoin without the need for a centralized authority. This means that you can buy and sell bitcoin anonymously without having to provide any personal information.
Some popular DEXs that allow users to trade Bitcoin without having to verify their identity include Uniswap, 0x Protocol, Bisq, and Hodl Hodl. Keep in mind that these platforms may have limited liquidity compared to centralized exchanges.
4. Cash by mail
Platforms like BitQuick allow users to buy Bitcoin by mailing cash to the seller. Charging a 2% fee, the platform acts as an intermediary, releasing the Bitcoin to the buyer once the cash has been received and verified.
5. Privacy-focused exchanges
Some centralized exchanges, such as Wasabi Wallet, offer privacy-focused features that can help you buy Bitcoin anonymously. For example, built-in coin mixing that allows users to mix their coins with others, in order to add an additional layer of privacy and obfuscate the trail of their transactions on the blockchain.
6. Brokers
By using prepaid debit cards and a broker that does not require identification, it is possible to buy Bitcoin anonymously. For example, P2P services like SimpleSwap accept prepaid cards from Bitcoin buyers without them needing to register first. eToro also helps facilitate anonymous Bitcoin buying by allowing users to fund payment methods like PayPal with a prepaid card.
Read more: How to make anonymous payments with Bitcoin
8 tips for buying Bitcoin anonymously
No form of digital payment can necessarily guarantee complete anonymity. That’s why when buying Bitcoin, it's best to take a combination of precautions to ensure maximum anonymity.
- Use a dedicated computer or phone to connect to the internet. When buying Bitcoin online, make sure you use a device that doesn’t house any of your personal information. Instead, use a separate computer or phone when purchasing cryptocurrency.
- Choose a reputable browser that focuses on privacy. Browsers like Tor prioritize user privacy by blocking web trackers that may attempt to collect your personal information. Make sure to use a private browsing mode and clear your browser’s cache and cookies.
- Run a full node through a VPN. Running a full node helps you participate in the Bitcoin network while maintaining anonymity. Use a VPN to route your internet connection through multiple servers, making it difficult to trace your location or IP address.
- Use a private email. When registering on Bitcoin exchanges or peer-to-peer marketplaces, use an anonymous or temporary email account for all your Bitcoin-related activities.
- Bypass phone verification. Some platforms may require phone verification when buying Bitcoin. To bypass this, you can use a virtual phone number or a temporary disposable phone.
- Set up a secure wallet. To store your Bitcoin, set up a secure wallet, such as a hardware wallet or a software wallet that can be used in incognito mode. Keep in mind that if you store your Bitcoin on an exchange, you are relying on the security measures of the platform, not your own.
- Avoid paying with credit or debit cards. As mentioned above, if you want to buy Bitcoin anonymously, it’s better to use cash, a prepaid debit card or gift card, or go through a peer-to-peer transaction. Avoid using payment methods that are linked to your personal information like credit or debit cards.
- Keep your keys safe. Store your Bitcoin in your secure wallet and never share your private keys with anyone. Keep in mind that once a transaction is made on the Bitcoin network, it is public and cannot be reversed.
The pros and cons of buying Bitcoin anonymously
While buying Bitcoin anonymously can offer a degree of privacy and security, it also comes with its own set of challenges. Still on the fence? Weigh up the pros and cons so you can better manage the risks.
| Pros | Cons |
| Privacy: Your personal information and transaction history are not linked to your identity. | Lack of regulation: The lack of regulation in anonymous transactions makes it difficult to protect against scams and fraud. |
| Security: There is no personal information attached to the transaction, reducing your risk of identity theft. | Complexity: The process of buying Bitcoin anonymously can be complicated, especially for those without technical knowledge. |
| Accessibility: Anonymous Bitcoin purchases may be possible for those in areas where traditional exchanges are not readily available. | Higher fees: Anonymous transactions often come with higher fees compared with regular exchanges due to the additional steps involved in the process. |
| Diversification: You can diversify your investments without having to link your identity to any particular exchange or wallet. | Difficulty resolving disputes: Without a clear record of the transaction, it may be difficult to resolve disputes, get support or recover lost funds in the event of a problem. |
| More control over funds: Buying Bitcoin anonymously can give you more control over your funds because personal information isn’t linked to the transaction. | Liquidity issues: You may find it more difficult to find buyers or sellers for anonymous transactions, leading to potential liquidity issues. |
Read more: Protect your financial privacy with Bitcoin: A comprehensive guide
FAQ: Buying Bitcoin anonymously
Is Bitcoin anonymous?
Where can I buy Bitcoin anonymously?
What are the risks of buying Bitcoin anonymously?
1. Scams: There is a higher risk of falling victim to scams, as there is no way to trace the seller or recover lost funds. 2. Fraud: It is easier for anonymous sellers to defraud buyers by not delivering the Bitcoin after payment has been made, or by delivering a different amount than what was agreed upon. 3. Security: When buying Bitcoin anonymously, you are relying on the security of your own devices and the physical security of your cash. If these are compromised, your funds could be at risk. 4. Lack of protection: Unlike centralized exchanges, P2P marketplaces do not have a dispute resolution process or customer support to help you in case of any issues. 5. Legal and regulatory risks: Buying Bitcoin anonymously could be in violation of local laws and regulations, which could result in criminal or financial penalties.
Can I buy Bitcoin anonymously with a credit card?
What are the alternatives to buying Bitcoin anonymously?
Another option is to use a decentralized exchange, which allows you to trade cryptocurrencies without going through a central authority. This makes it possible to trade Bitcoin without revealing your identity.
Additionally, you can buy Bitcoin through a P2P marketplace, which allows you to trade directly with other users. Some of these platforms may require personal information, while others may allow anonymous trading.
How can I store my Bitcoin anonymously?
1. Use a privacy-focused wallet: Some wallets, such as Wasabi or Samourai, are designed to provide a high level of privacy by using features such as CoinJoin or Tor. 2. Use a hardware wallet: A hardware wallet is a physical device that stores your Bitcoin offline. This can provide an added layer of security and help protect your privacy. 3. Use a pseudonymous wallet: You can also use a pseudonymous wallet, which allows you to transact using a pseudonym instead of your real name. Some wallet providers, such as Electrum or Mycelium, support this type of wallet.
Is Bitcoin more traceable than cash?
How can Bitcoin be tracked?
Explore the web with greater privacy
Get ExpressVPNSign up today for a chance to win FIFA World Cup 2026™ tickets.