


This guide explains how to set up Dynamic DNS (DDNS) on a router running ExpressVPN.
If your network uses dynamic IP addresses, it means the IP addresses assigned to devices change over time. A DDNS provides a fixed point of reference, called a static hostname. It is useful for hosting a server or website from your home, even if your IP address is continually changed by your internet service provider.
Jump to…
1. Get your DDNS hostname
2. Configure Dynamic DNS on the router
Update your IP address manually
1. Get your DDNS hostname
Note: Dynu’s standard free service is sufficient for most users. ExpressVPN for routers also supports Duck DNS, No-IP, nsupdate.info, and DUIA.
- Go to Dynu’s website and click Create Account.


- Fill in your details, then click Submit.


- Open the verification email from Dynu and click the link to activate your account. If you don’t see it, check your spam folder. Then log into your account.
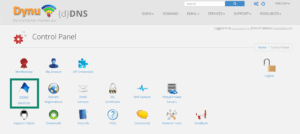
- Select DDNS Services.

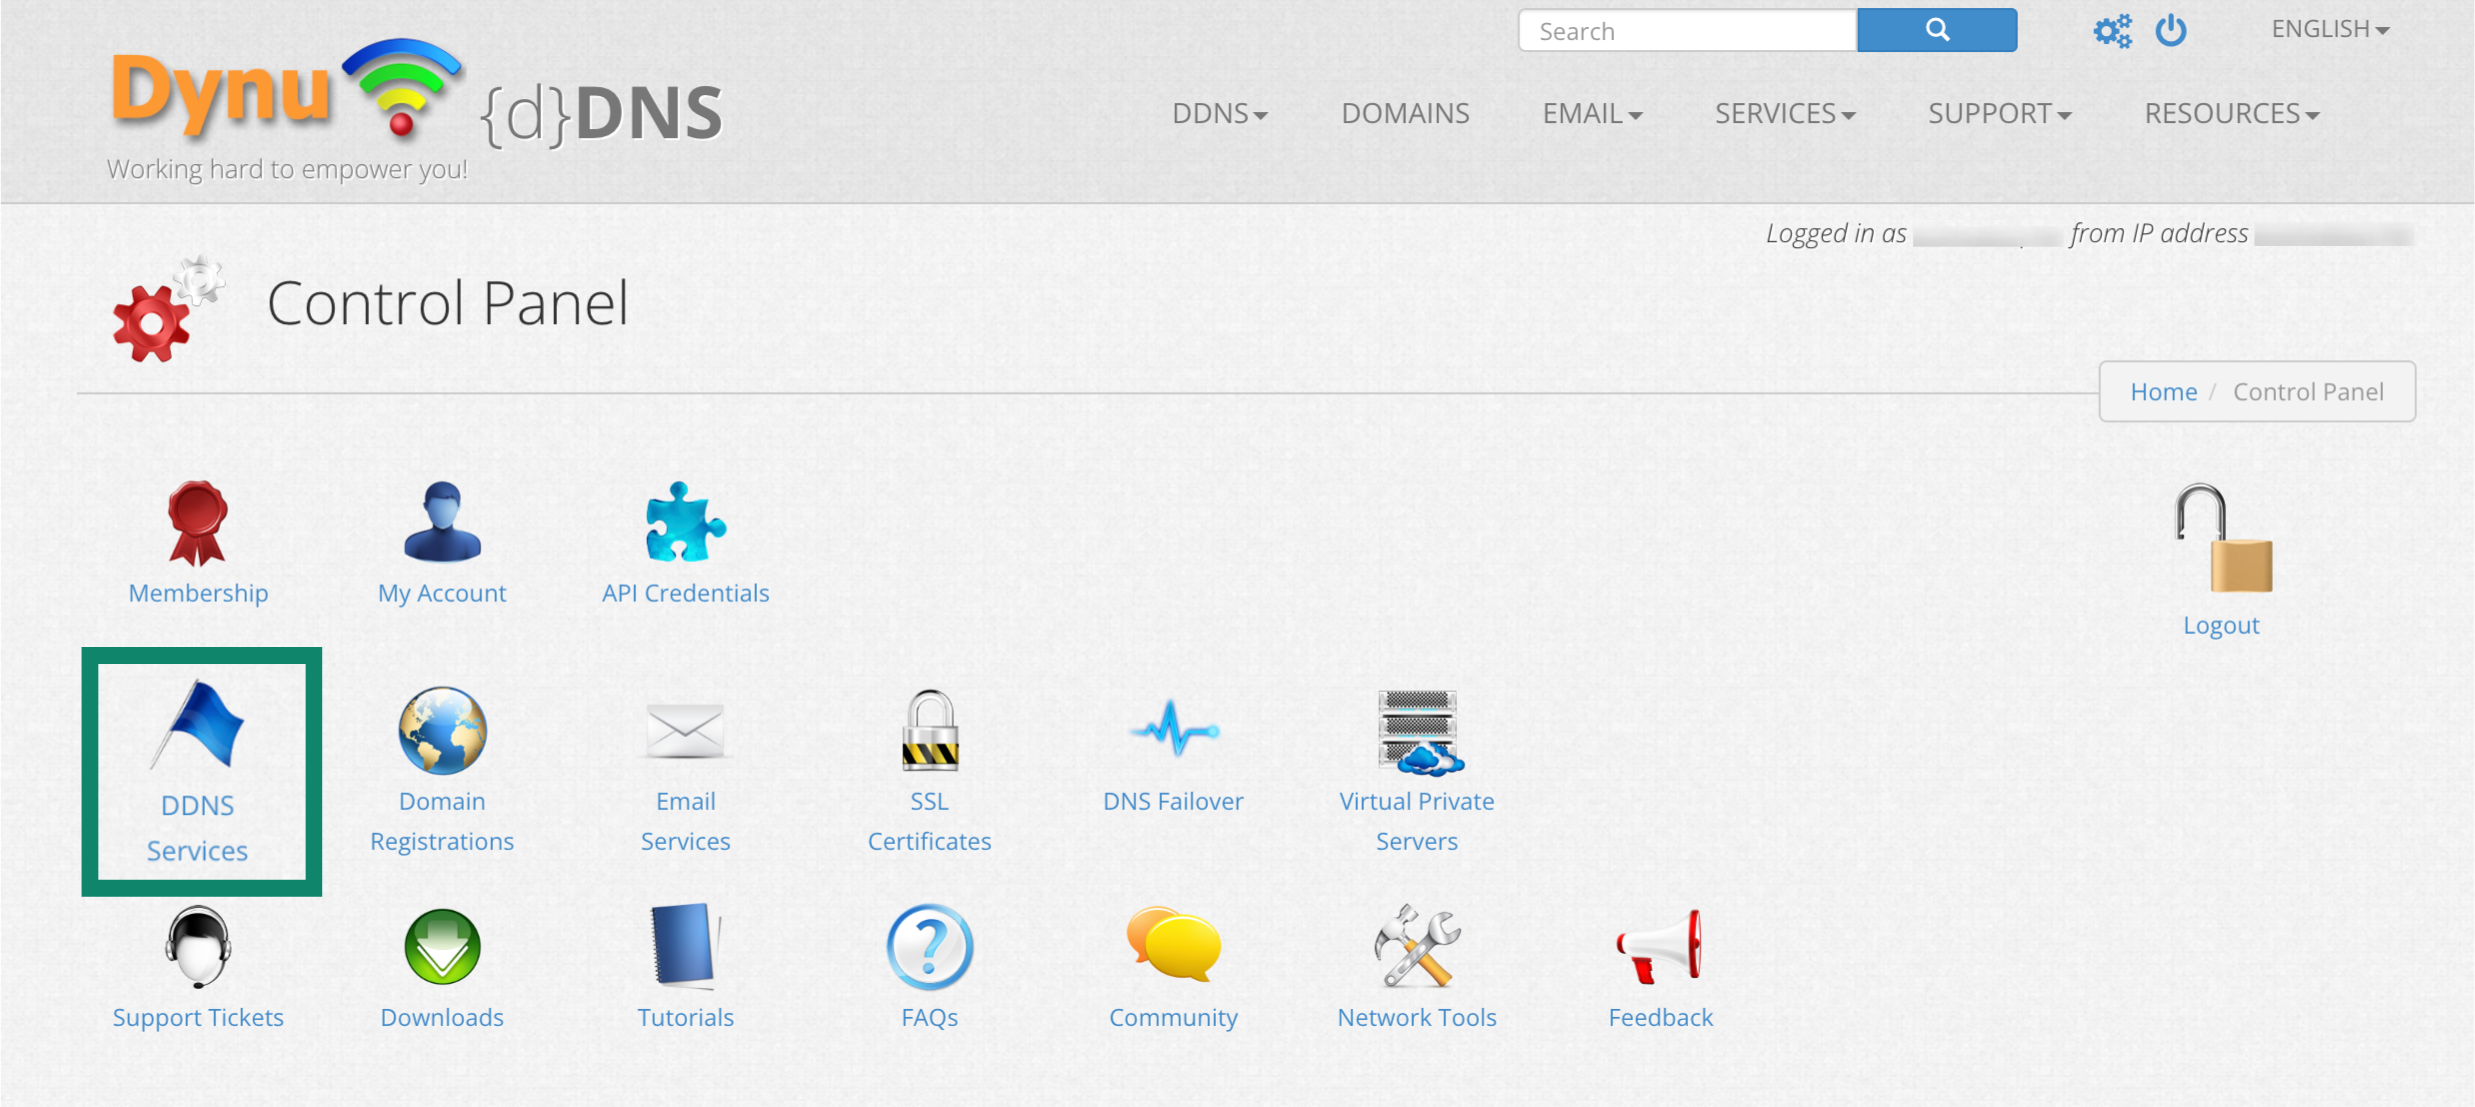
- Enter your hostname under Option 1 (use Dynu’s domain) or Option 2 (use your own domain), then click + Add. Use Option 1 if you don’t have a domain, or Option 2 if you do.


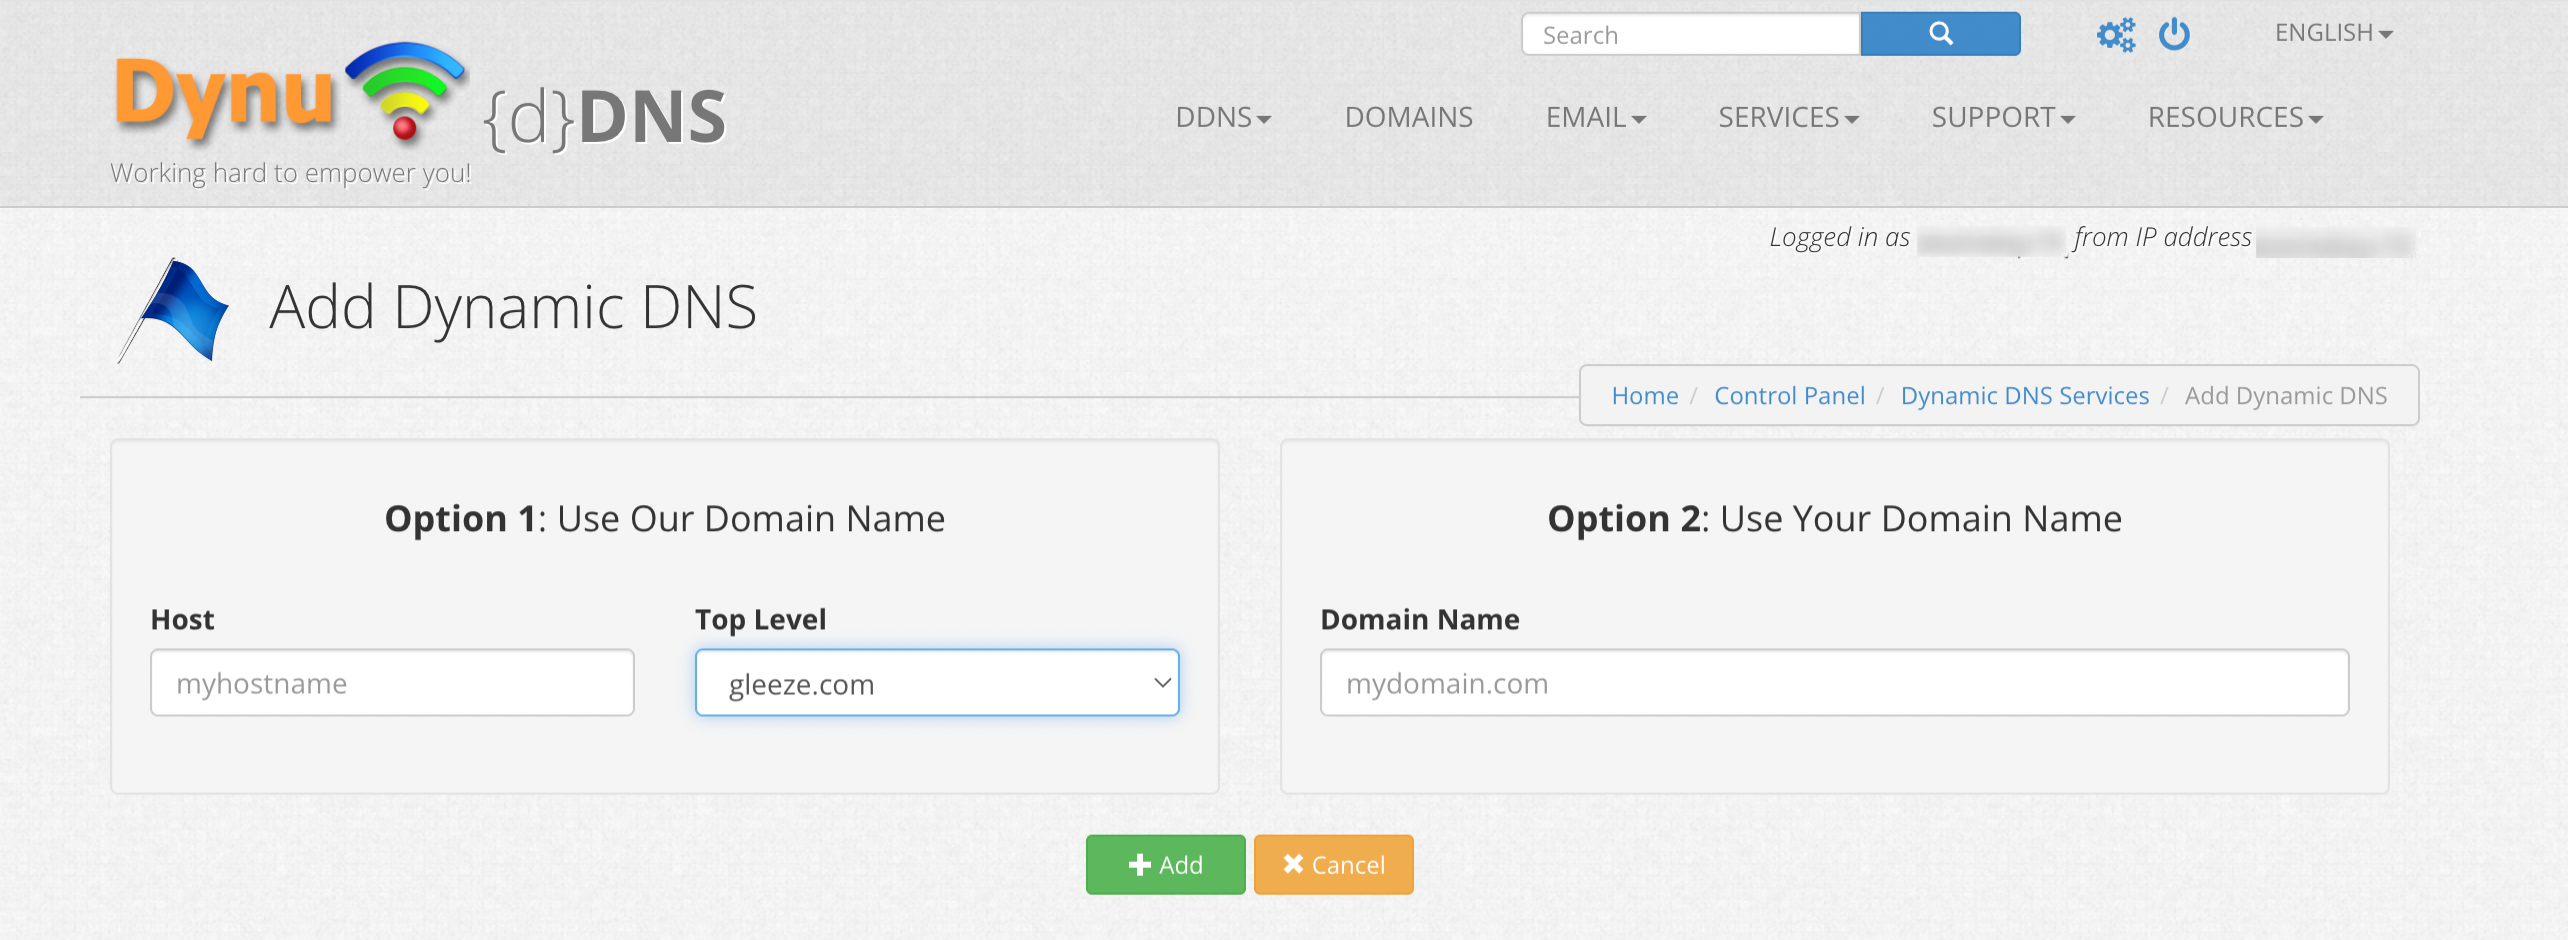
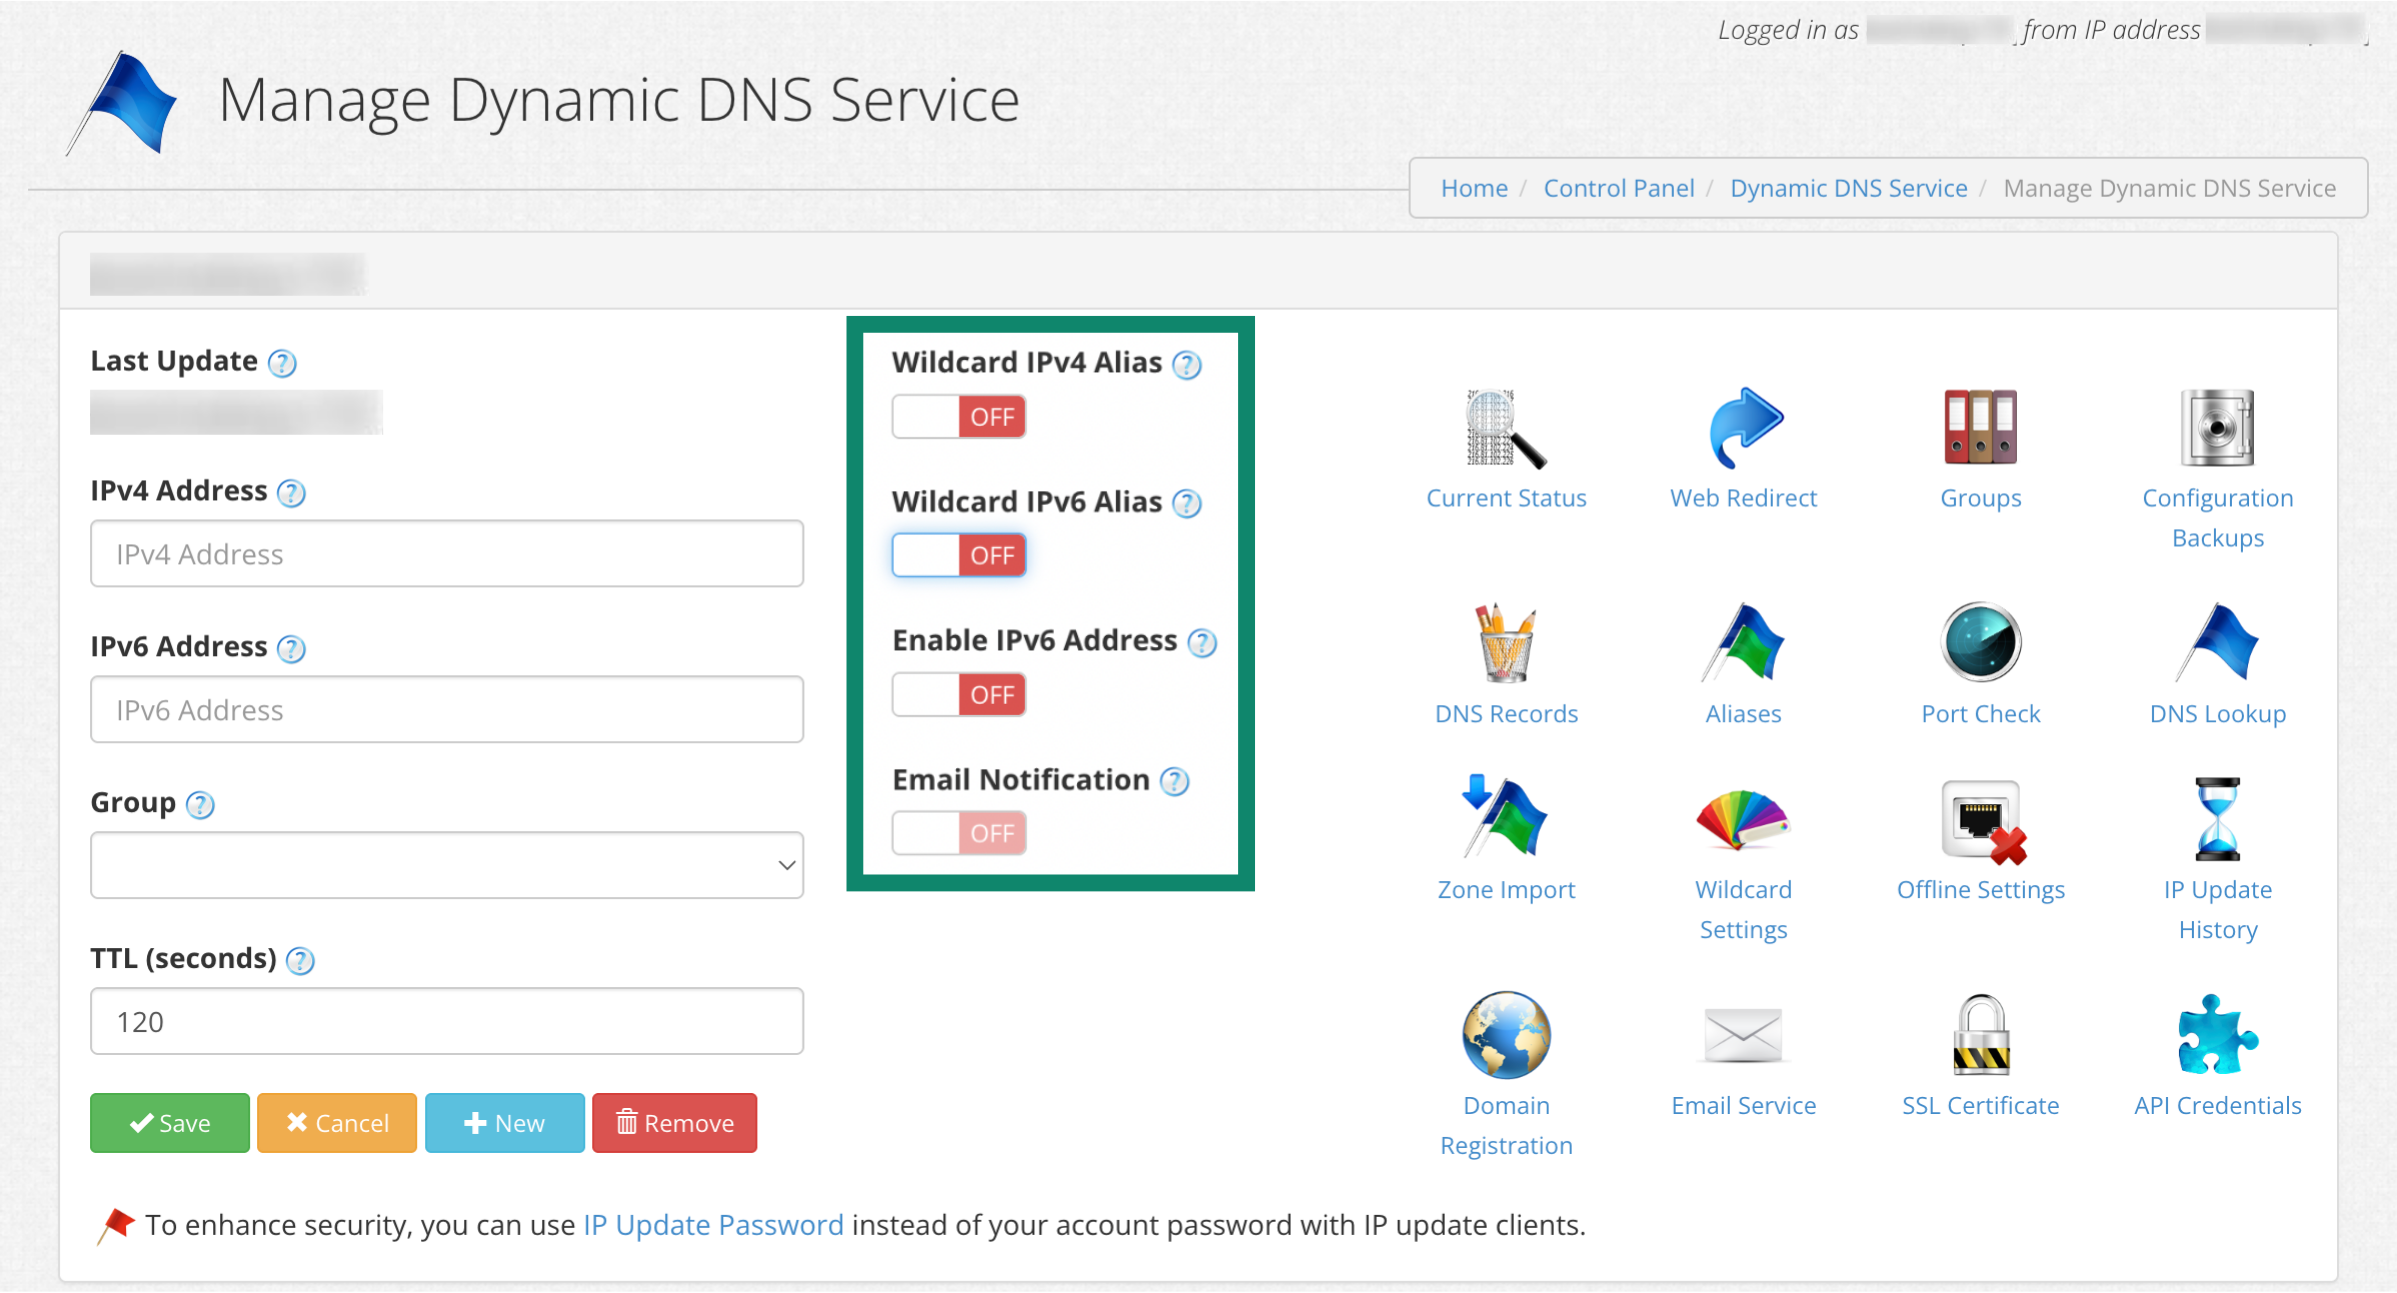
- You will now see your hostname at the top and your current public IP under IPv4 Address. Turn off Wildcard IPv4 Alias, Wildcard IPv6 Alias, and Enable IPv6 Address, then click Save.


- Your DDNS hostname is now set up and ready to use.


Need help? Contact the ExpressVPN Support Team for immediate assistance.
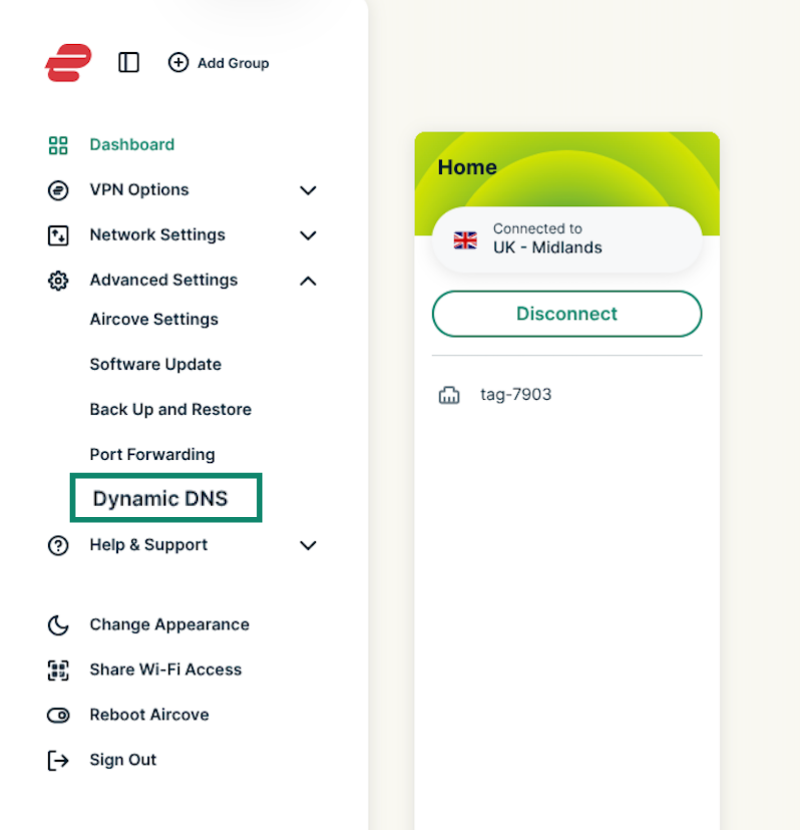
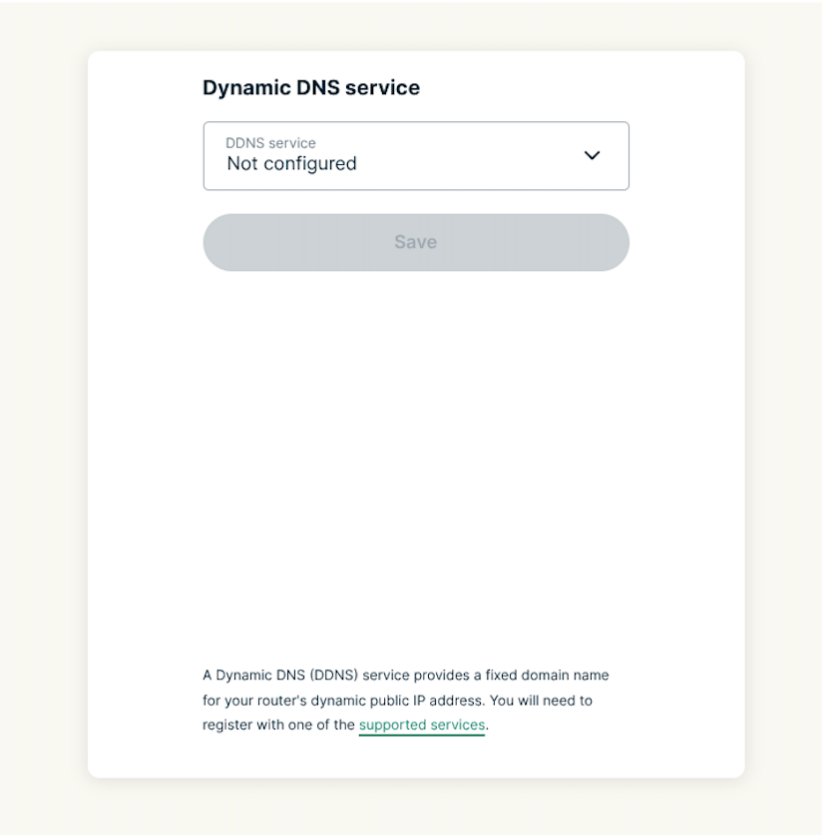
2. Configure Dynamic DNS on the router
Note: Before proceeding, make sure you have set up ExpressVPN on your router.
- Go to Dynu’s website and click Create Account.
- Fill in your details, then click Submit.


- Open the verification email from Dynu and click the link to activate your account. If you don’t see it, check your spam folder. Then log into your account.

- Enter your hostname account details. For Dynu, enter the following:
- Hostname: Enter the hostname you created earlier.
- Password: Enter your Dynu account password.
- Select Save.


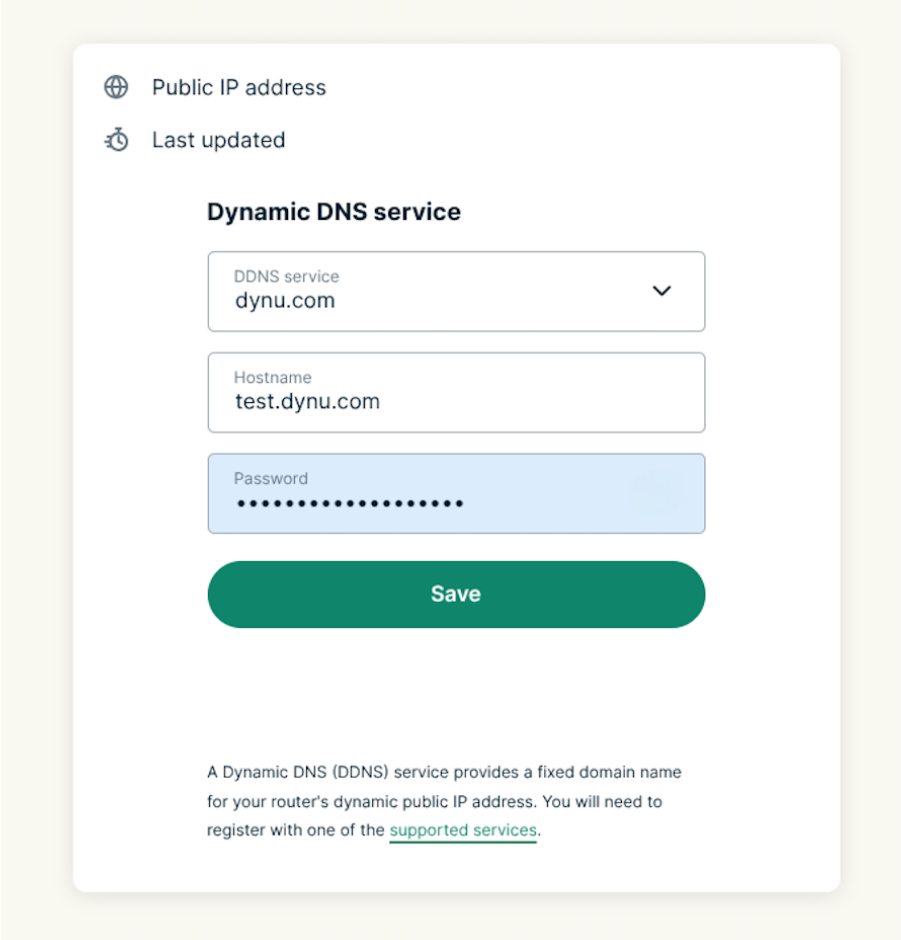
You will see “Update successful.”
Need help? Contact the ExpressVPN Support Team for immediate assistance.
Update your IP address manually
Once you have configured the Dynamic DNS on the router, your IP address will update automatically.
You can also update your IP address manually:
- Sign in to your router running ExpressVPN.
- Select Advanced Settings > Dynamic DNS > Update IP Address.
You will see “Update successful.”
Need help? Contact the ExpressVPN Support Team for immediate assistance.