How to delete Google Photos without losing data


Google Photos can be tricky to clean up because deleting a photo in one place doesn't necessarily remove it from every location. Depending on your settings, the same photo may still be on your phone, in the cloud, or synced across multiple devices.
This guide explains how Google Photos deletion works, how to back up anything important first, and how to remove photos without losing data you meant to keep.
What to know before deleting Google Photos
Before deleting anything, decide what should happen to the photos. In general, there are three different goals:
- Freeing up storage on a phone while keeping photos in Google Photos.
- Removing photos from Google Photos while keeping the originals on the device.
- Deleting the photos from both places.
Each goal requires a different process, so choosing the right one first helps prevent accidental loss.
Google Photos is also a synced service. When backup is turned on, deleting a photo in Google Photos can remove it from other devices with Google Photos installed and backup enabled. It can also remove the item from Google Photos albums, shared albums, and conversations where it was added. Reviewing backup and sharing settings first helps avoid unexpected deletions.
Download your originals first
If the plan involves a large cleanup, a service switch, or deleting photos from Google’s cloud storage, download the photos you need to keep first. This step matters most when the photos exist in only one place or when you’re not fully sure which copies are local and which are backed up. Creating a separate copy first turns deletion into a storage decision instead of a recovery problem.
To download individual items on a computer:
- Go to photos.google.com and sign in.
- Select the photo or video. If you want to download multiple photos at once, hover over each item and select the checkmark.
- Click the three‑dot menu.
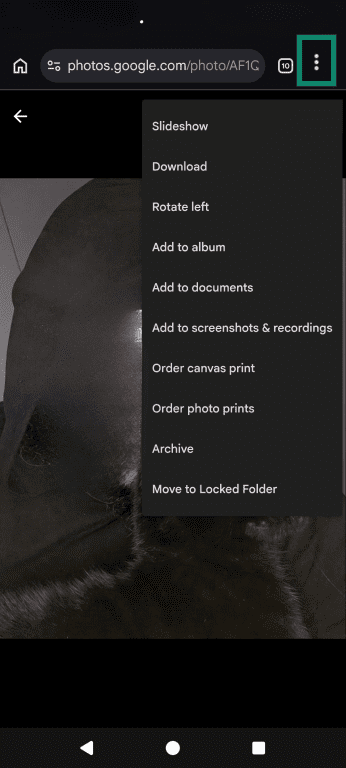
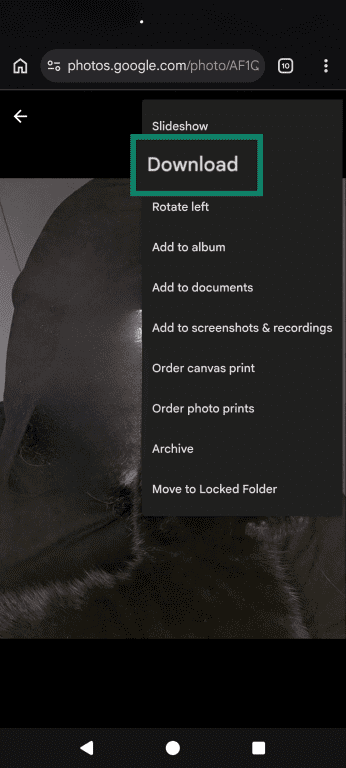
- Select Download. If the photo is already on the device, the Download option will not appear.
Turn off Google Photos backup
Backup controls what gets uploaded to Google Photos. It also affects how deletions sync to devices with Google Photos installed and backups turned on. Turning backup off stops new photos and videos from being uploaded to the account, but it doesn't remove items that are already backed up. This is the key safety step when the goal is to remove photos from Google Photos while keeping the originals on a phone or tablet.
You can change backup settings on iPhone and Android through the following steps:
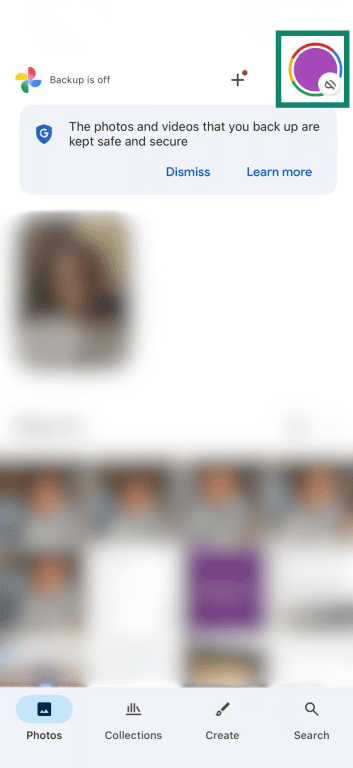
- Launch the Google Photos app on your phone, then tap your profile picture or initial.
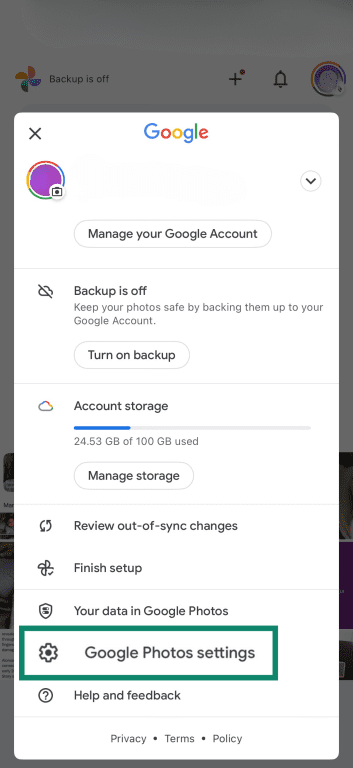
- Select Google Photos settings.
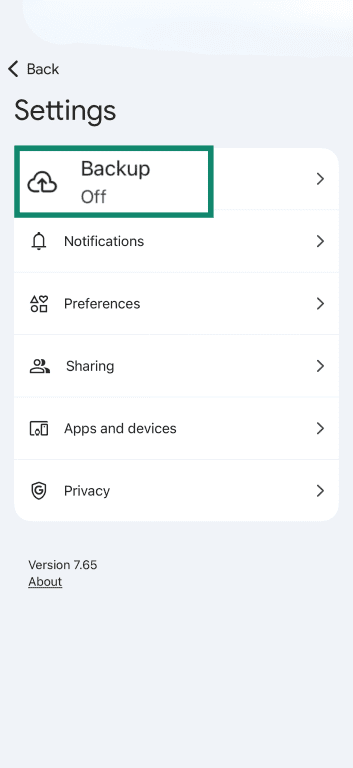
- Tap Backup.
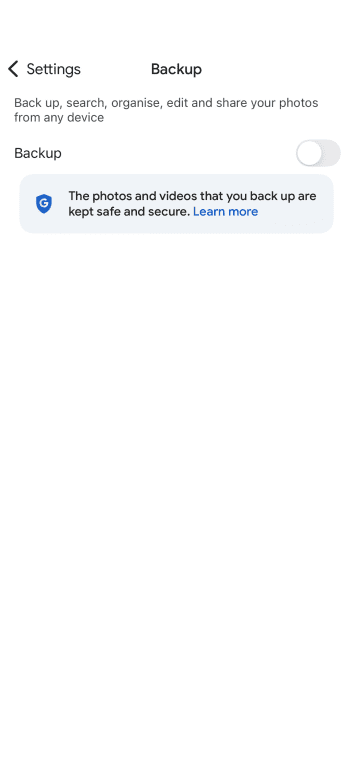
- Toggle off Backup.
Delete photos from your phone only
If the goal is to free up storage on a phone or tablet without deleting photos from Google Photos, use Google Photos’ Free up space feature. This removes local copies that have already been backed up, while keeping the cloud copies available in Google Photos. That makes it one of the safest options when storage is low, but the photos still need to remain accessible through the Google Photos app or on the web.
- Open Google Photos.
- Tap your account photo or initial and choose Free up space on this device.
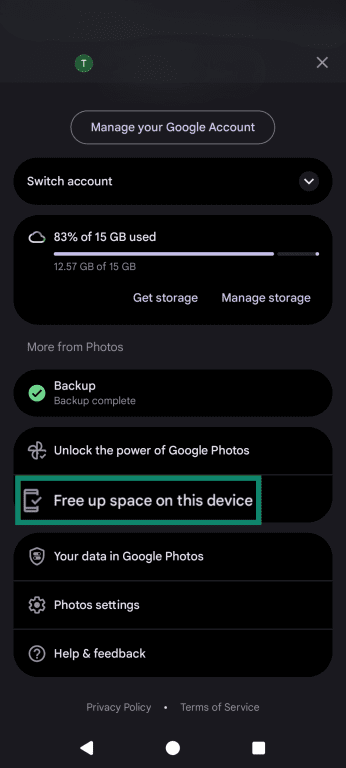
- You’ll see how much space can be freed up. Tap Free up [amount] to remove the local copies.
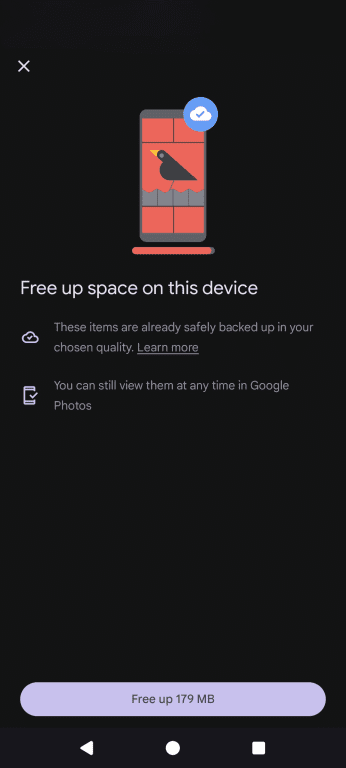
After that, the items remain in Google Photos and at photos.google.com, but they may no longer be available offline in the device’s built-in gallery unless they are downloaded again.
Delete photos from the Google Photos cloud only
If the goal is to remove photos from Google Photos without deleting the originals stored on a phone or tablet, the process needs to be handled carefully. Because Google Photos syncs across devices, deleting a backed-up photo the usual way can also remove it from the device.
To avoid that, Google recommends turning off backup on every phone or tablet where the photo should remain, then deleting the backed-up photo from photos.google.com in a browser. To keep the local copy from being backed up again or deleted later, leave backup off.
- Turn off backup on any device where the photo or video should remain.
- Open photos.google.com on a web browser.
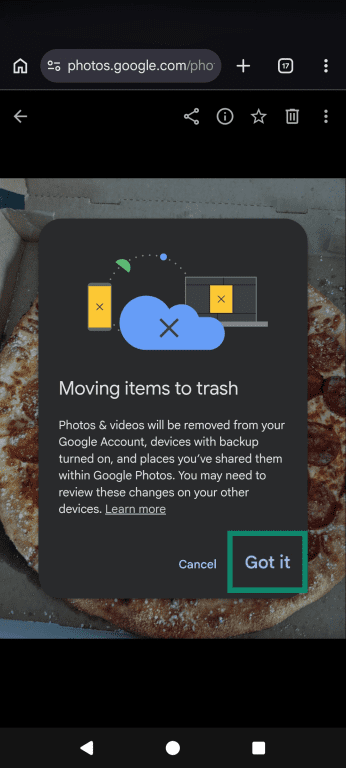
- Select the photo or video you want to delete from the cloud and tap the trash icon.

- Confirm your choice by selecting Got it.
Wait a few minutes, then reopen the Google Photos app on the device. The item may still appear there as a local-only copy.
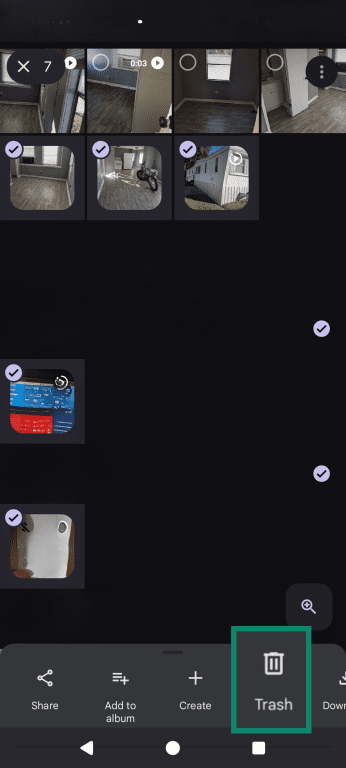
Delete Google Photos everywhere
If the goal is to remove photos from both Google Photos and synced devices, they can be deleted normally from the Google Photos app or from photos.google.com. When backup is turned on, Google says deleting a photo or video can also remove it from other devices that use the same Google Account and have backup enabled. Deleted items may also be removed from Google Photos albums, shared albums, and conversations where they were added.
On mobile
- In the Google Photos app, open the photo or video you want to delete, or long-press (tap and hold) an image to choose multiple photos.
- Tap the Trash icon and confirm.
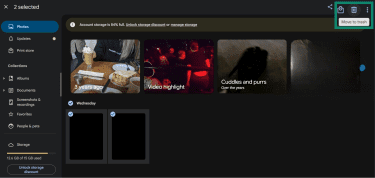
On the web
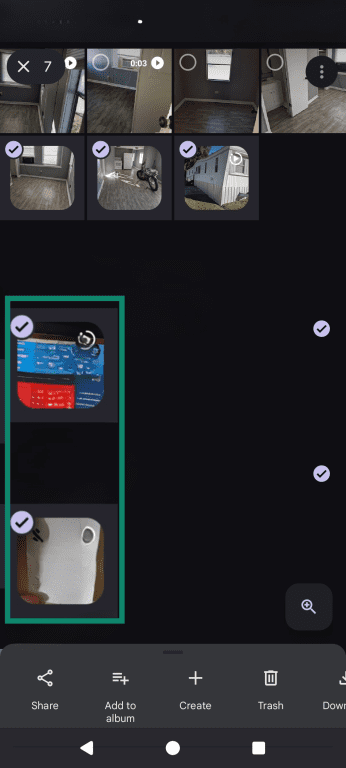
- Go to photos.google.com and sign in.
- Click the photo to delete or use the checkmark to select multiple items.
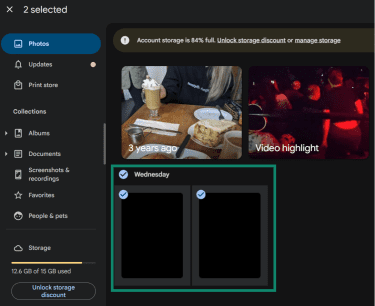
- Click the trash icon or the Move to trash button.
Note: Deleting photos from Google Photos doesn't automatically remove copies from Blogger, Drive, Gmail, or YouTube. To remove those copies too, delete them separately in each service using that platform’s own photo deletion steps.
Permanently delete or recover photos
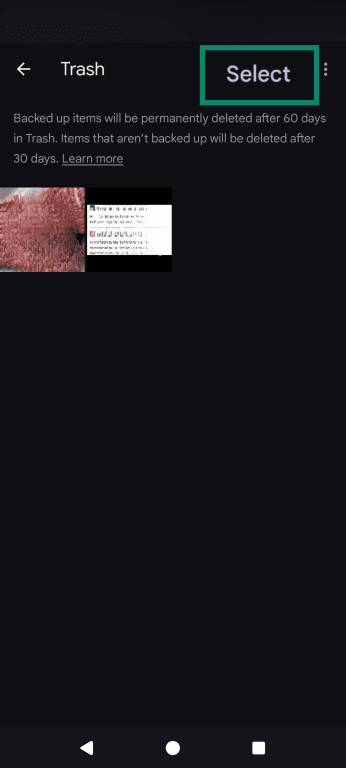
Deleted photos and videos don’t disappear right away. In Google Photos, backed-up items remain in Trash for 60 days before being permanently deleted. Items that weren’t backed up are usually permanently deleted after 30 days. During that window, they can still be restored. Once an item is permanently deleted, it can’t be recovered from Google Photos.
Empty Trash to delete photos permanently
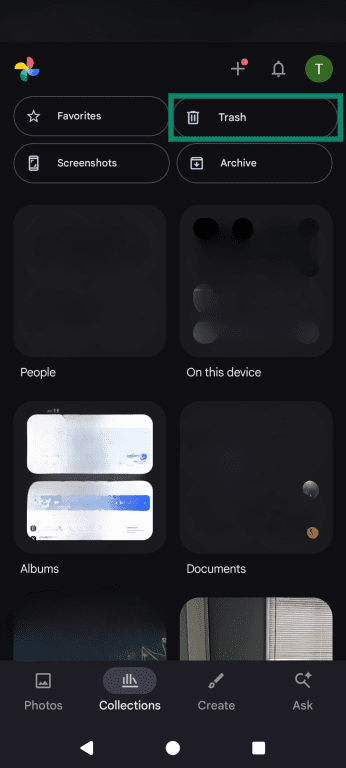
- Open the Google Photos app and tap Collections.
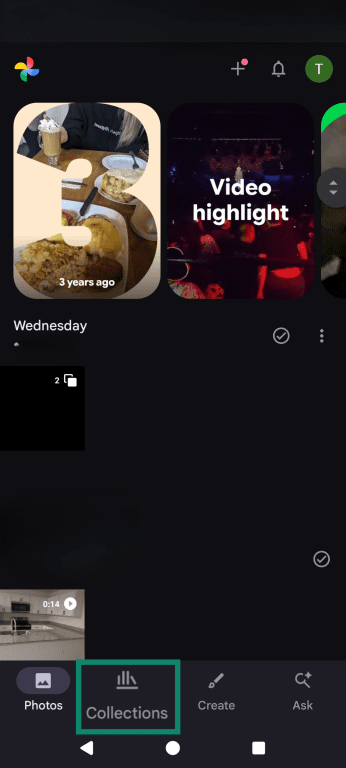
- Tap Trash.
- To permanently delete specific items only, tap Select, choose the photos or videos.
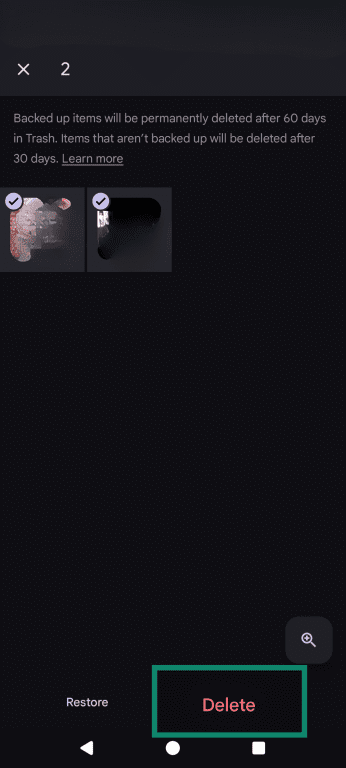
- Choose Delete. To empty Trash completely, tap More > Empty Trash > Delete permanently.
Recover photos from Trash
Remember that you can’t restore an item if it has been in Trash longer than the retention period, if you emptied Trash, or if you permanently deleted it from Trash.
To restore photos:
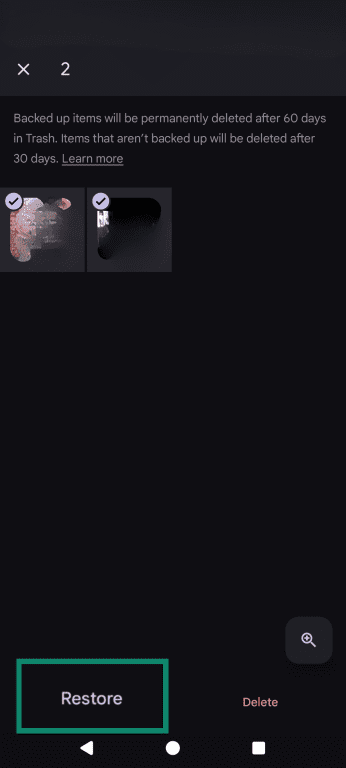
- Open the Google Photos app, go to Collections, and select Trash.
- Touch and hold the item or items you want to restore, then tap Restore. The items will return to your Google Photos library, any albums they were in, and your phone’s gallery app.
Also read: How to delete your Google account permanently.
Privacy and safety best practices
By taking the time to configure Google privacy settings, it’s possible to reduce accidental data exposure and help keep photos private.
Review sharing settings before deleting photos
Before deleting photos, check whether they are being shared with someone else. Google Photos’ Partner Sharing feature can share all photos, photos from a specific date onward, or photos of specific people with another person. If that setting is on, removing photos from Google Photos doesn’t necessarily remove copies the other person has already saved to their own account.
- Open Google Photos.
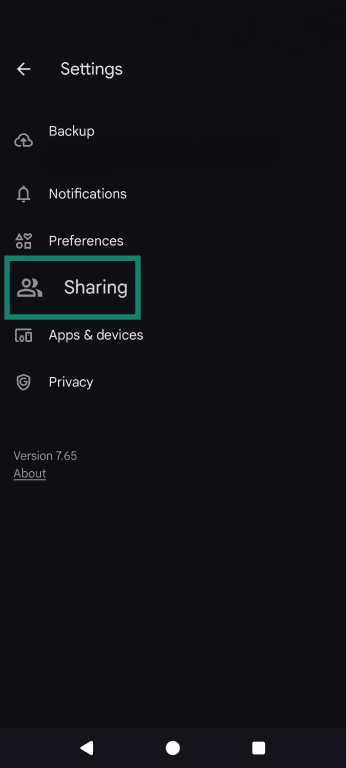
- Tap your profile icon and choose Photos settings.
- Choose Sharing.
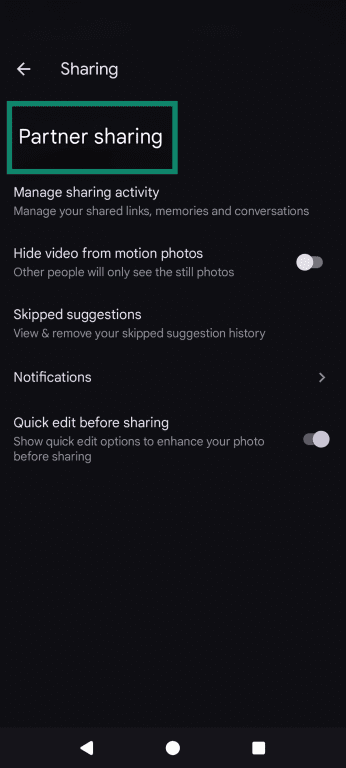
- If you’ve selected a partner to share with in the past, tap Partner sharing.
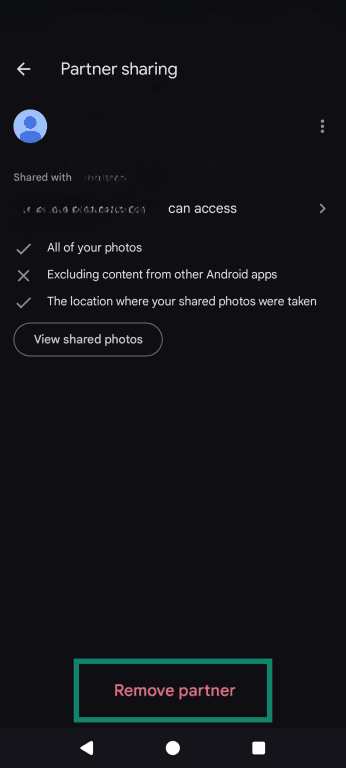
- To stop sharing, choose Remove partner. Existing photos already saved to either account can still remain there.
Protect your Google account
If Google Photos contains sensitive images, it’s worth reviewing the security of the Google account before making changes. Google’s Security Checkup lets people review security settings, account activity, recovery options, and whether protections such as 2-step verification are in place.
Also read: Why removing your data from Google is only half the battle.
FAQ: Common questions about deleting Google Photos
How do I clean up Google Photos fast?
How do I delete Google Photos but keep iPhone photos?
What happens if I delete the Google Photos app?
Can I recover deleted photos from Google Photos?
Take the first step to protect yourself online. Try ExpressVPN risk-free.
Get ExpressVPN