


The Fortify router includes a built-in VPN function by ExpressVPN. To use it, you must have an active ExpressVPN subscription.
Fortify includes 12 months of the ExpressVPN Advanced plan for new and returning users who do not have an active ExpressVPN subscription. If you already have an active ExpressVPN subscription, you can also use it with Fortify.
Follow the steps below to connect your included or existing subscription and get started.
Jump to…
Set up your router
New ExpressVPN users: Redeem your included subscription
Existing ExpressVPN users: Log into your ExpressVPN account
Start using ExpressVPN and Fortify
Set up your router
If it’s your first time using the router, you’ll need to follow some initial setup steps before you can connect or activate your ExpressVPN subscription:
- Power on your Fortify router.
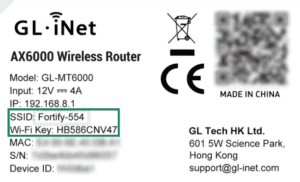
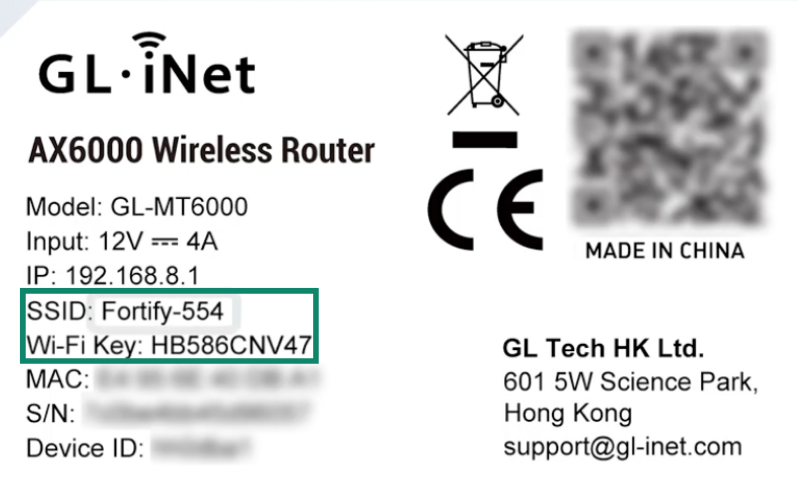
- On your computer, find and connect to the Fortify network using the default SSID (network name) and Wi-Fi key (password) on the label on your router.

- In your browser, go to 192.168.8.1 to access the router admin panel.
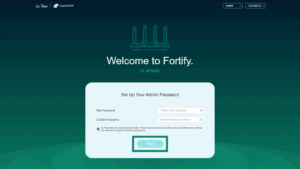
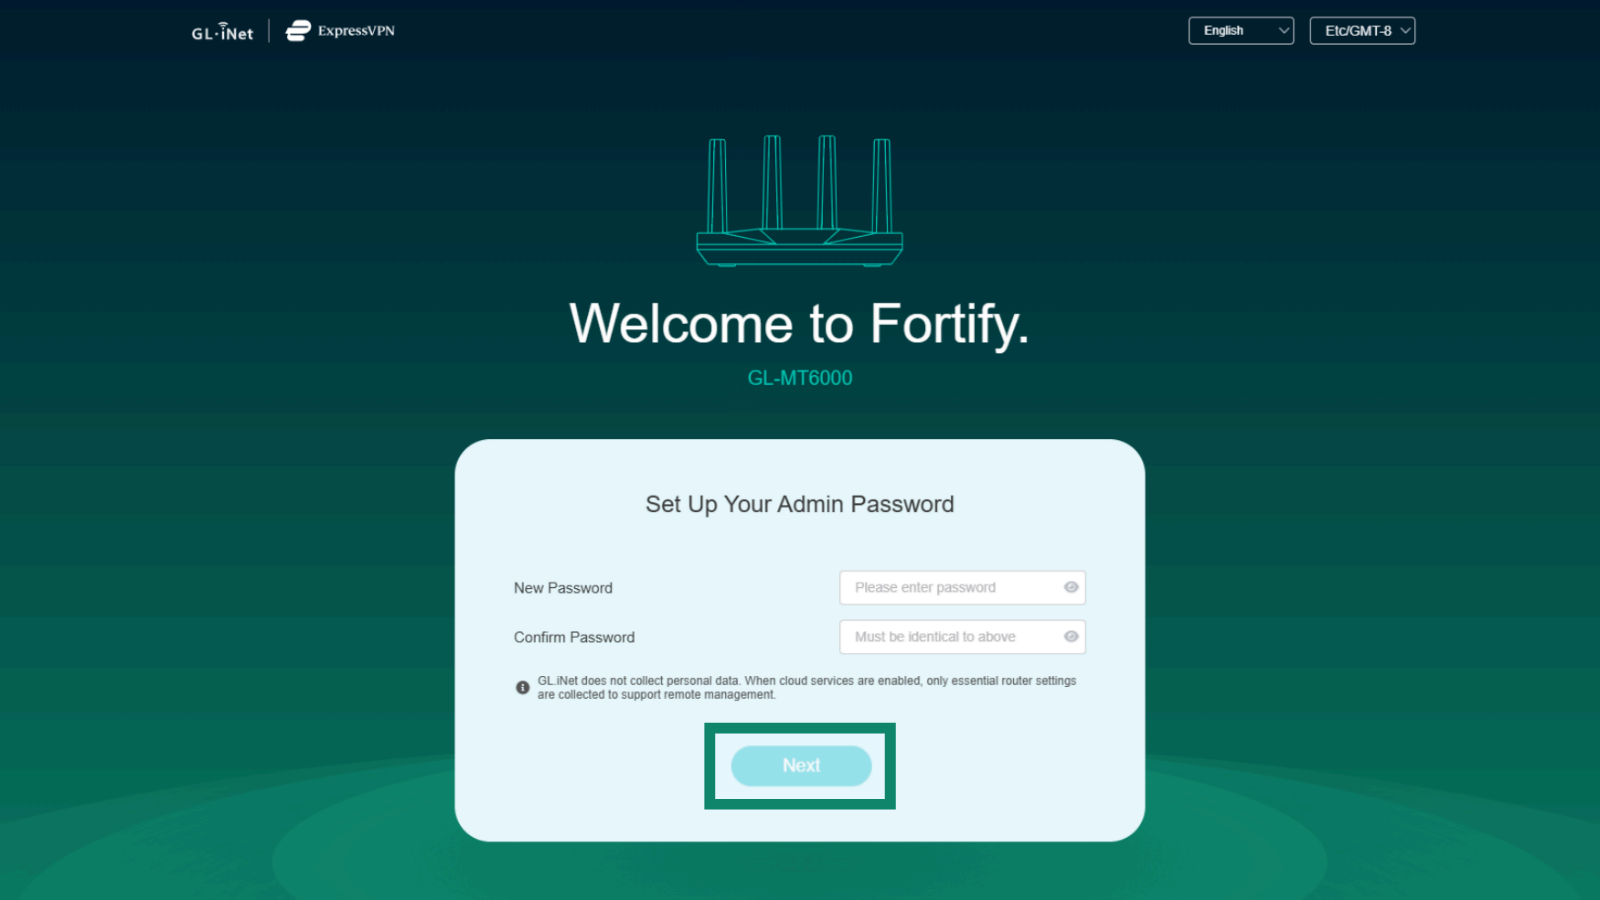
- Create your admin password and click Next.

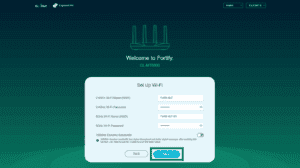
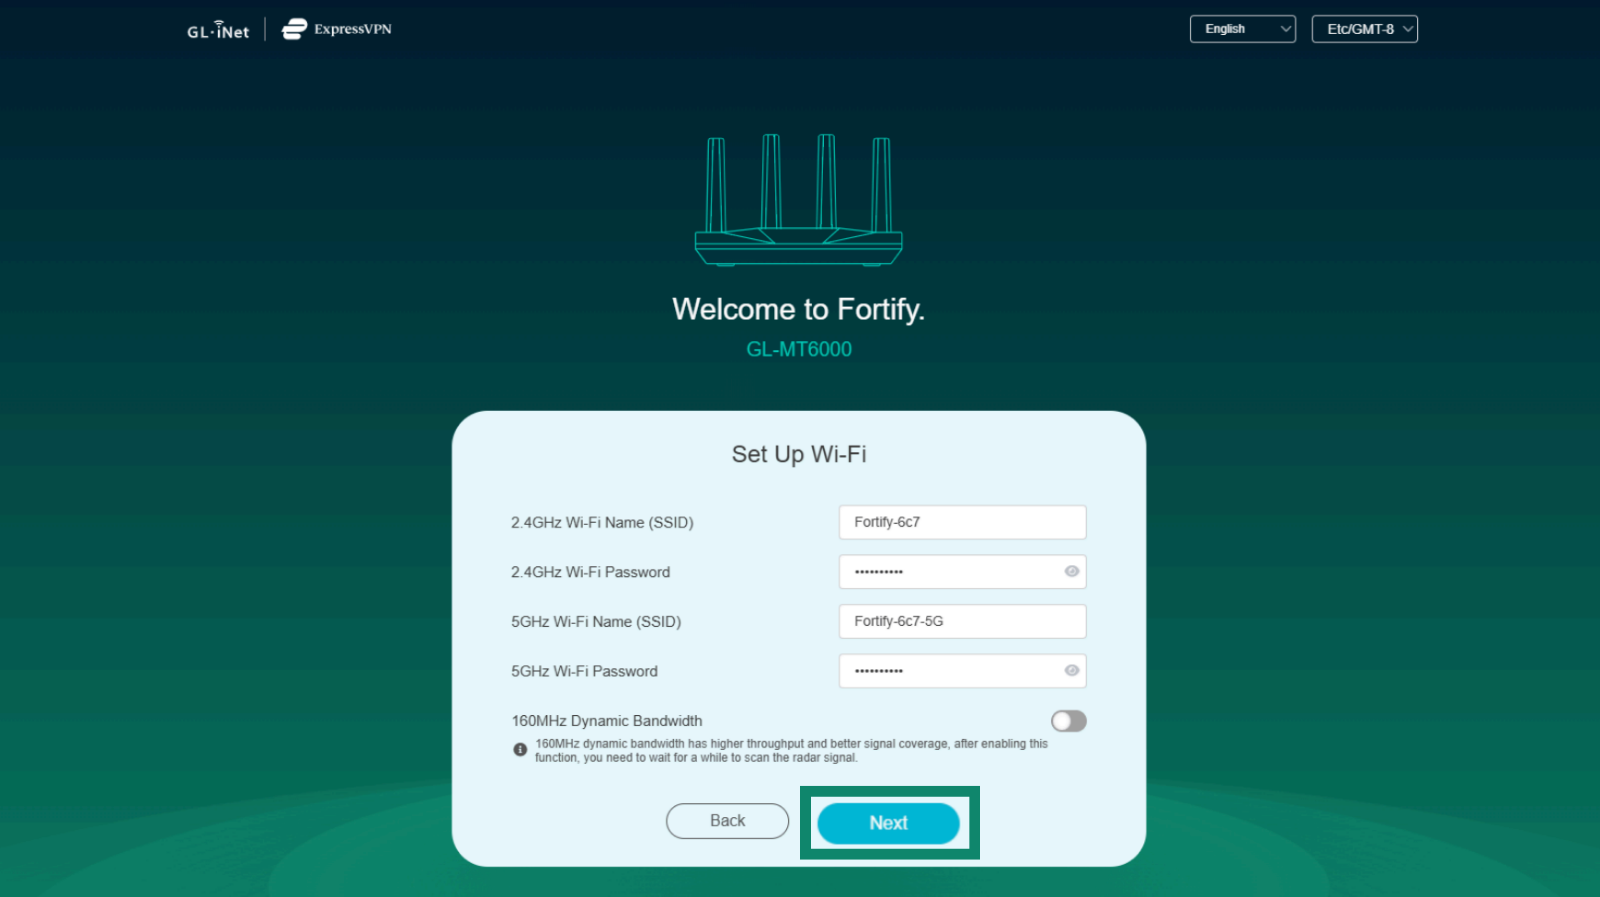
- Review or change your SSIDs, enable 160 MHz Dynamic Bandwidth, and click Next.

- Under Select Network Mode, choose how you want your router to connect to the network (Ethernet, Repeater, or Tethering).
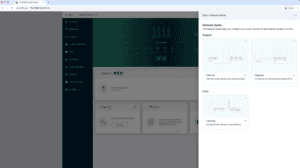

- Select your existing network and join.
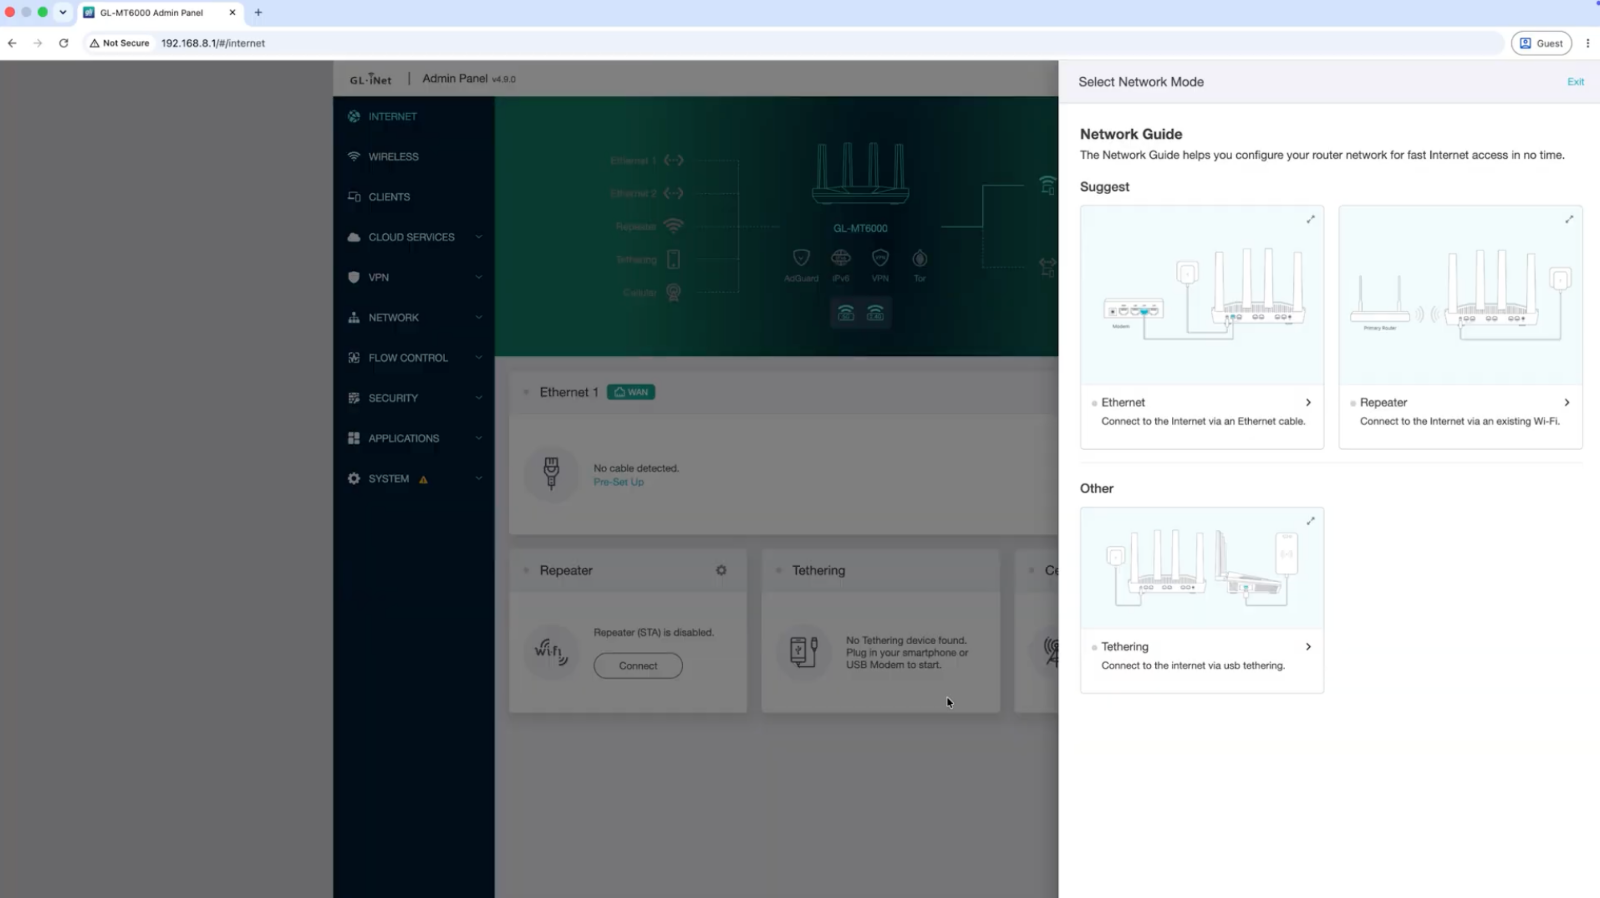
You are now set up and can redeem or connect your ExpressVPN subscription from the router admin panel.
Need help? Contact the ExpressVPN Support Team for immediate assistance.
New ExpressVPN users: Redeem your included subscription
- In your browser, go to 192.168.8.1 to access the router admin panel.
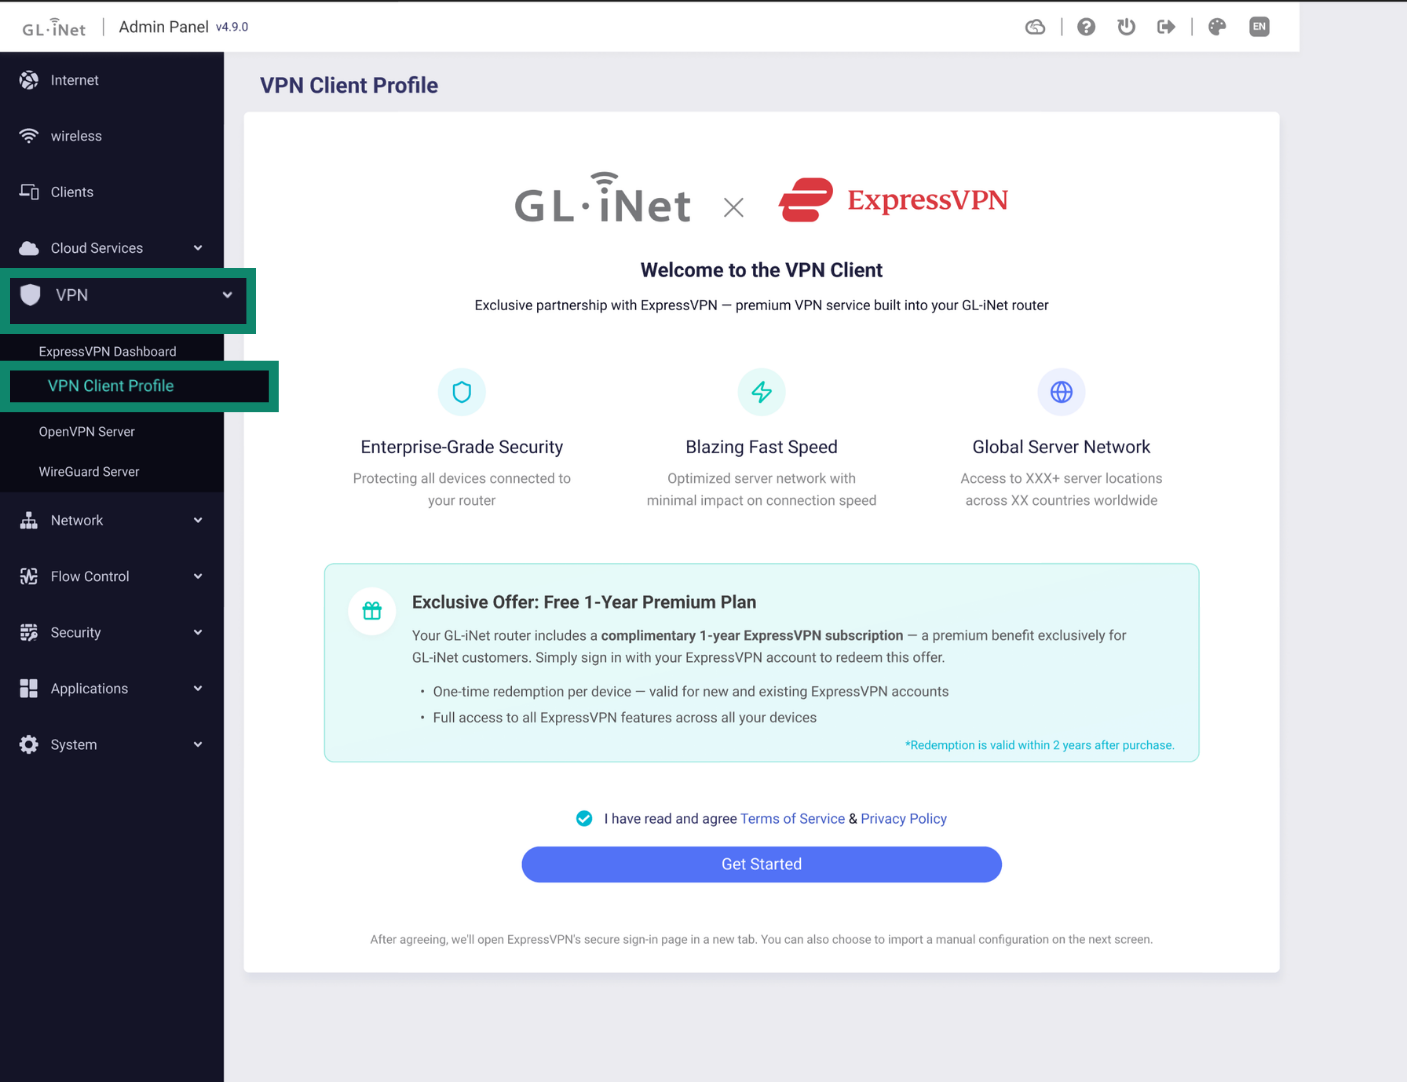
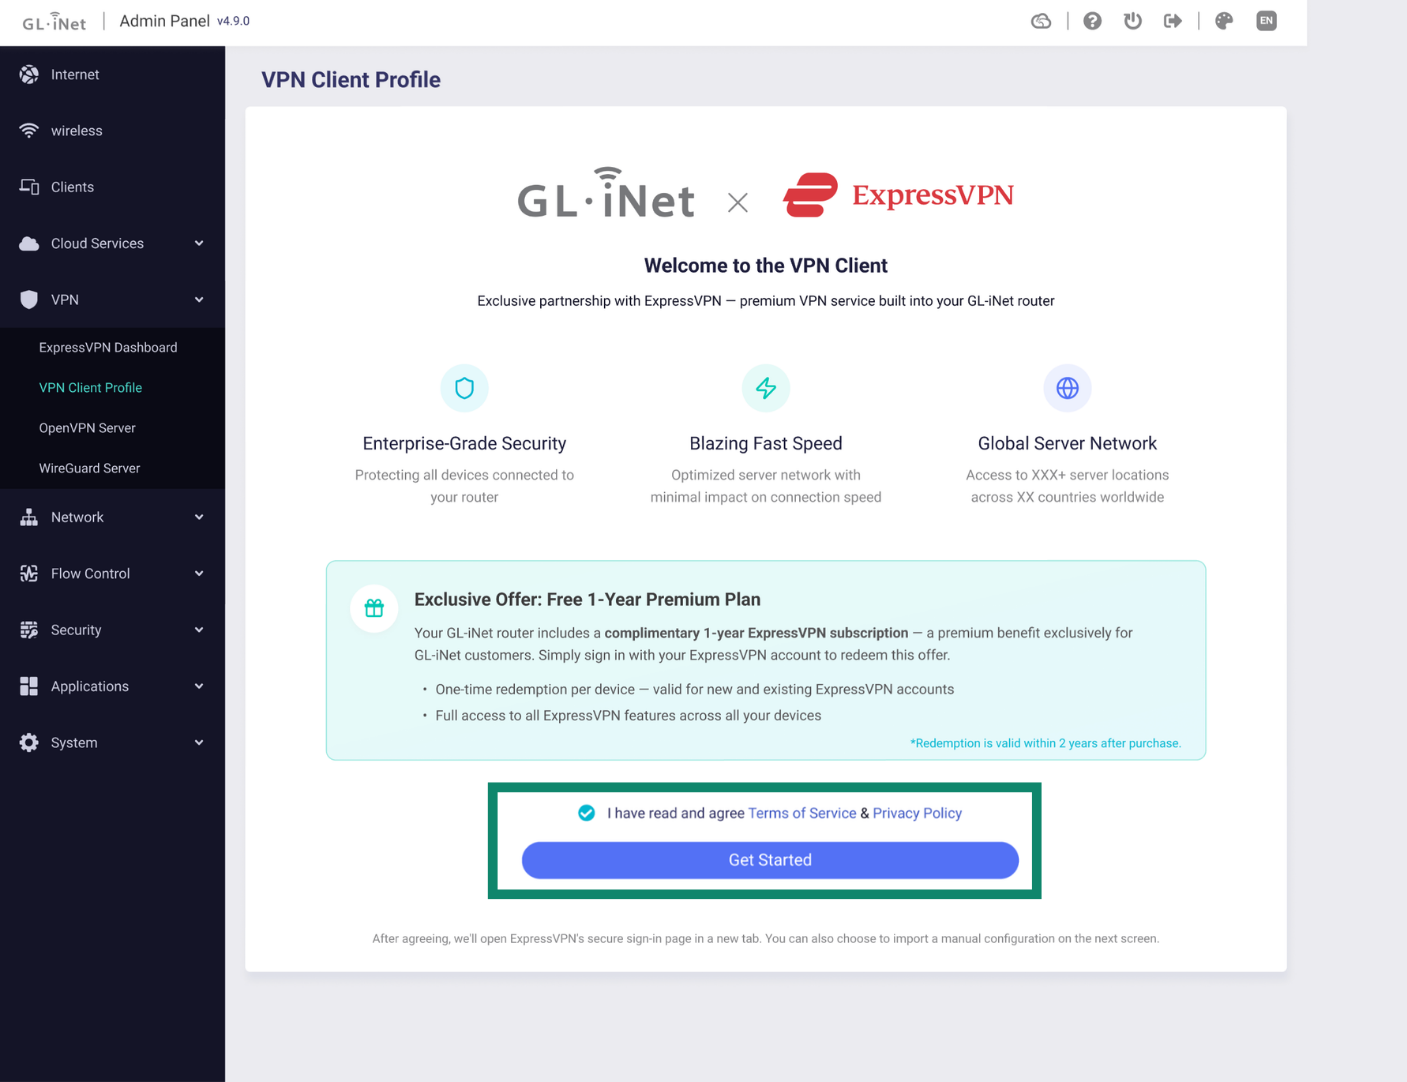
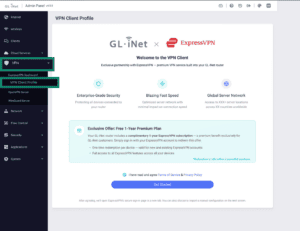
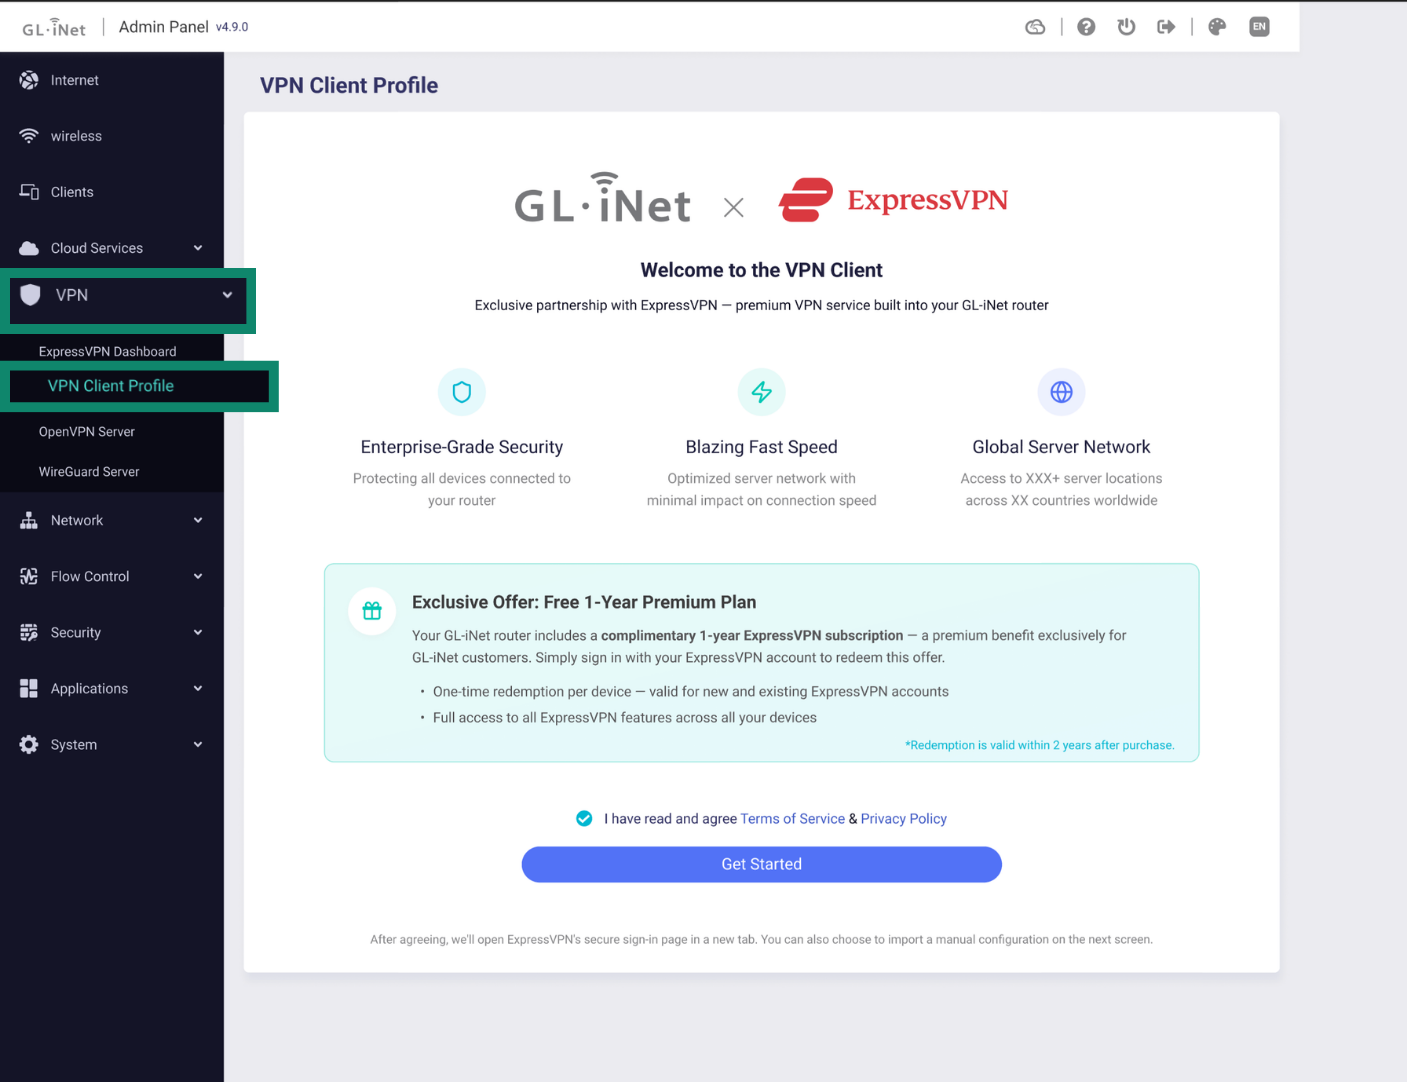
- Go to VPN > VPN Client Profile.
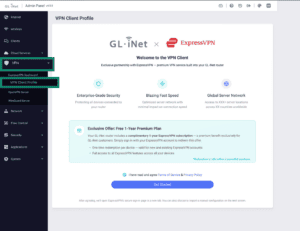

- You’ll see the Terms of Service and Privacy Policy. Select the checkbox to agree, then click Get Started.
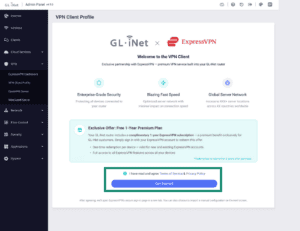
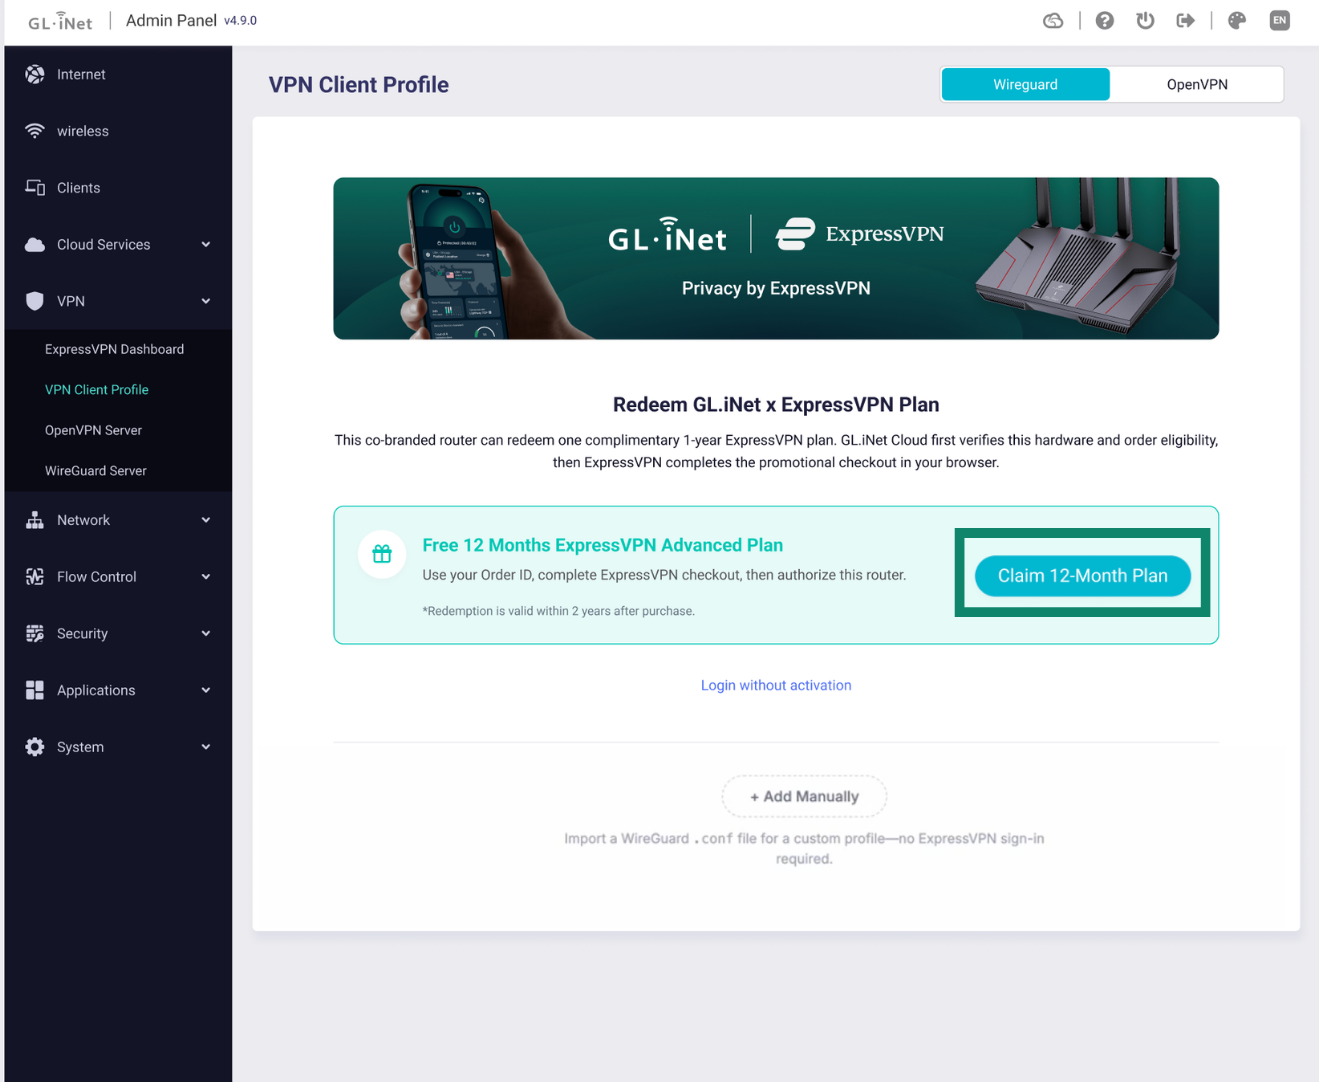
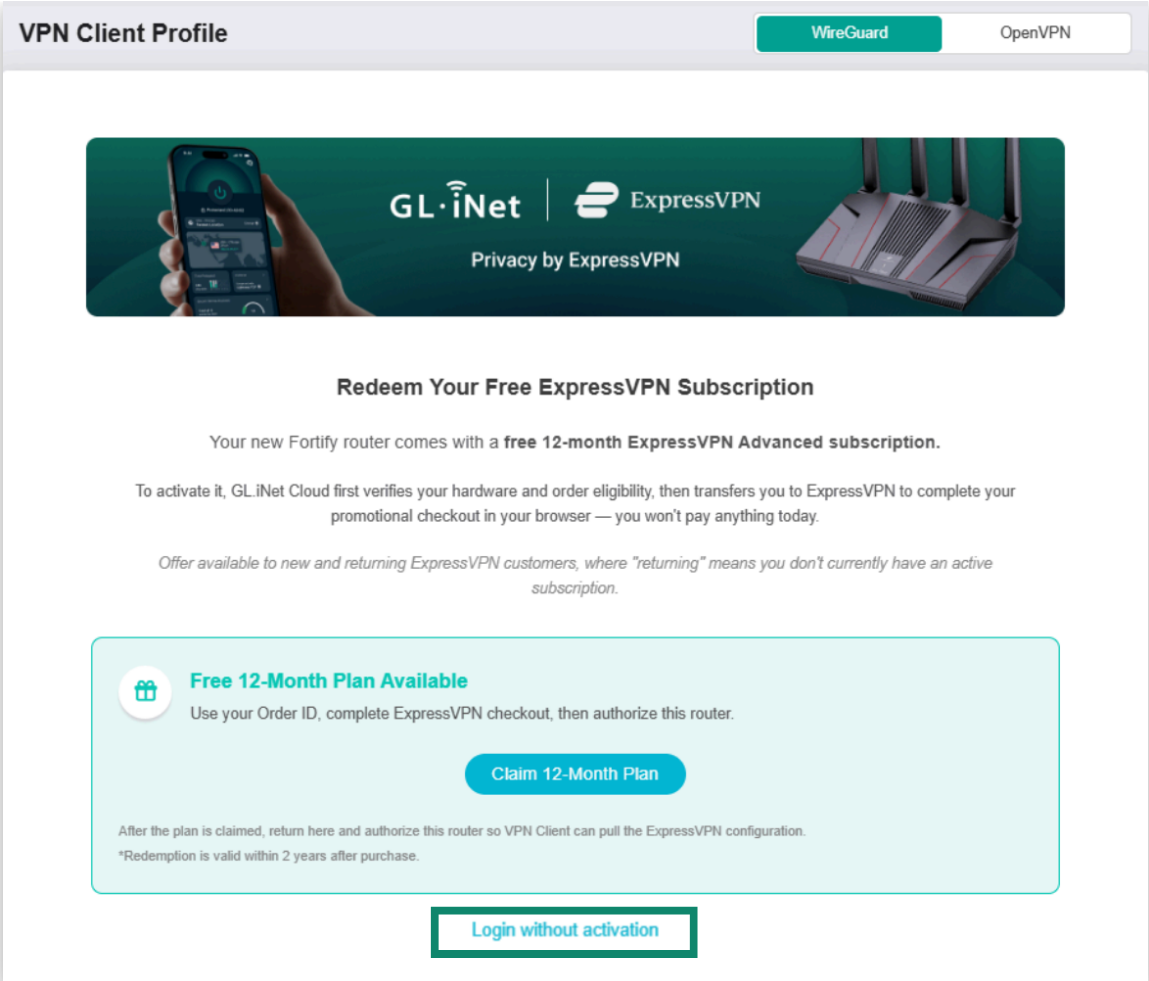
- Click Claim 12-Month Plan.
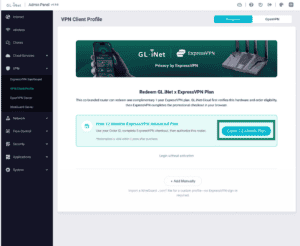

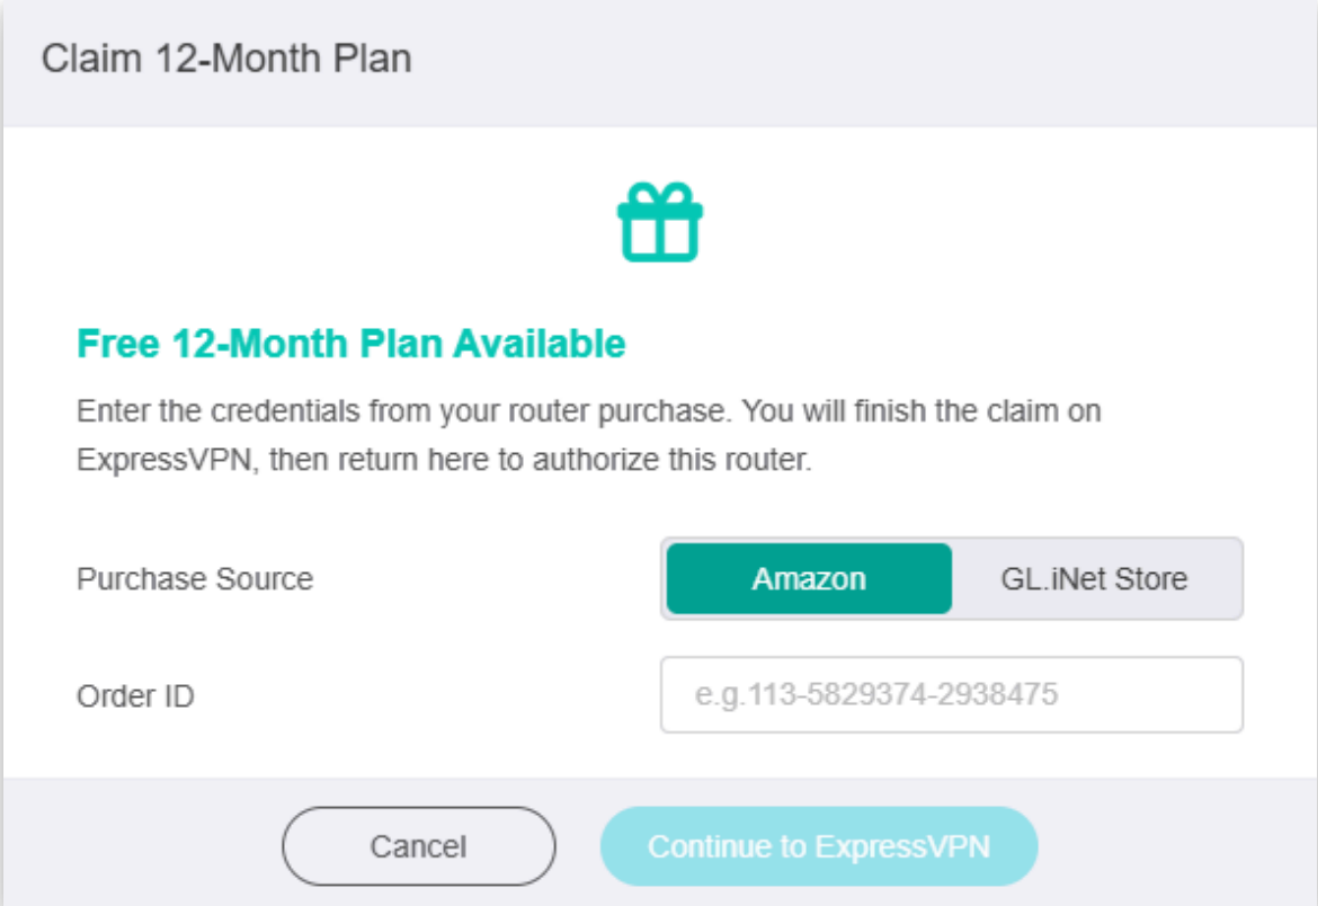
- Select where you purchased your Fortify router:
- Amazon: Enter your Order ID.
- GL.iNet Store: Enter your Order ID and the email address you used for the order.
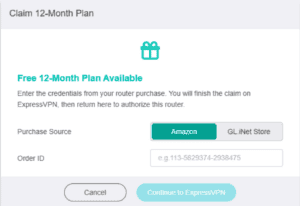

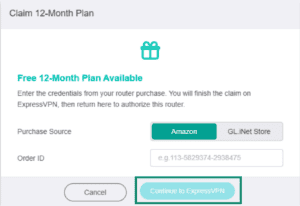
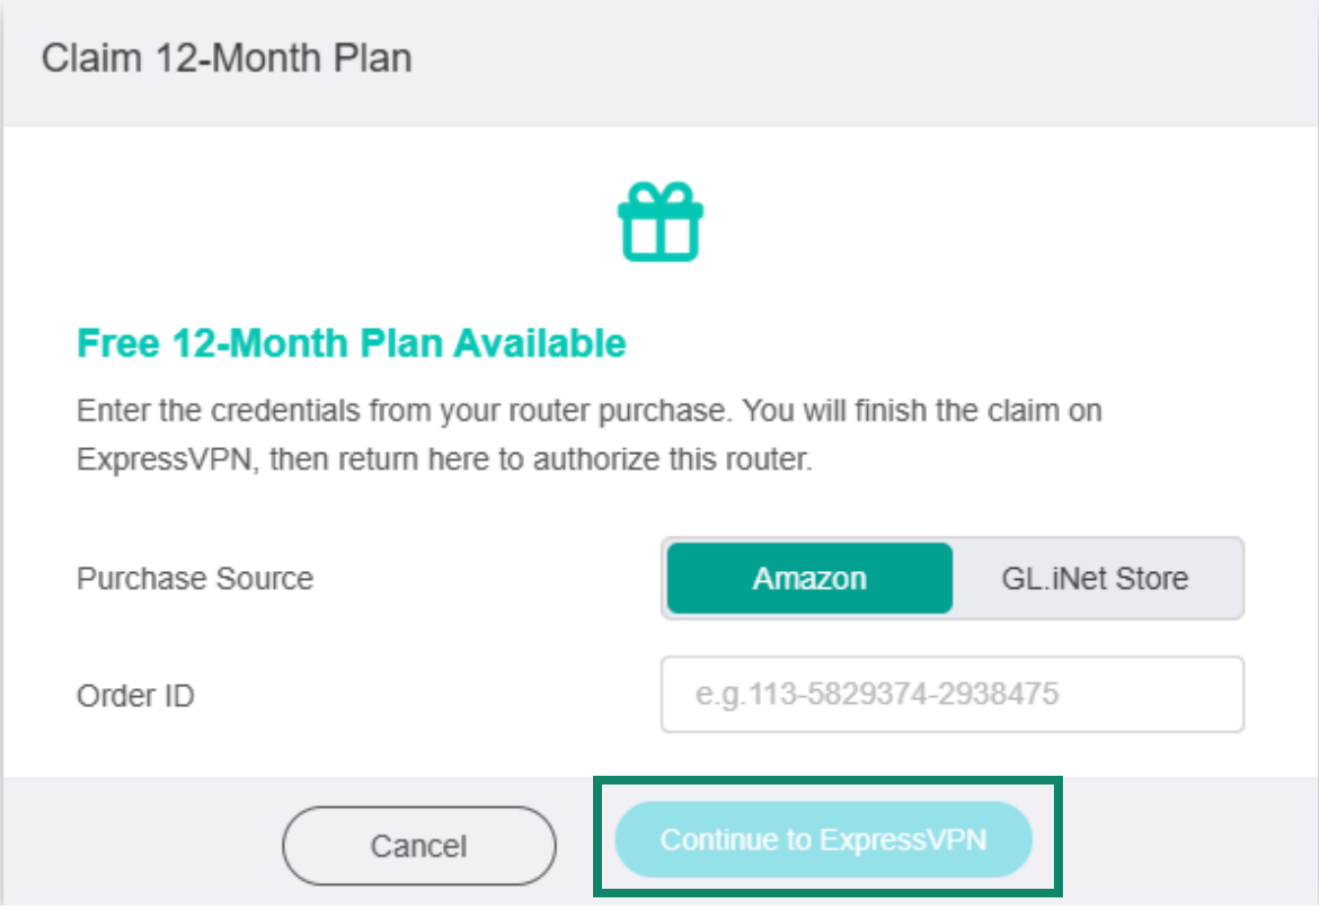
- Click Continue to ExpressVPN.
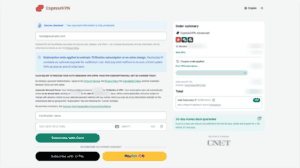
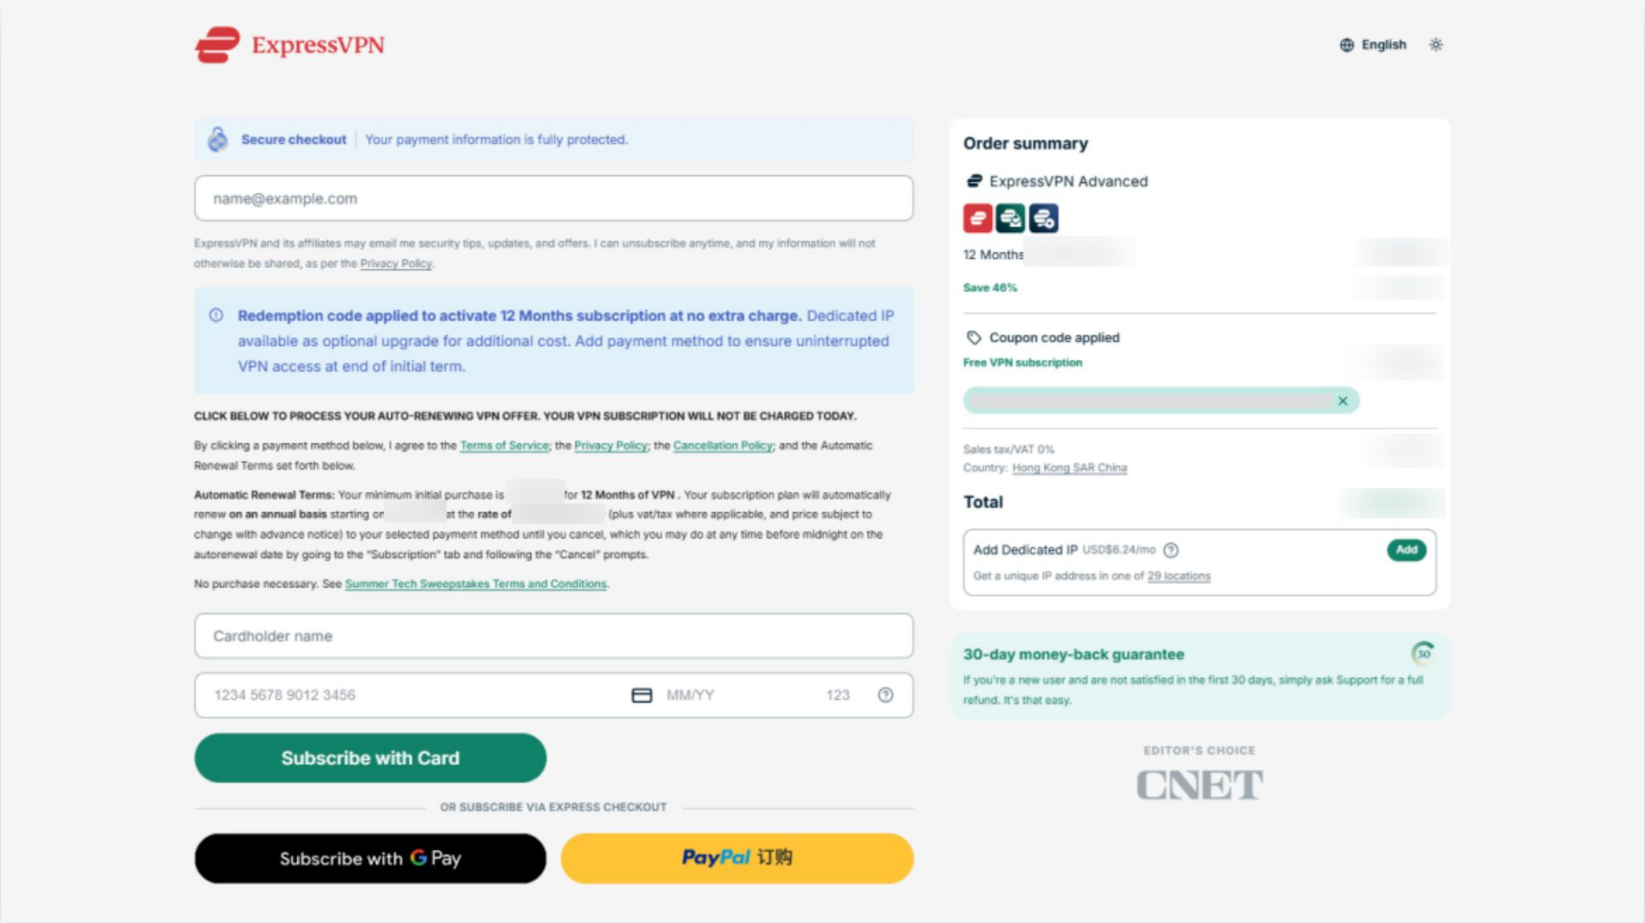
- On the ExpressVPN checkout page, enter your email address and add a payment method. Click Subscribe With [Payment Method].
- You will not be charged immediately; the included 12-month ExpressVPN Advanced subscription will be applied at checkout. Your payment details will be linked to your account for future renewal based on the terms stated on this checkout page. If you wish to prevent auto-renewal after signing up, you can follow this guide.
- You will not be charged immediately; the included 12-month ExpressVPN Advanced subscription will be applied at checkout. Your payment details will be linked to your account for future renewal based on the terms stated on this checkout page. If you wish to prevent auto-renewal after signing up, you can follow this guide.
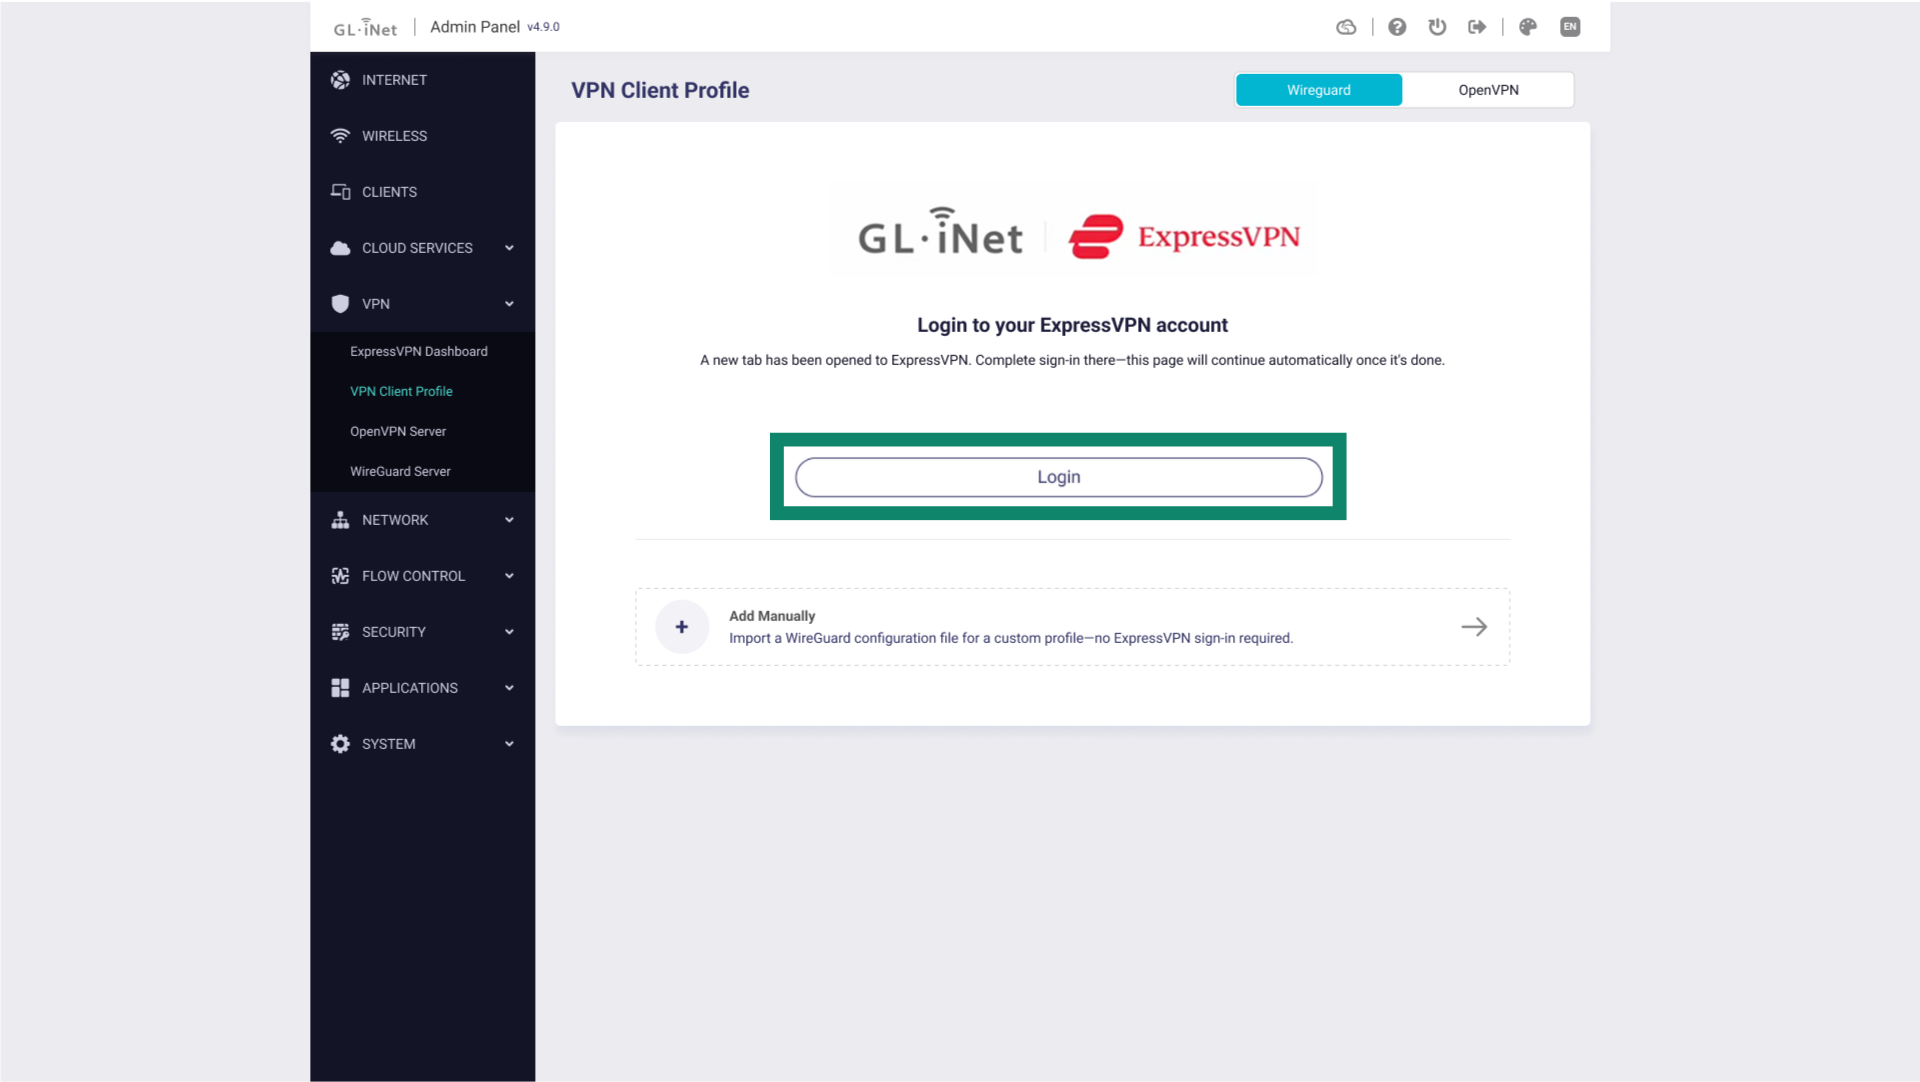
- You’ll see a confirmation screen once your plan is activated. Return to your admin panel and click Login.
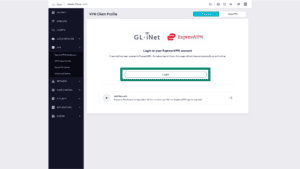
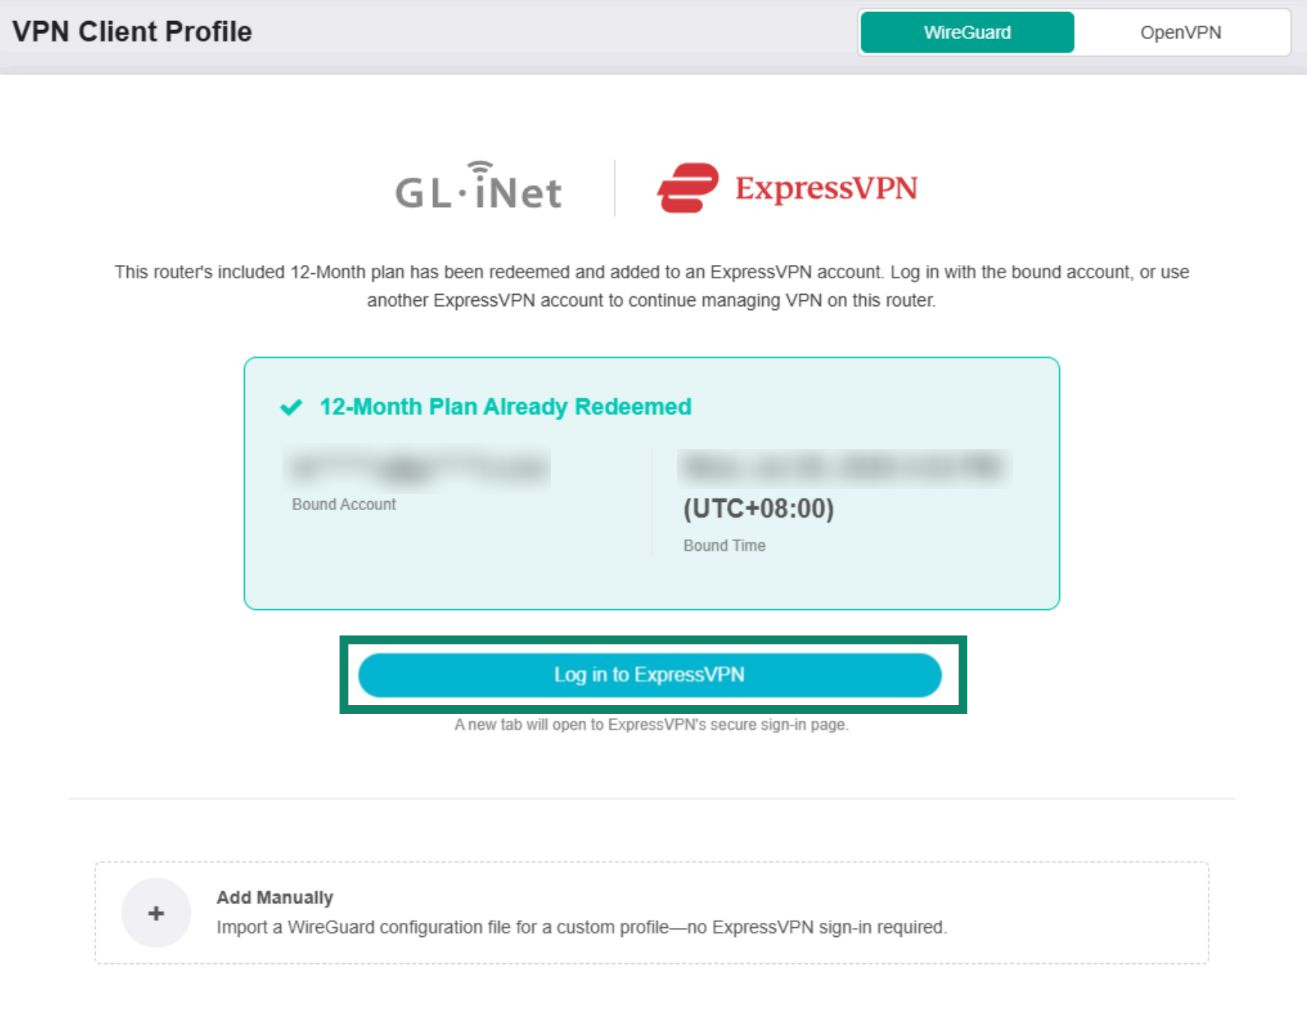
- Click Log in to ExpressVPN. This will redirect you to ExpressVPN’s sign-in page.
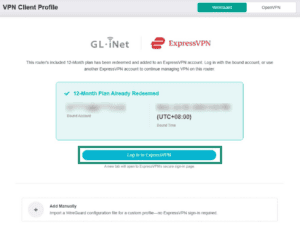

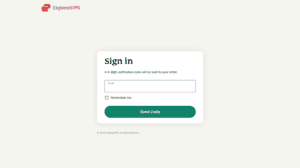
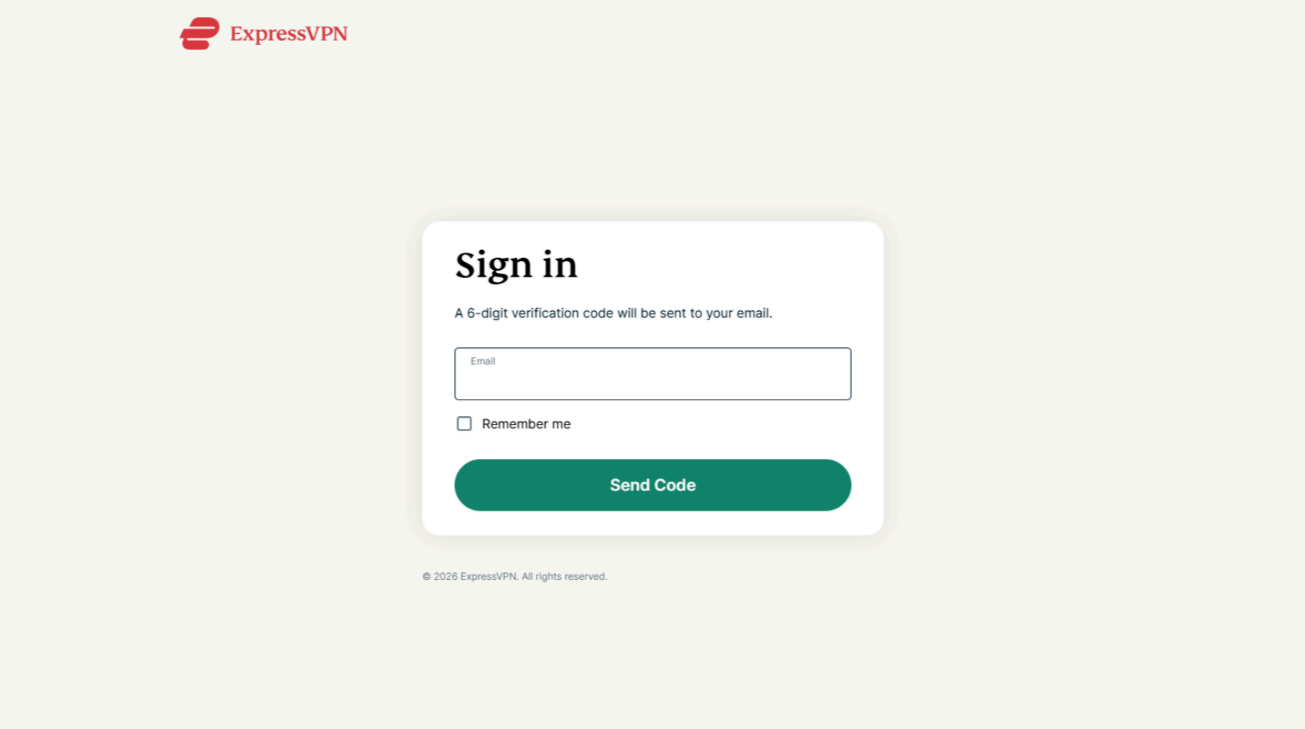
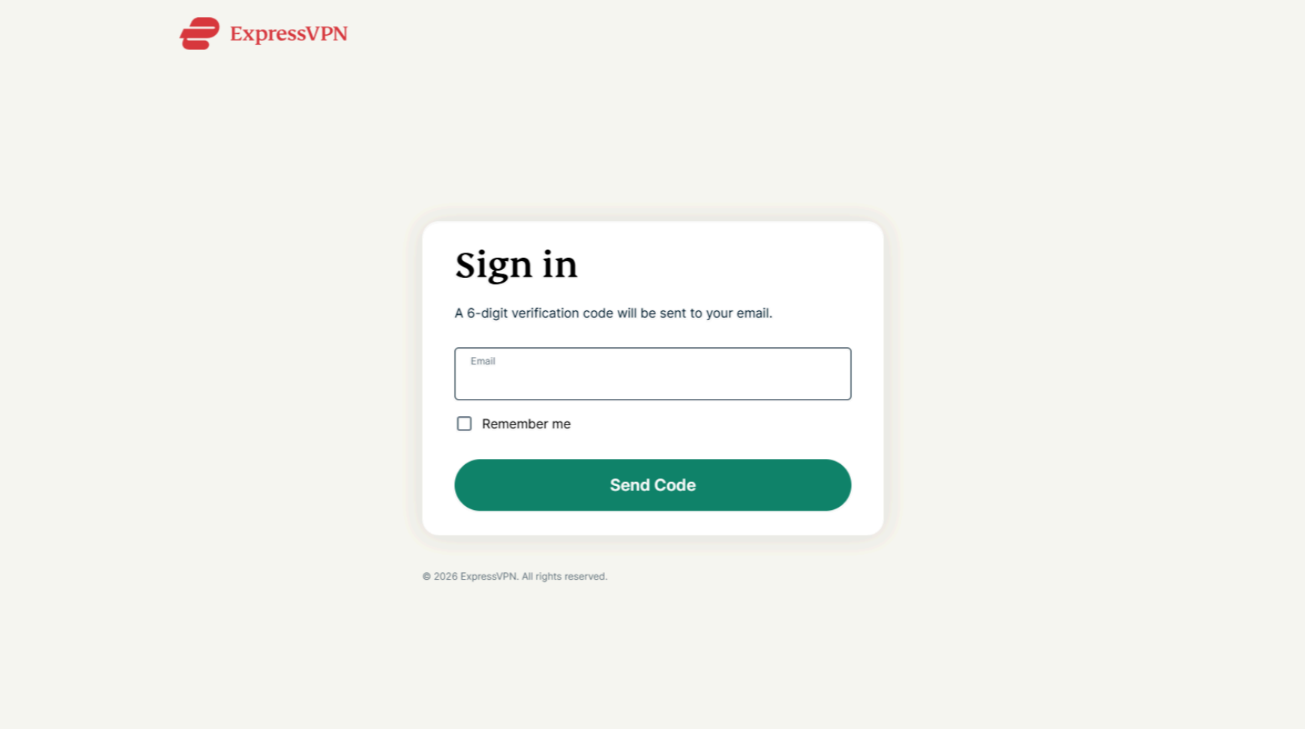
- Enter the email address you used to redeem your ExpressVPN subscription, then click Send Code.

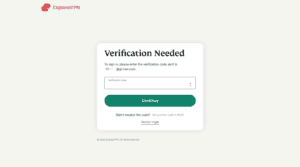
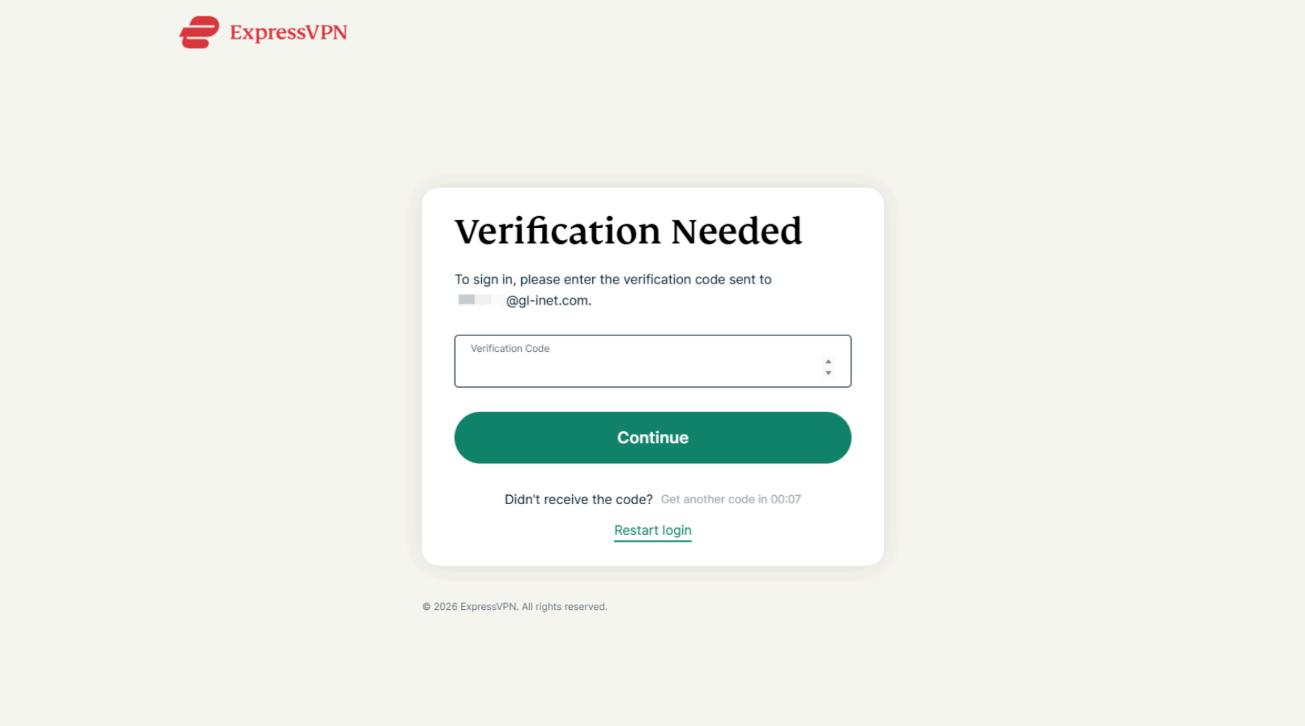
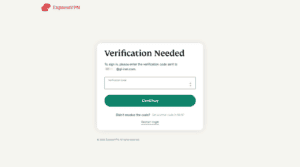
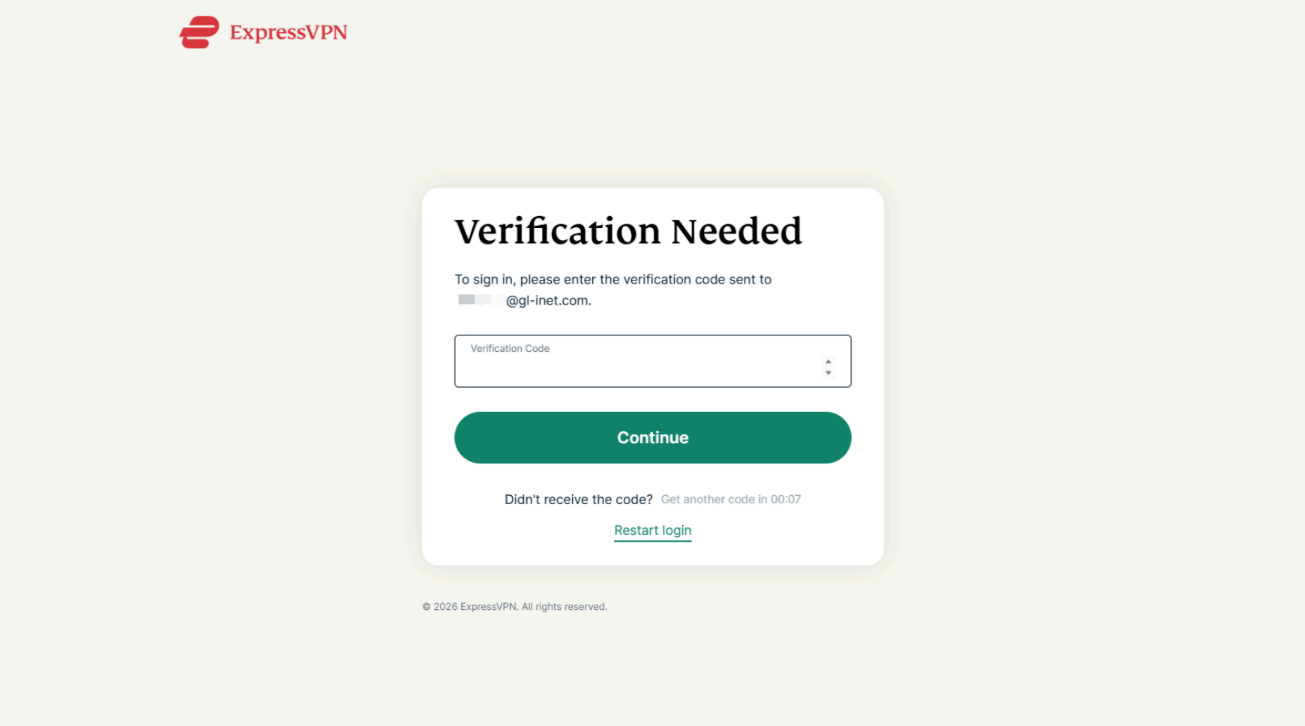
- A 6-digit verification code will be sent to your email. Enter the code, then click Continue.

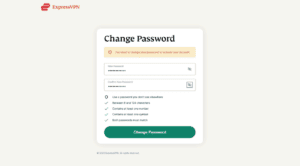
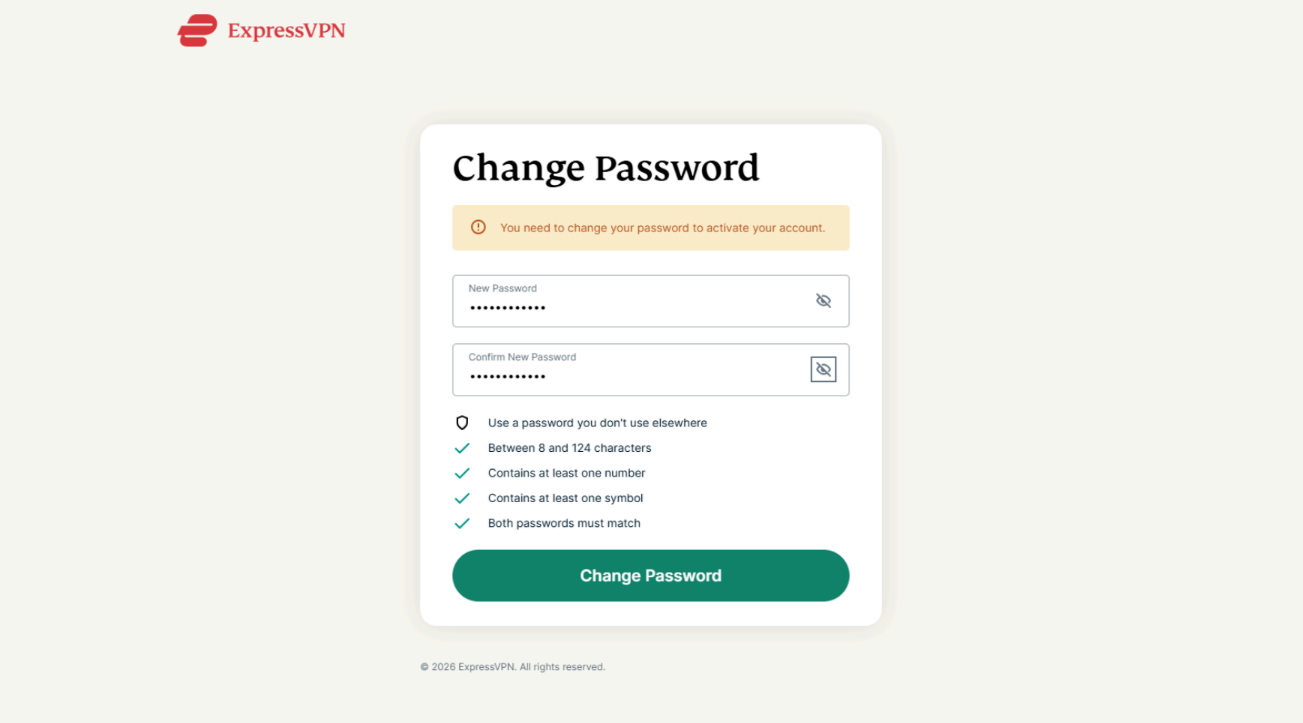
- Create a password to activate your ExpressVPN account, then click Change Password.

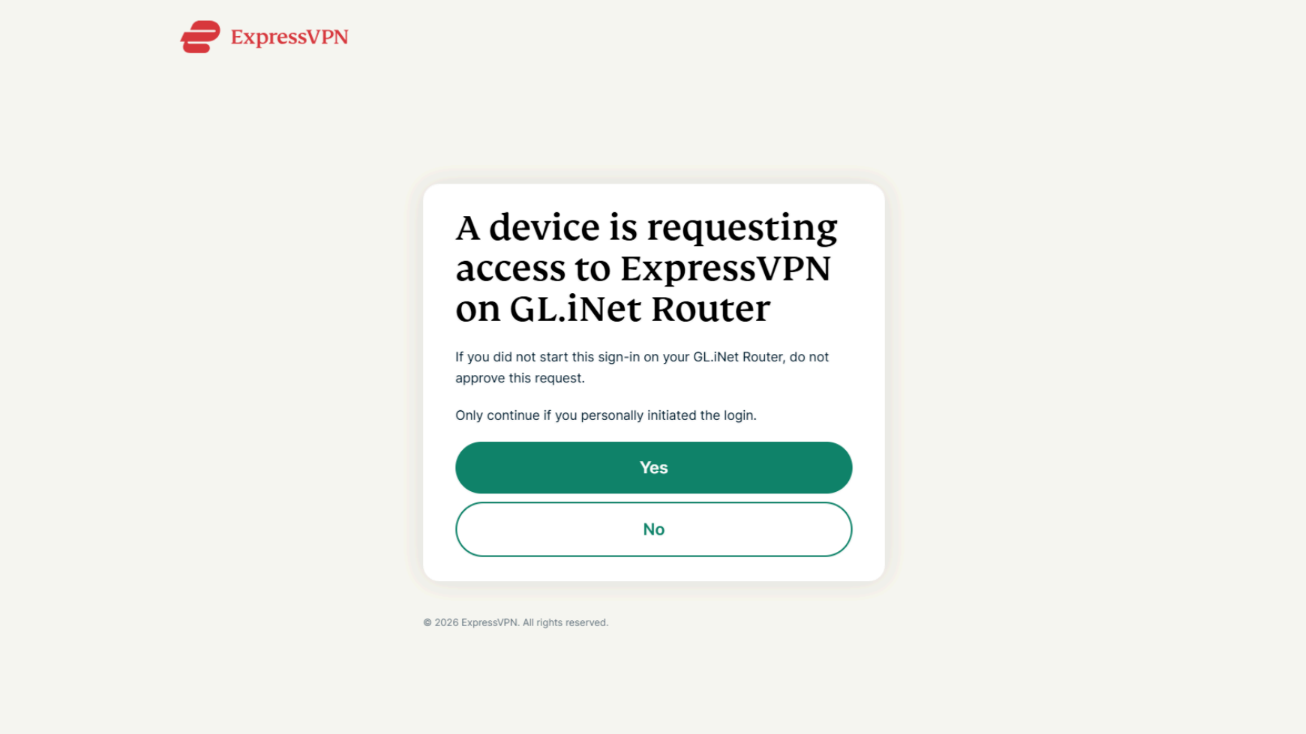
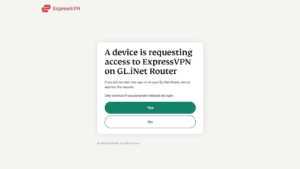
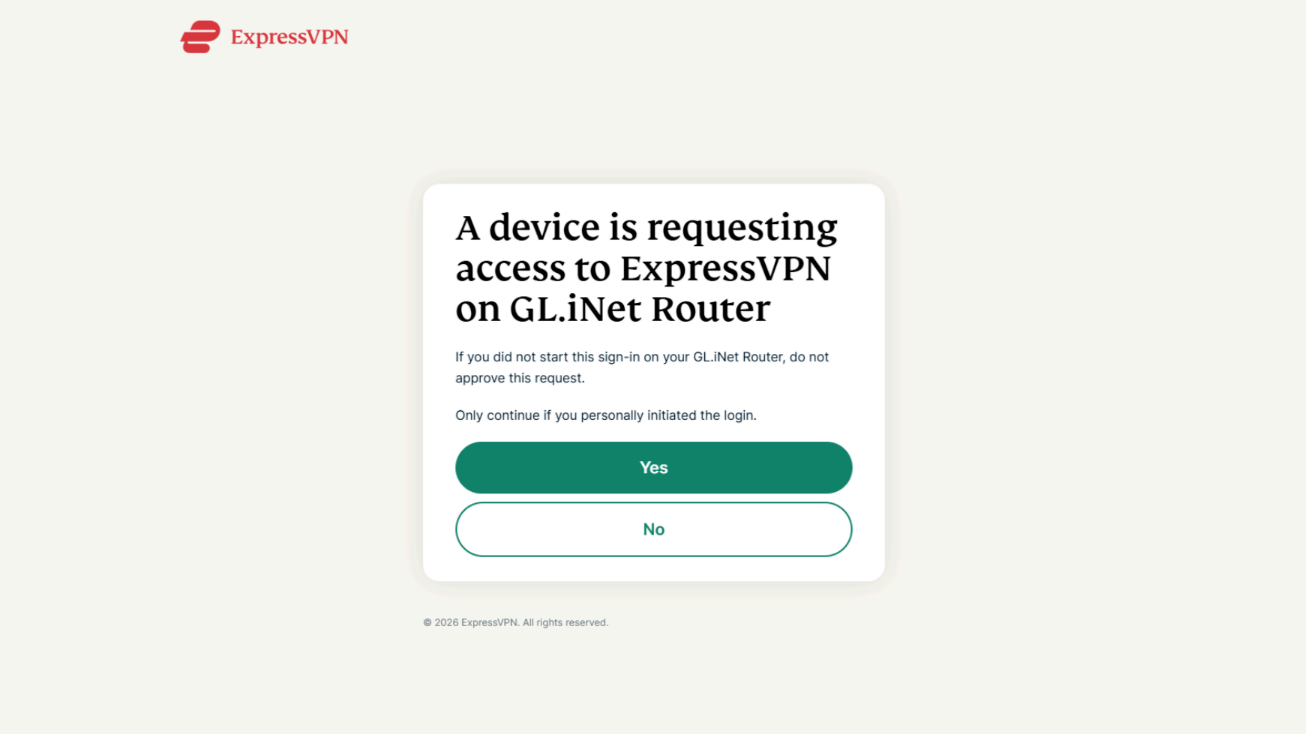
- On the next page, click Yes to authorize access to ExpressVPN on your Fortify router.
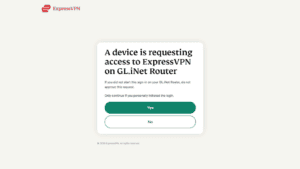
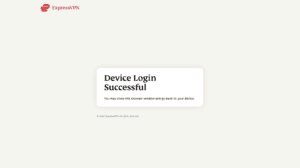
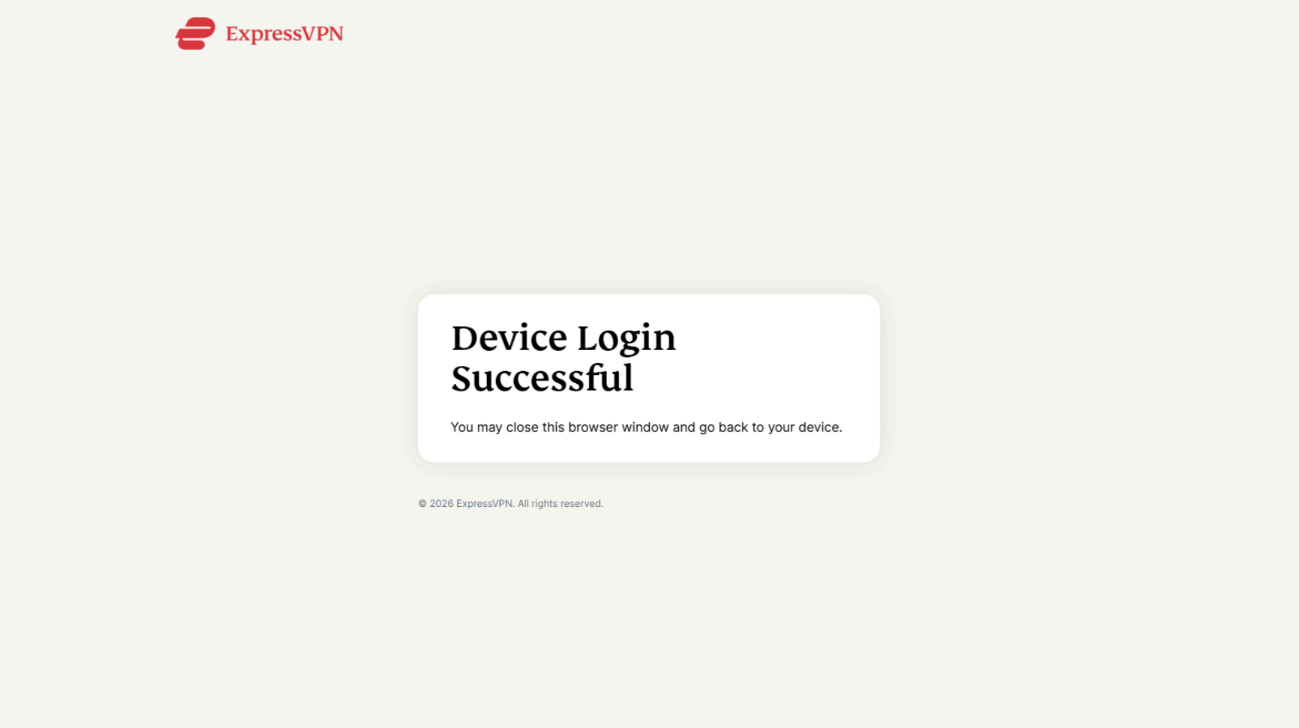
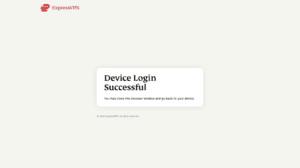
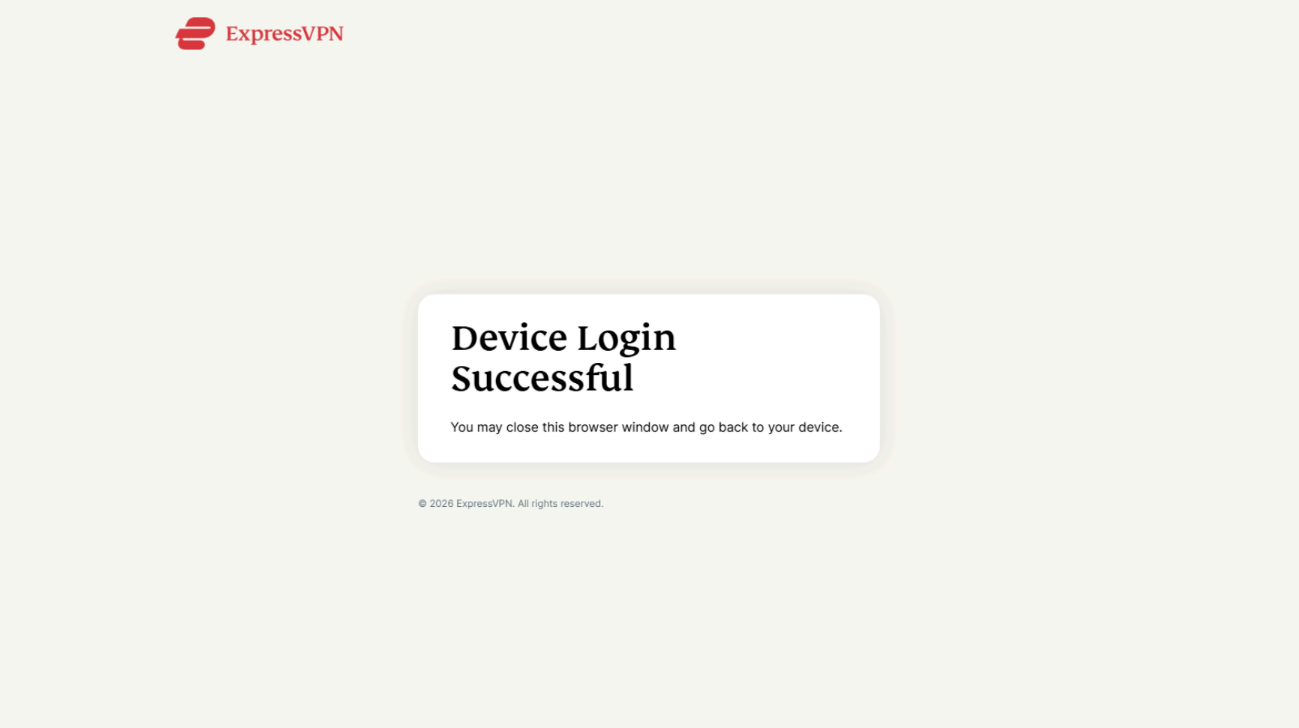
- When you see “Device Login Successful,” close the ExpressVPN sign-in window and return to your Fortify Admin Panel.
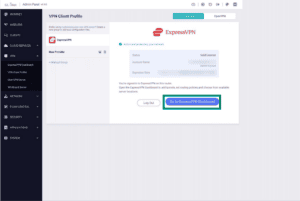
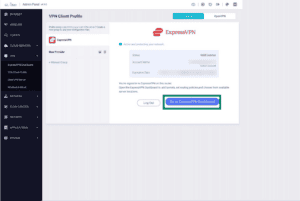
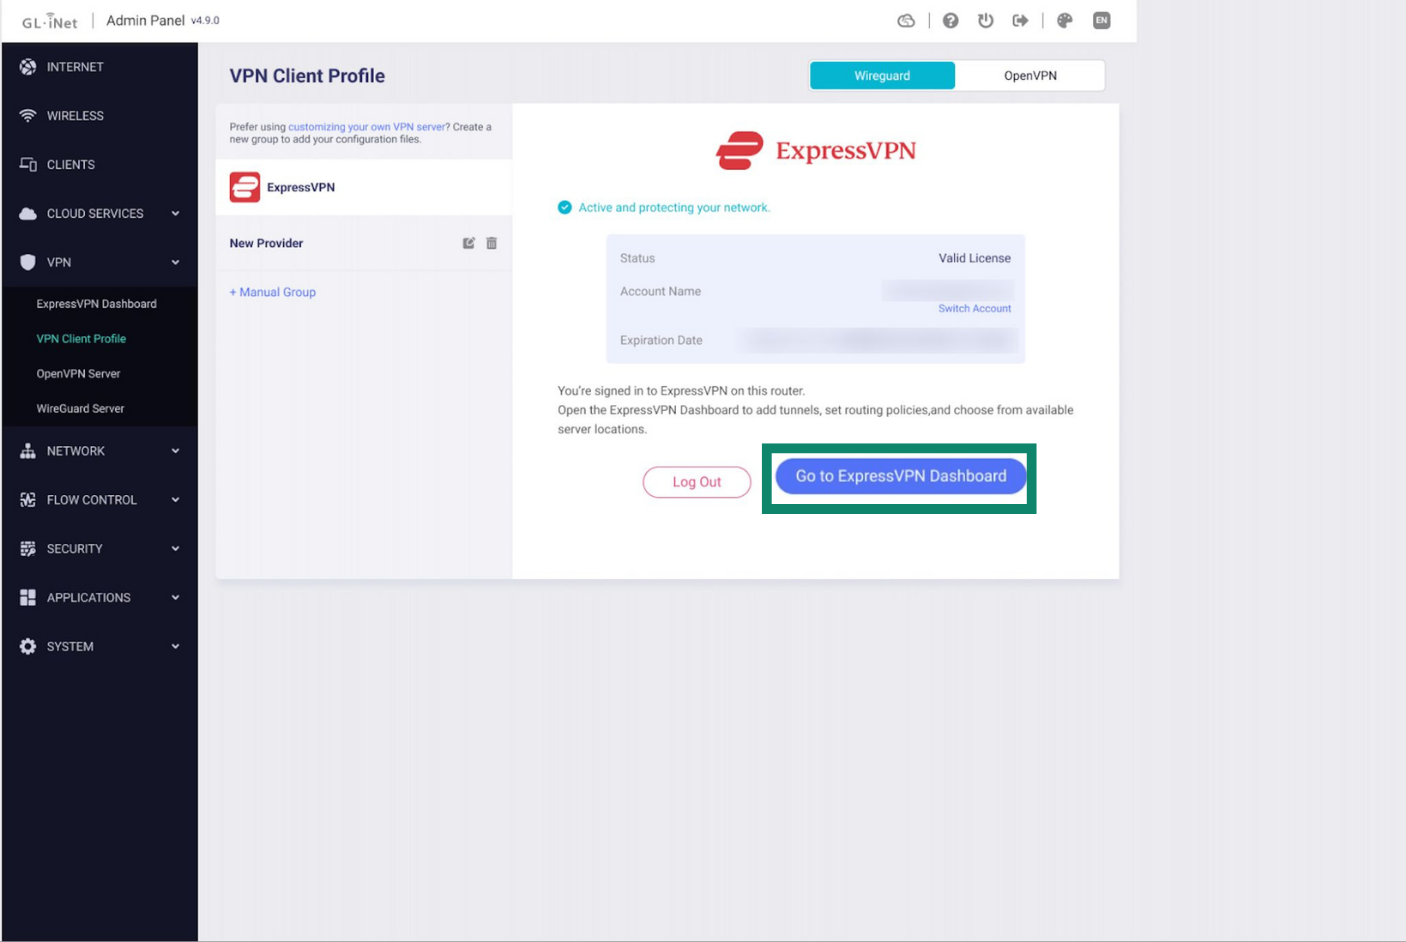
- You should now be signed into ExpressVPN on your Fortify router. Click Go to ExpressVPN Dashboard to start setting up and managing your VPN connection.

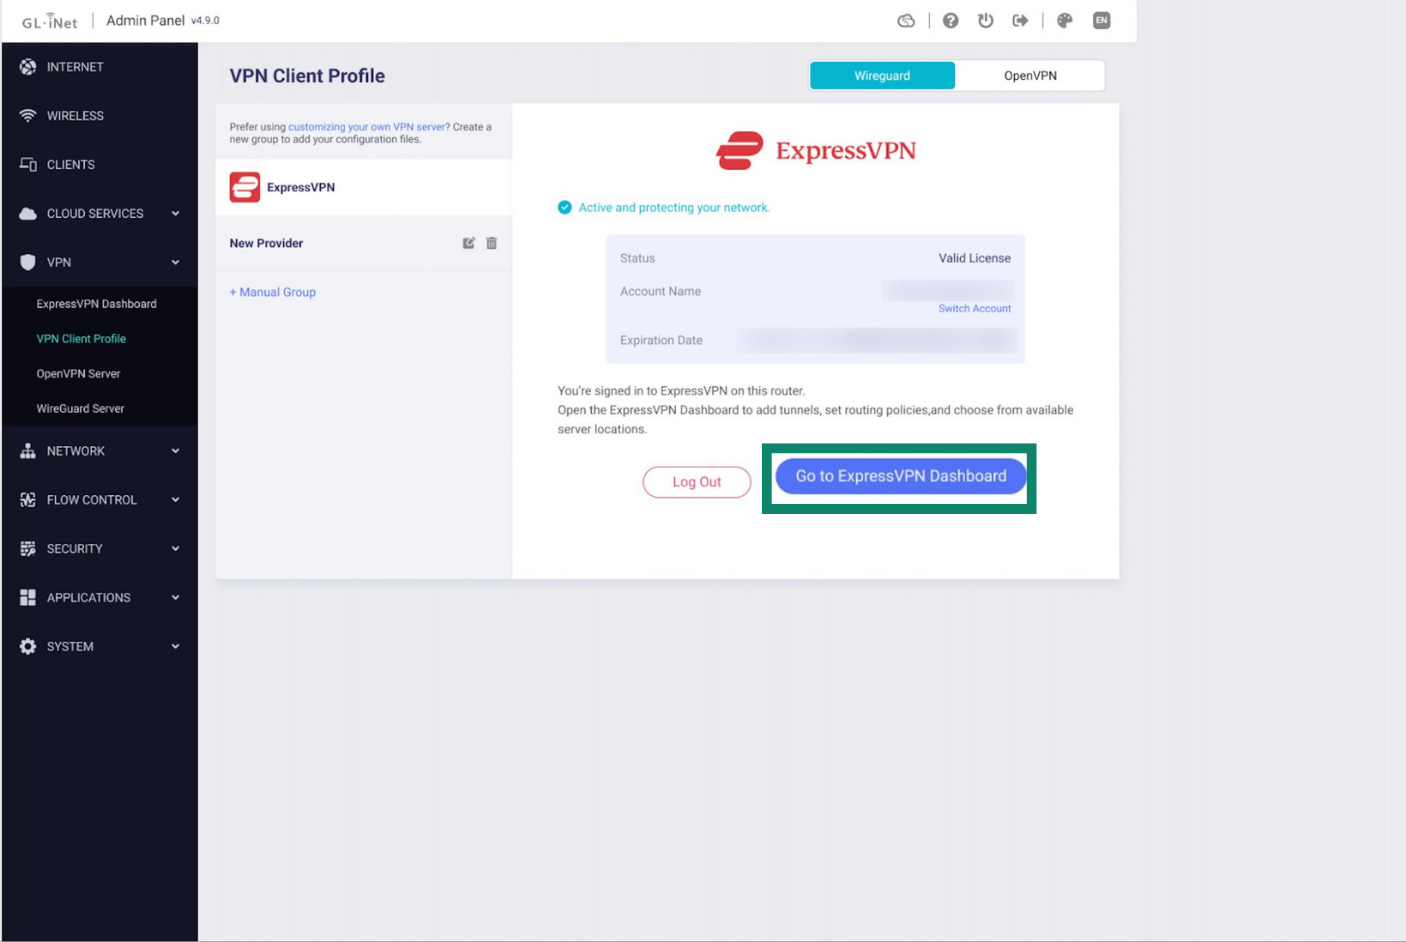
You’re now ready to start using ExpressVPN on Fortify.
Need help? Contact the ExpressVPN Support Team for immediate assistance.
Existing ExpressVPN users: Log into your ExpressVPN account
If you already have an active ExpressVPN subscription, you can log into your existing account on your Fortify router:
- In your browser, go to 192.168.8.1 to access the router admin panel.
- Go to VPN > VPN Client Profile.
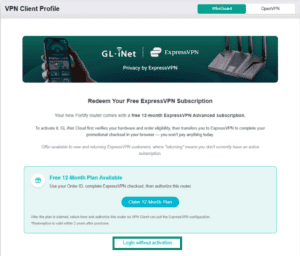
- Click Login without activation.

- Enter the email address linked to your ExpressVPN account, then click Send Code.
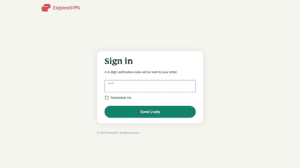
- A 6-digit verification code will be sent to your email. Enter the code, then click Continue.
- On the next page, click Yes to authorize access to ExpressVPN on your Fortify router.
- When you see “Device Login Successful,” close the ExpressVPN sign-in window and return to your Fortify Admin Panel.
- You should now be signed into ExpressVPN on your Fortify router. Click Go to ExpressVPN Dashboard to start setting up and managing your VPN connection.
Need help? Contact the ExpressVPN Support Team for immediate assistance.
Start using ExpressVPN and Fortify
Now that you have an active ExpressVPN subscription tied to your Fortify router, you can start setting up the VPN and use the other tools available with your subscription.
Set up ExpressVPN on your Fortify router
On your router, open the ExpressVPN Dashboard and get started with the following guides:
What else can you do with ExpressVPN?
With your ExpressVPN account, you can log into the ExpressVPN+ user portal and explore everything that’s included with your subscription.
You can:
- Set up and use ExpressVPN on your other devices by downloading the apps for Windows, macOS, Linux, Android, iOS, and selected smart TVs.
- Use ExpressMailGuard to create email aliases that hide your real email address and reduce spam.
- Use ExpressKeys to securely store and manage your passwords and other sensitive information.
- Get free eSIM data and stay connected when traveling.
- Use Identity Defender (U.S. only), ExpressVPN’s dedicated identity protection service.
These features are available with the Advanced subscription at no extra cost. Features vary for ExpressVPN Basic or Express Pro users.
Get support for your router
The ExpressVPN Support team is here to help with any questions regarding redeeming your subscription, using the VPN on the Fortify (GL-MT6000) router, or anything related to your ExpressVPN account.
For questions relating to your purchase (including shipping, returns, and warranty information), the router hardware, or any other features of the router firmware, please contact the GL.iNet support team.
Need help? Contact the ExpressVPN Support Team for immediate assistance.