



You can control ExpressVPN on macOS through its command-line interface (CLI), using commands in Terminal, the built-in command-line app. If you already work at the command line, this lets you manage your VPN without having to switch to the app’s graphical interface.
ExpressVPN is compatible with macOS 11 (Big Sur) and above. To find out which macOS version you are using, refer to this guide.
Jump to…
- Download the installer
- Install and activate the app
- View all commands
- Connect to a VPN server location
- Disconnect from a VPN server location
- Choose a different VPN server location
- Switch to a different VPN protocol
- Use split tunneling
- Block ads, trackers, and harmful sites
- Use the Internet Kill Switch
- Uninstall the app
Download the installer
- Go to the ExpressVPN+ setup page and log into your ExpressVPN account if prompted.
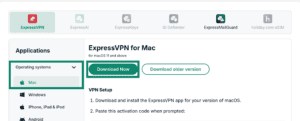
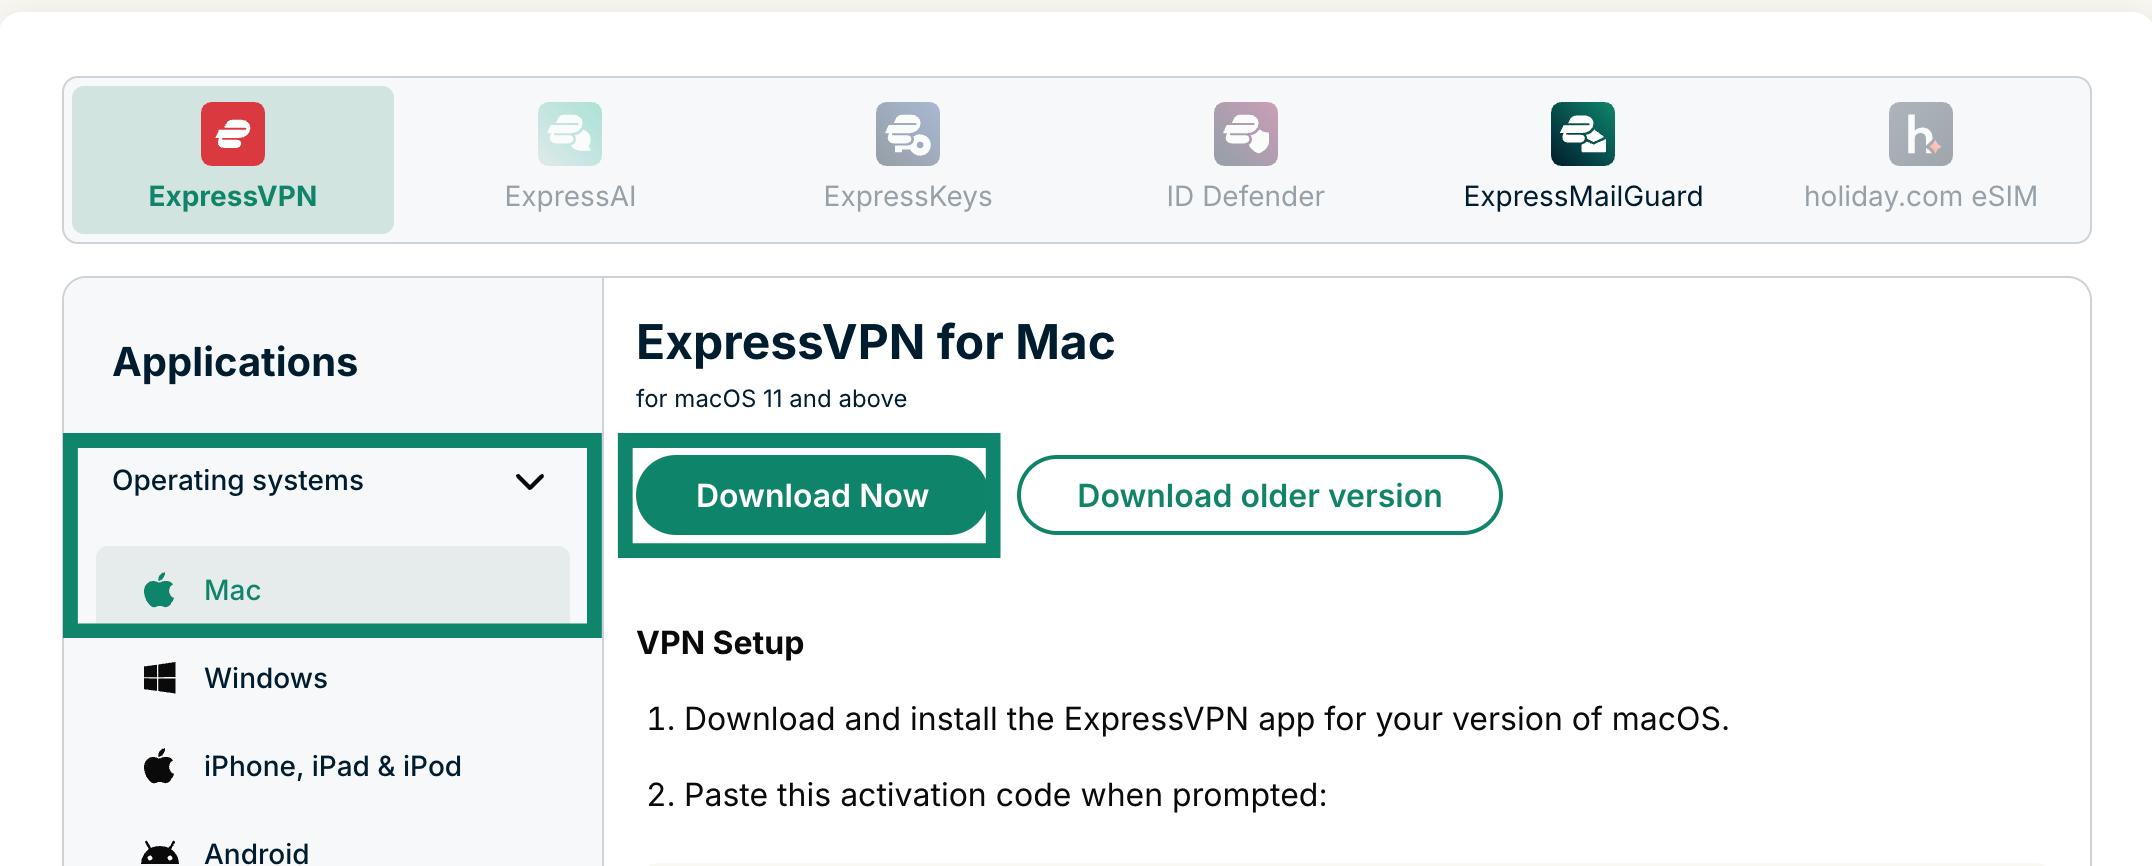
- Under Operating systems, select Mac and click Download Now.

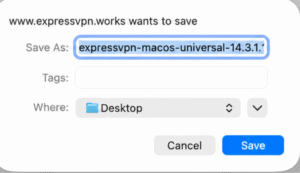
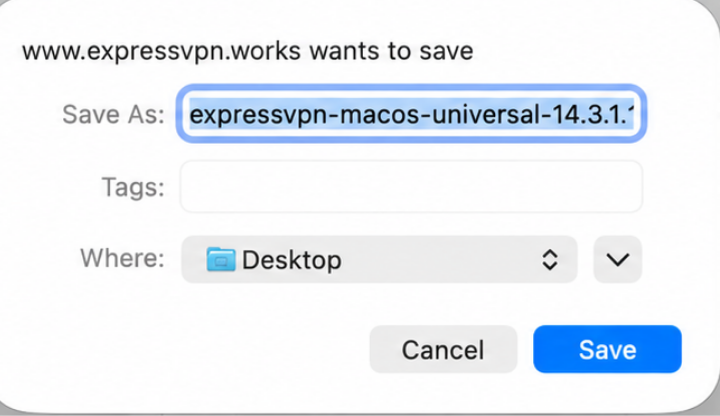
- If prompted, click Save to confirm saving the file to your Mac.

Need help? Contact the ExpressVPN Support Team for immediate assistance.
Install and activate the app
Install the app
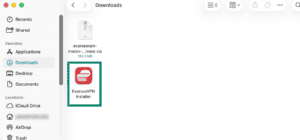
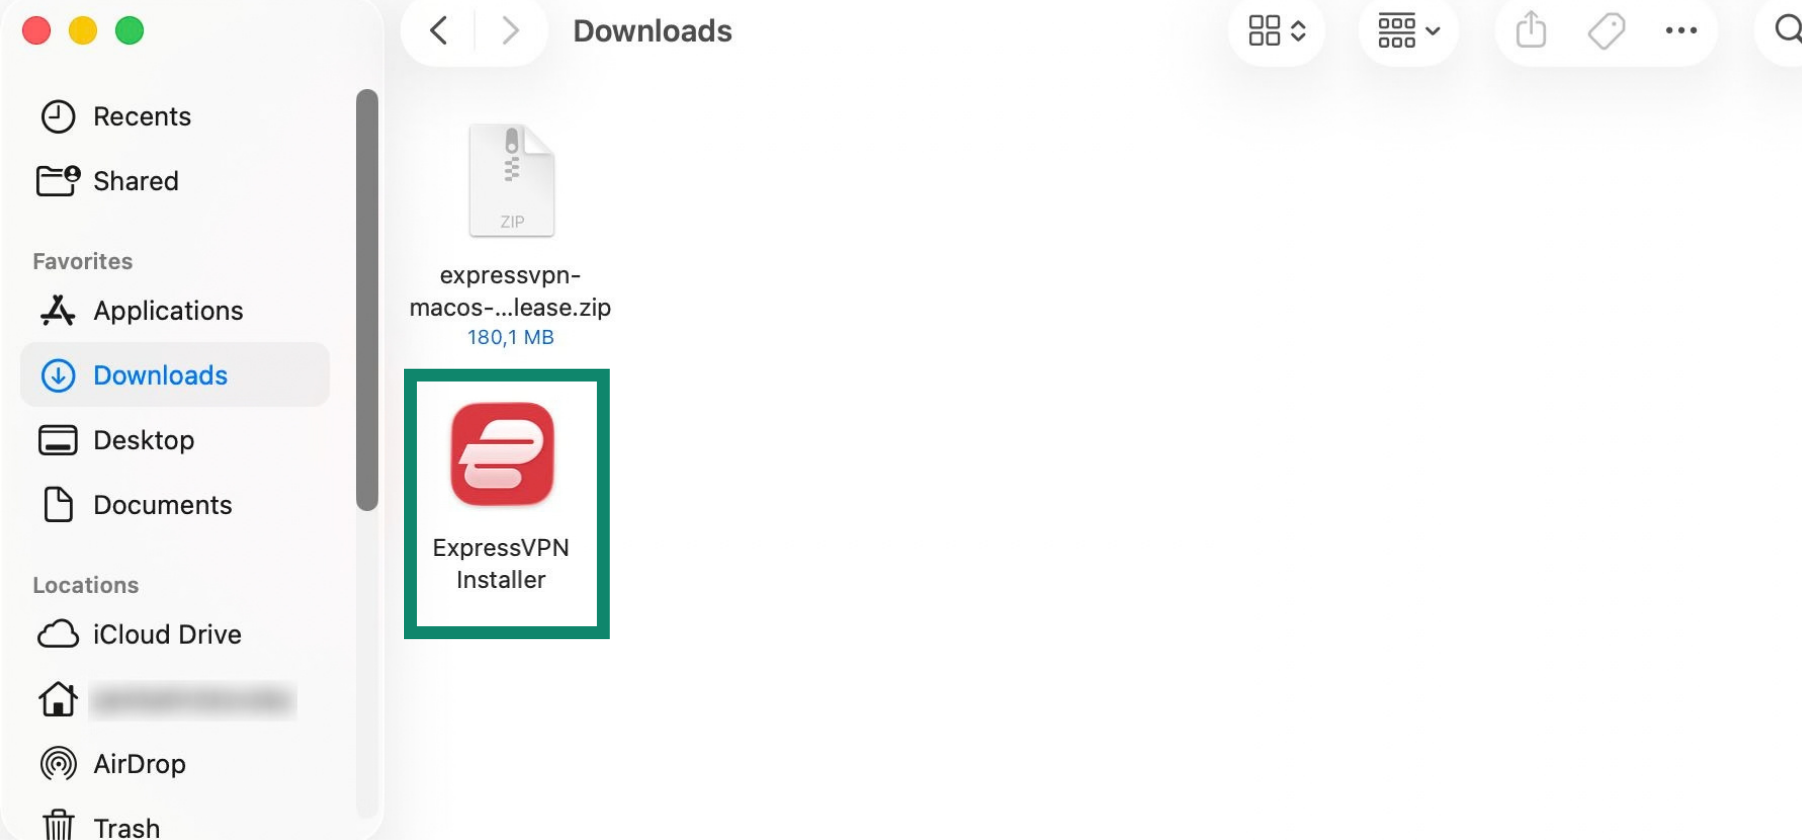
- Find the downloaded ExpressVPN Installer file and double-click to open it.

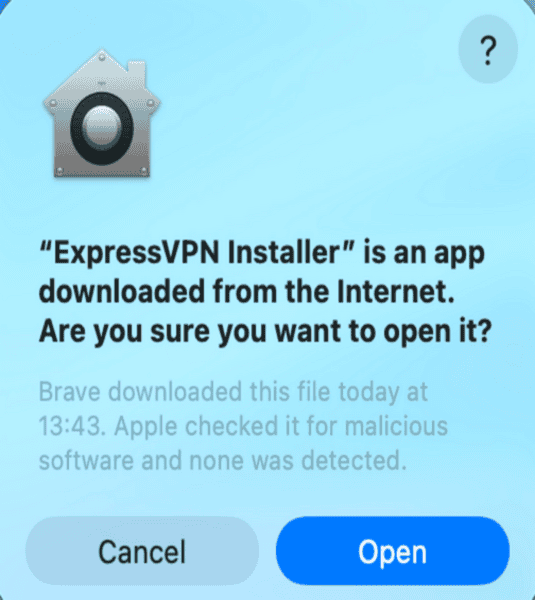
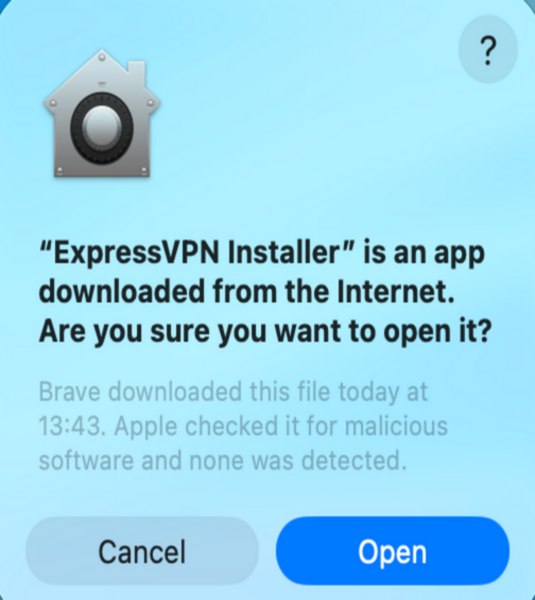
- When the “ExpressVPN Installer” is an app downloaded from the internet. Are you sure you want to open it? prompt appears, click Open.

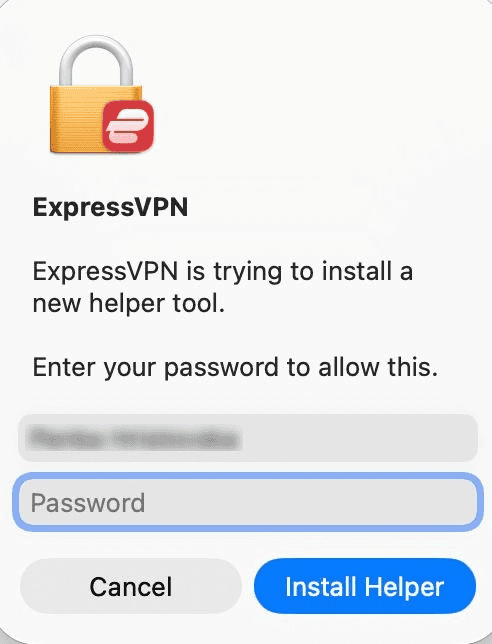
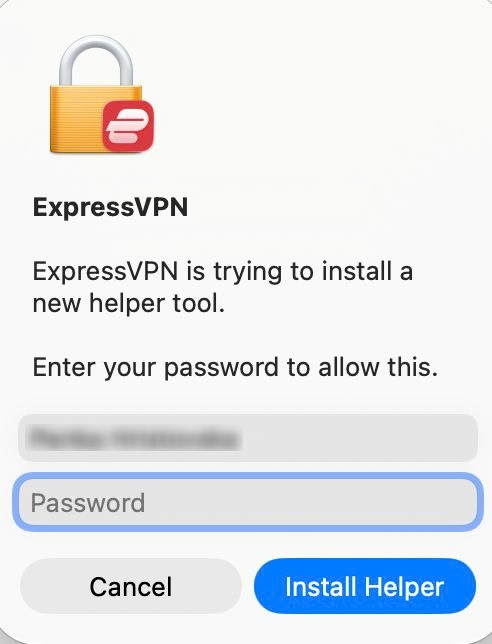
- When prompted to allow ExpressVPN to install a new helper tool, enter your password and click Install Helper to install the app.

Activate the app
To use the CLI, you need to sign in to your ExpressVPN account in the macOS app.
To sign into your account in the ExpressVPN app on macOS, open it and click Sign In.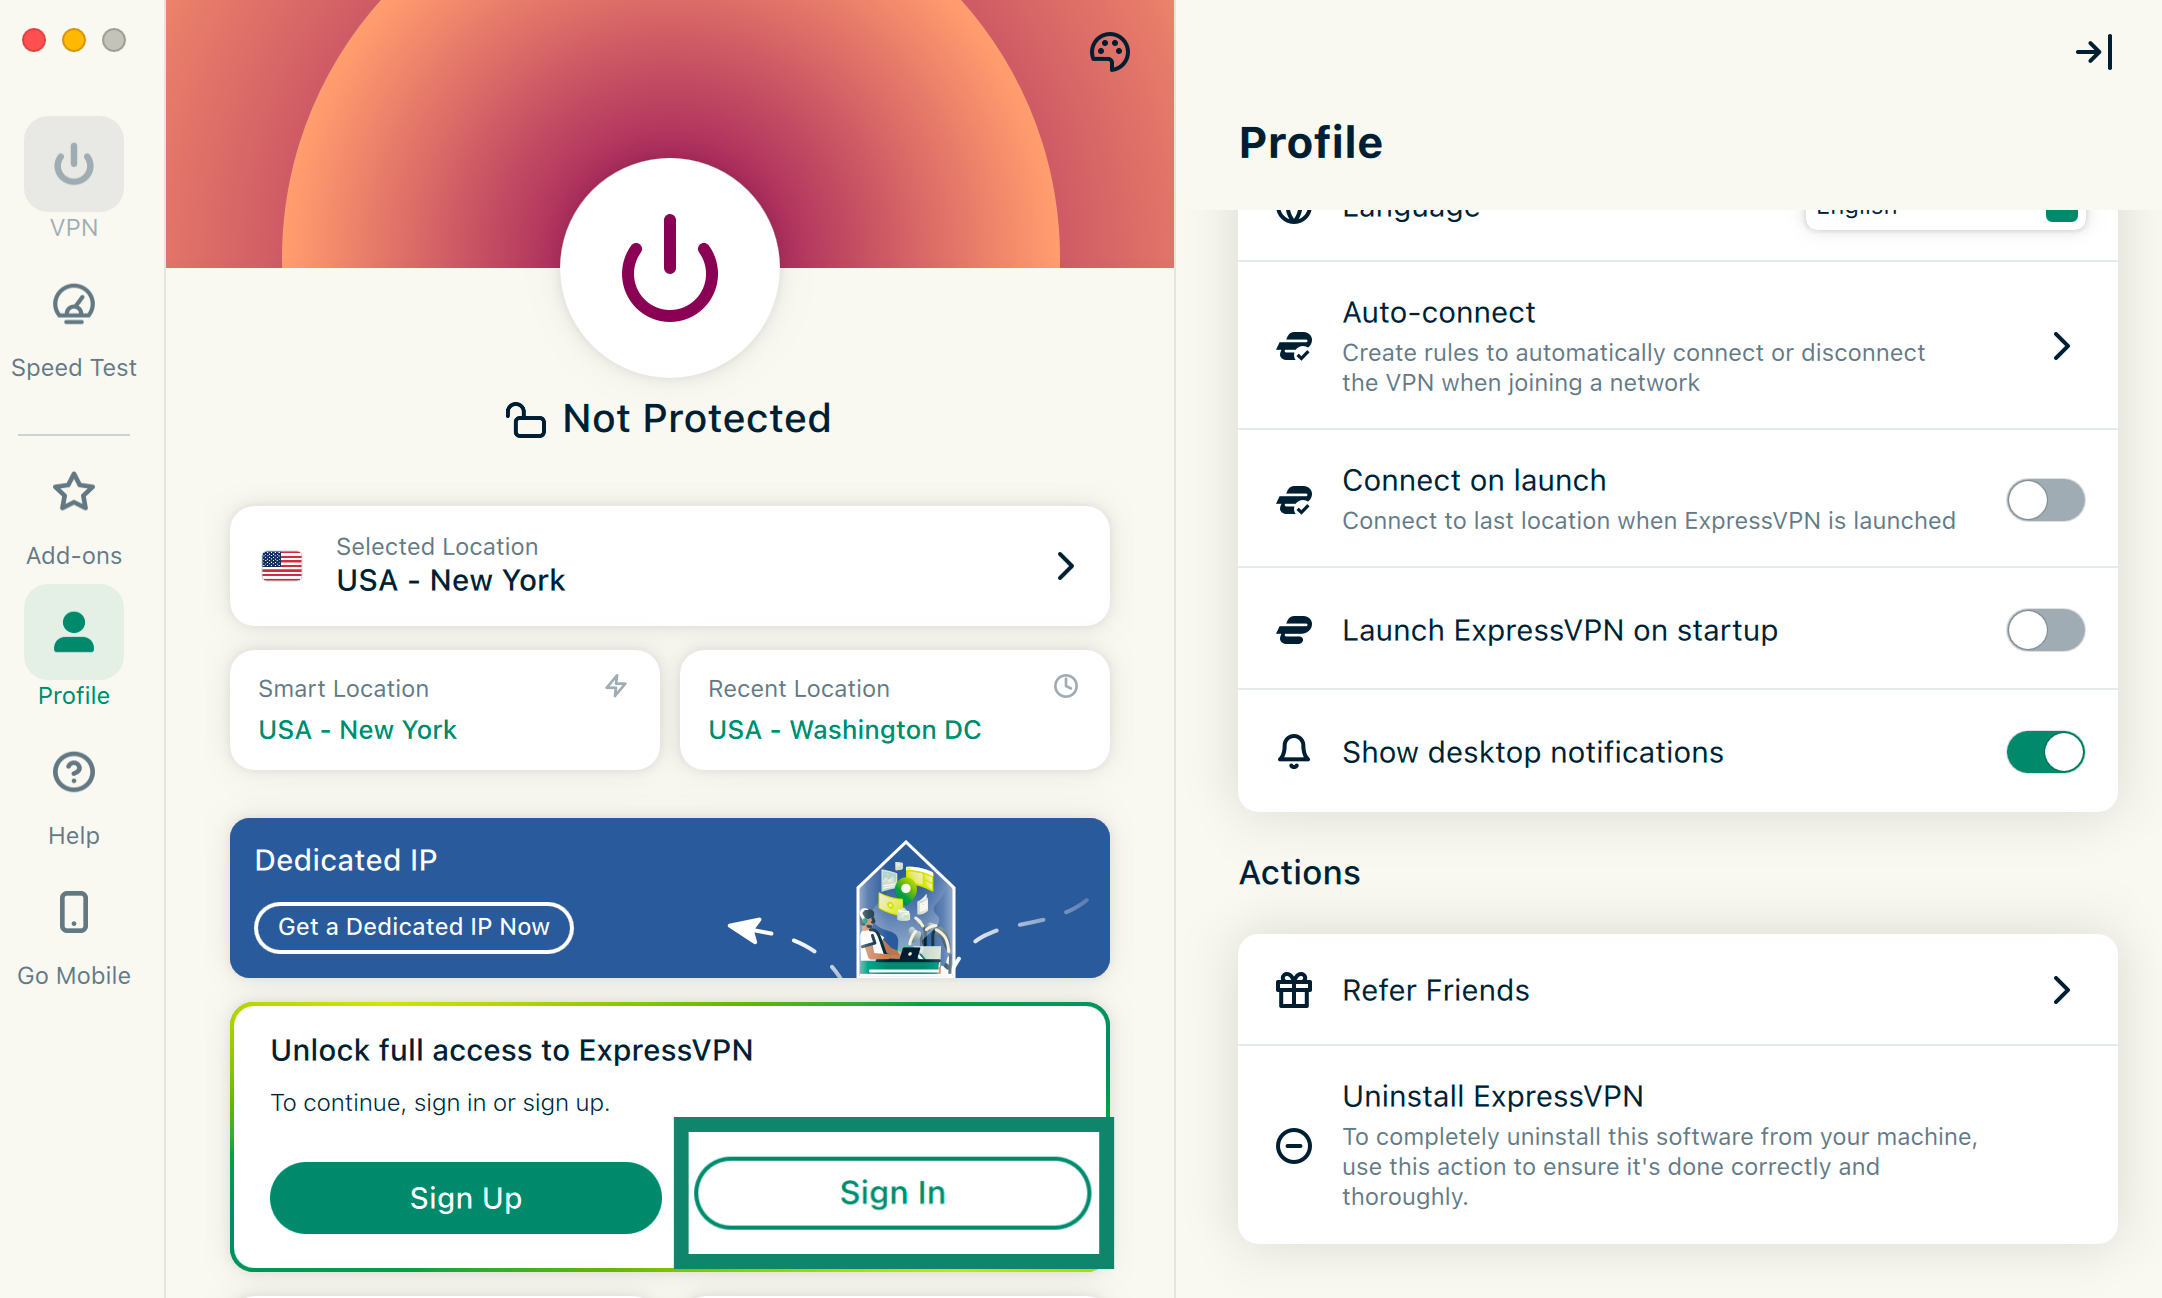
There are three ways to sign in to the app:
- With your activation code: This is your account’s activation code, which you can find in the setup page. You can copy and paste it in the activation code field, and you will be logged into your account.
- With an email sign-in link: Enter the email address associated with your ExpressVPN account, and you will get an email from ExpressVPN with a link you can click on to get logged in.
- With your password: Enter the email address associated with your account and your password, and you will be signed into your account.
After you are logged in:
- Your Mac will ask permission to complete the configuration. Click Continue.
- You will be asked whether you want to allow ExpressVPN to launch on startup. Select your preference to continue.
- You will be asked whether you want to help improve ExpressVPN by sharing anonymous diagnostics with ExpressVPN. This helps ExpressVPN continually improve its products and services. Select your preference to continue.
- If advanced protection is included in your subscription, you will be asked if you want to block display ads and enable additional safeguards. Select your preference to continue.
Once done, you can use the CLI to control the ExpressVPN app.
Need help? Contact the ExpressVPN Support Team for immediate assistance.
View all commands
To see the available ExpressVPN CLI commands and options, open Terminal and run:
expressvpnctl -h
Need help? Contact the ExpressVPN Support Team for immediate assistance.
Connect to a VPN server location
Important: The ExpressVPN app needs to be open for the connection commands to work. If you do not want to have to keep the app open, you can enable background mode by running:
expressvpnctl background enable
To connect to the VPN, run the following command:
expressvpnctl connect
The first time you connect, ExpressVPN automatically chooses a server location using Smart Location. The selection is based on factors such as your connection speed and distance from the server.
For subsequent connections, the CLI uses the last server location you connected to.
Need help? Contact the ExpressVPN Support Team for immediate assistance.
Disconnect from a VPN server location
To disconnect from a VPN connection, use the following command:
expressvpnctl disconnect
Need help? Contact the ExpressVPN Support Team for immediate assistance.
Choose a different VPN server location
To view the available VPN server locations, run:
expressvpnctl get regions
Connect to a specific VPN server location
Specify the server location you want to use with:
expressvpnctl connect "LOCATION"
For example, the following command connects you to Germany – Frankfurt – 1:
expressvpnctl connect "Germany - Frankfurt - 1"
Need help? Contact the ExpressVPN Support Team for immediate assistance.
Switch to a different VPN protocol
A VPN protocol determines how your device communicates with the VPN server. ExpressVPN recommends Automatic, which is selected by default and chooses a suitable protocol for your network. If you experience connection or speed issues, trying another protocol may help.
To switch to Lightway – TCP, run:
expressvpnctl set protocol lightwaytcp
To switch to Lightway – UDP, run:
expressvpnctl set protocol lightwayudp
To switch to Lightway – TCP, run:
expressvpnctl set protocol wireguard
To switch to OpenVPN – TCP, run:
expressvpnctl set protocol openvpntcp
To switch to OpenVPN – UDP, run:
expressvpnctl set protocol openvpnudp
To switch back to Automatic, run:
expressvpnctl set protocol auto
Need help? Contact the ExpressVPN Support Team for immediate assistance.
Use split tunneling
When you use split tunneling on macOS via the CLI, you can only set rules for apps that bypass the VPN tunnel.
To turn on split tunneling, run:
sudo expressvpnctl set splittunnel true
To add an app that bypasses the VPN, run:
sudo expressvpnctl set split-app bypass:PATH/TO/APP
For example, to have Firefox bypass the VPN, run:
sudo expressvpnctl set split-app bypass:/Applications/Firefox.app
To remove a split tunneling rule, run:
sudo expressvpnctl set split-app remove:PATH/TO/APP
Need help? Contact the ExpressVPN Support Team for immediate assistance.
Block ads, trackers, and harmful sites
You can use ExpressVPN’s advanced protection features to block ads, trackers, malicious sites, and adult content.
Many apps and websites share information about your activity with third-party companies, including trackers. This information can be used to personalize the ads and content you see.
Advanced protection features prevent apps and websites on your Mac from communicating with third-party companies listed in ExpressVPN’s open-source blocklists.
These features are disabled by default. You can enable all of them at once or manage each feature separately.
Enable all advanced protection features
1. Open the Terminal window.
To enable all advanced protection features, run:
expressvpnctl set blockAll true
To disable all advanced protection features, run:
expressvpnctl set blockAll false
4. Press Enter.
5. Reconnect to the VPN for the changes to take effect.
Block trackers
1. Open the Terminal window.
3. To block trackers, run:
expressvpnctl set blockTrackers true
To disable tracker blocking, run:
expressvpnctl set blockTrackers false
4. Press Enter.
5. Reconnect to the VPN to apply the change.
Block malicious sites
To block malicious sites, run:
expressvpnctl set blockMalicious true
To turn off this feature, run:
expressvpnctl set blockMalicious false
Press Enter, then reconnect to the VPN for the change to take effect.
Block ads
To enable the ad blocker, run:
expressvpnctl set blockAds true
To disable it, run:
expressvpnctl set blockAds false
Press Enter, then reconnect to the VPN to apply the change.
Block adult sites
To block adult sites, run:
expressvpnctl set blockAdult true
To disable this feature, run:
expressvpnctl set blockAdult false
Press Enter, then reconnect to the VPN for the change to take effect.
Need help? Contact the ExpressVPN Support Team for immediate assistance.
Use the Internet Kill Switch
The Internet Kill Switch blocks your internet traffic when your VPN connection drops unexpectedly to help prevent your data from being exposed outside the VPN connection. It is enabled by default, and you can only disable it via the GUI app.
That said, you can use the CLI to enable the Advanced Internet Kill Switch. It blocks all internet traffic unless the VPN is connected.
To turn this setting on, run:
sudo expressvpnctl set networklock true
To turn it off, run:
sudo expressvpnctl set networklock false
Need help? Contact the ExpressVPN Support Team for immediate assistance.
Uninstall the app
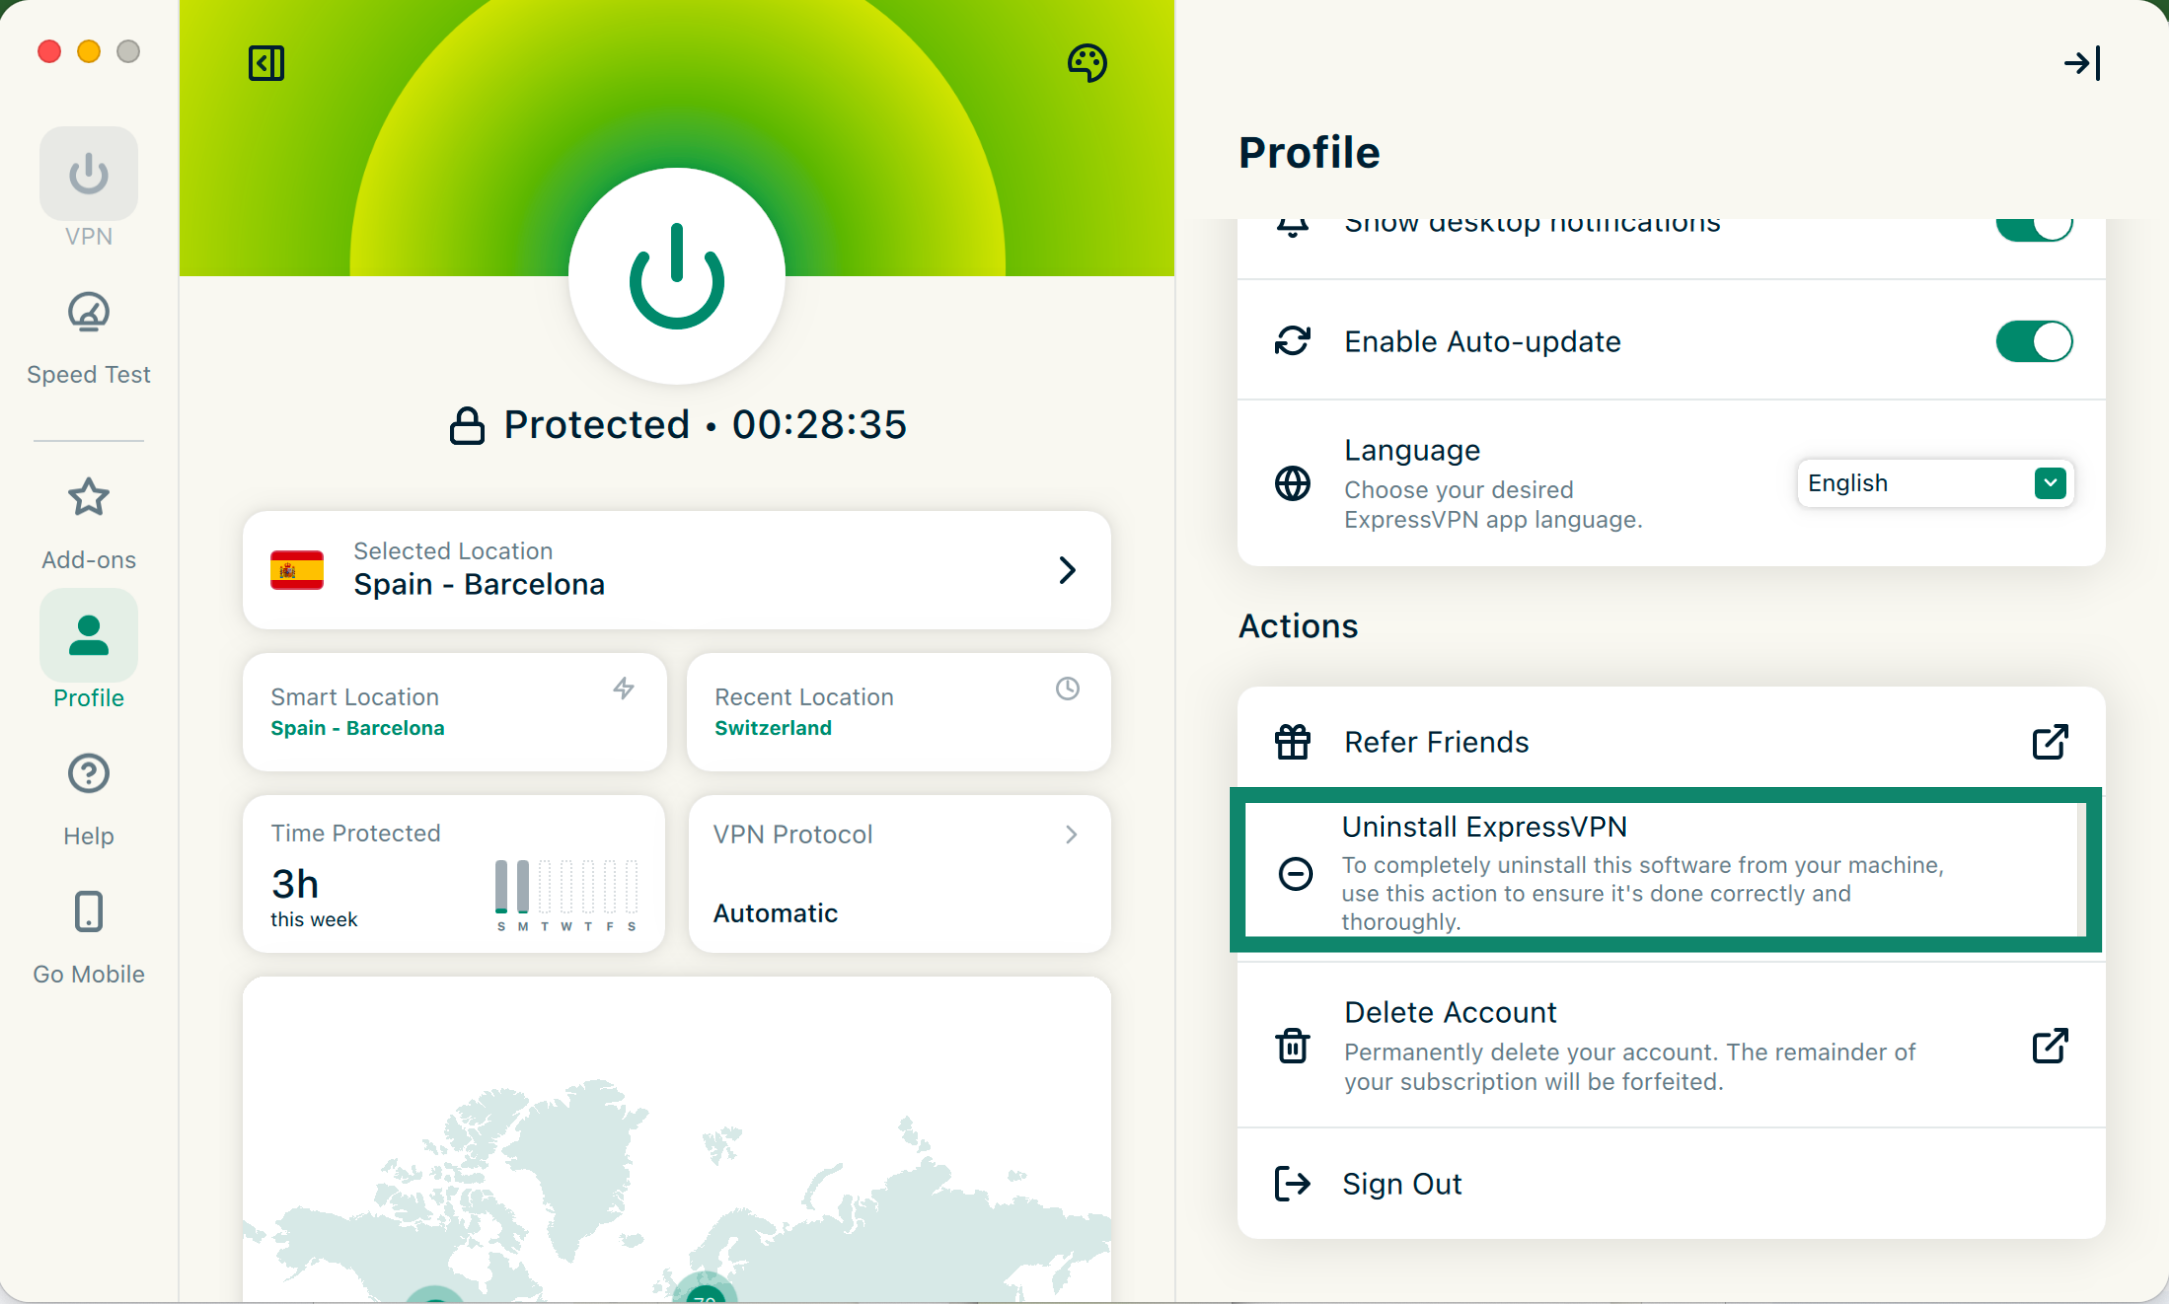
You can only remove the ExpressVPN app from your Mac via the ExpressVPN GUI app.
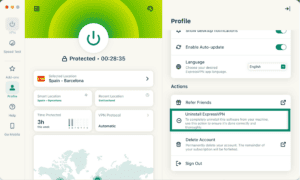
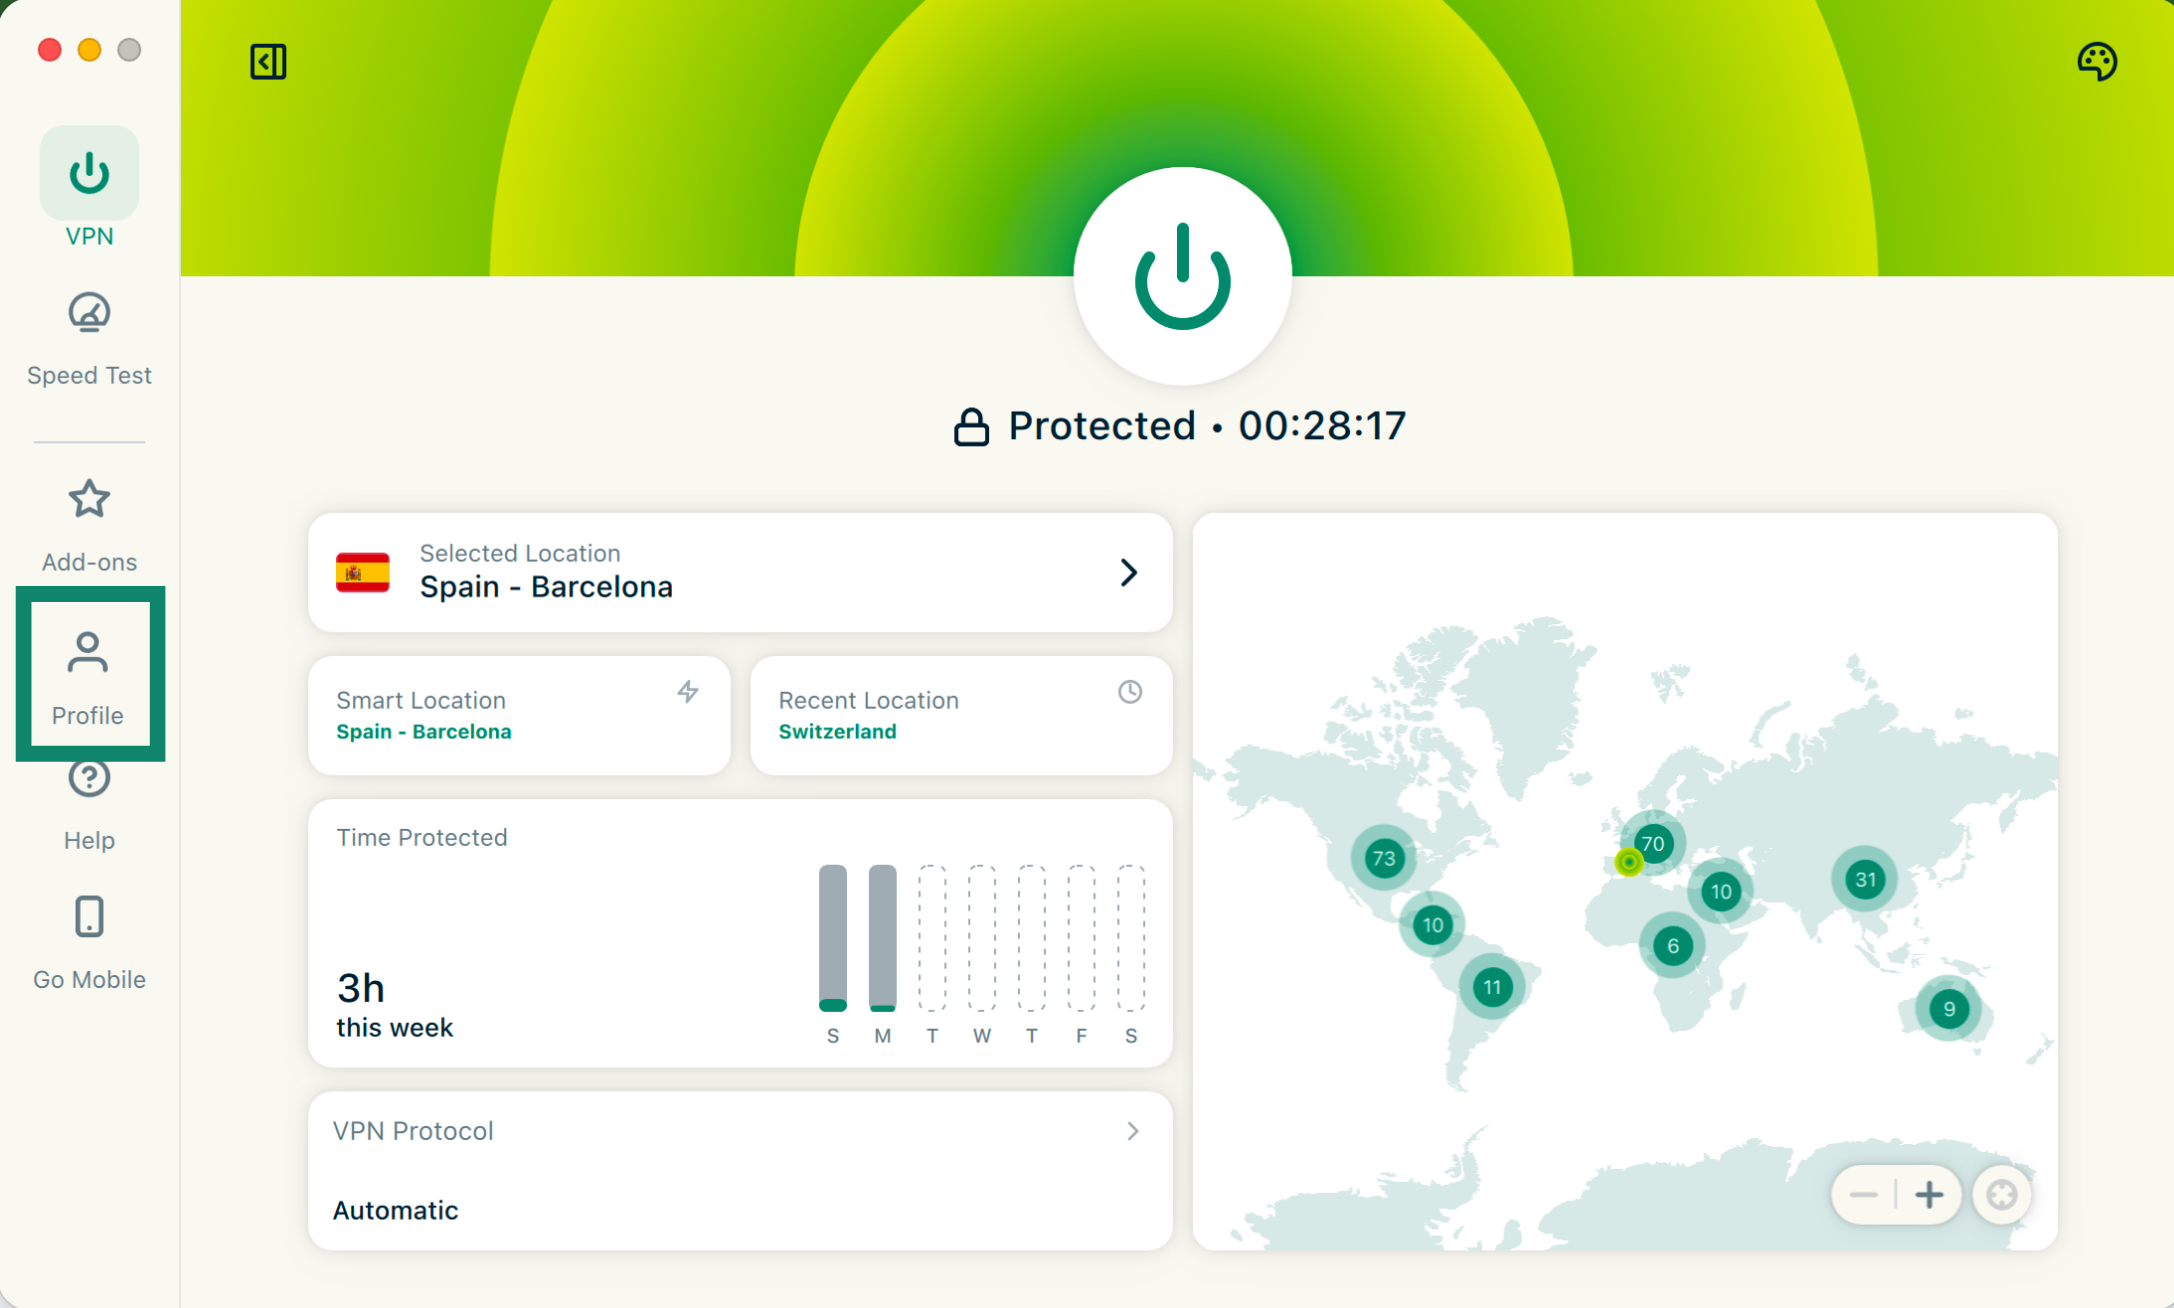
- Open the Profile tab.

- Scroll to Actions and select Uninstall ExpressVPN.

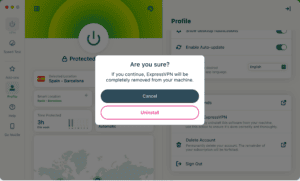
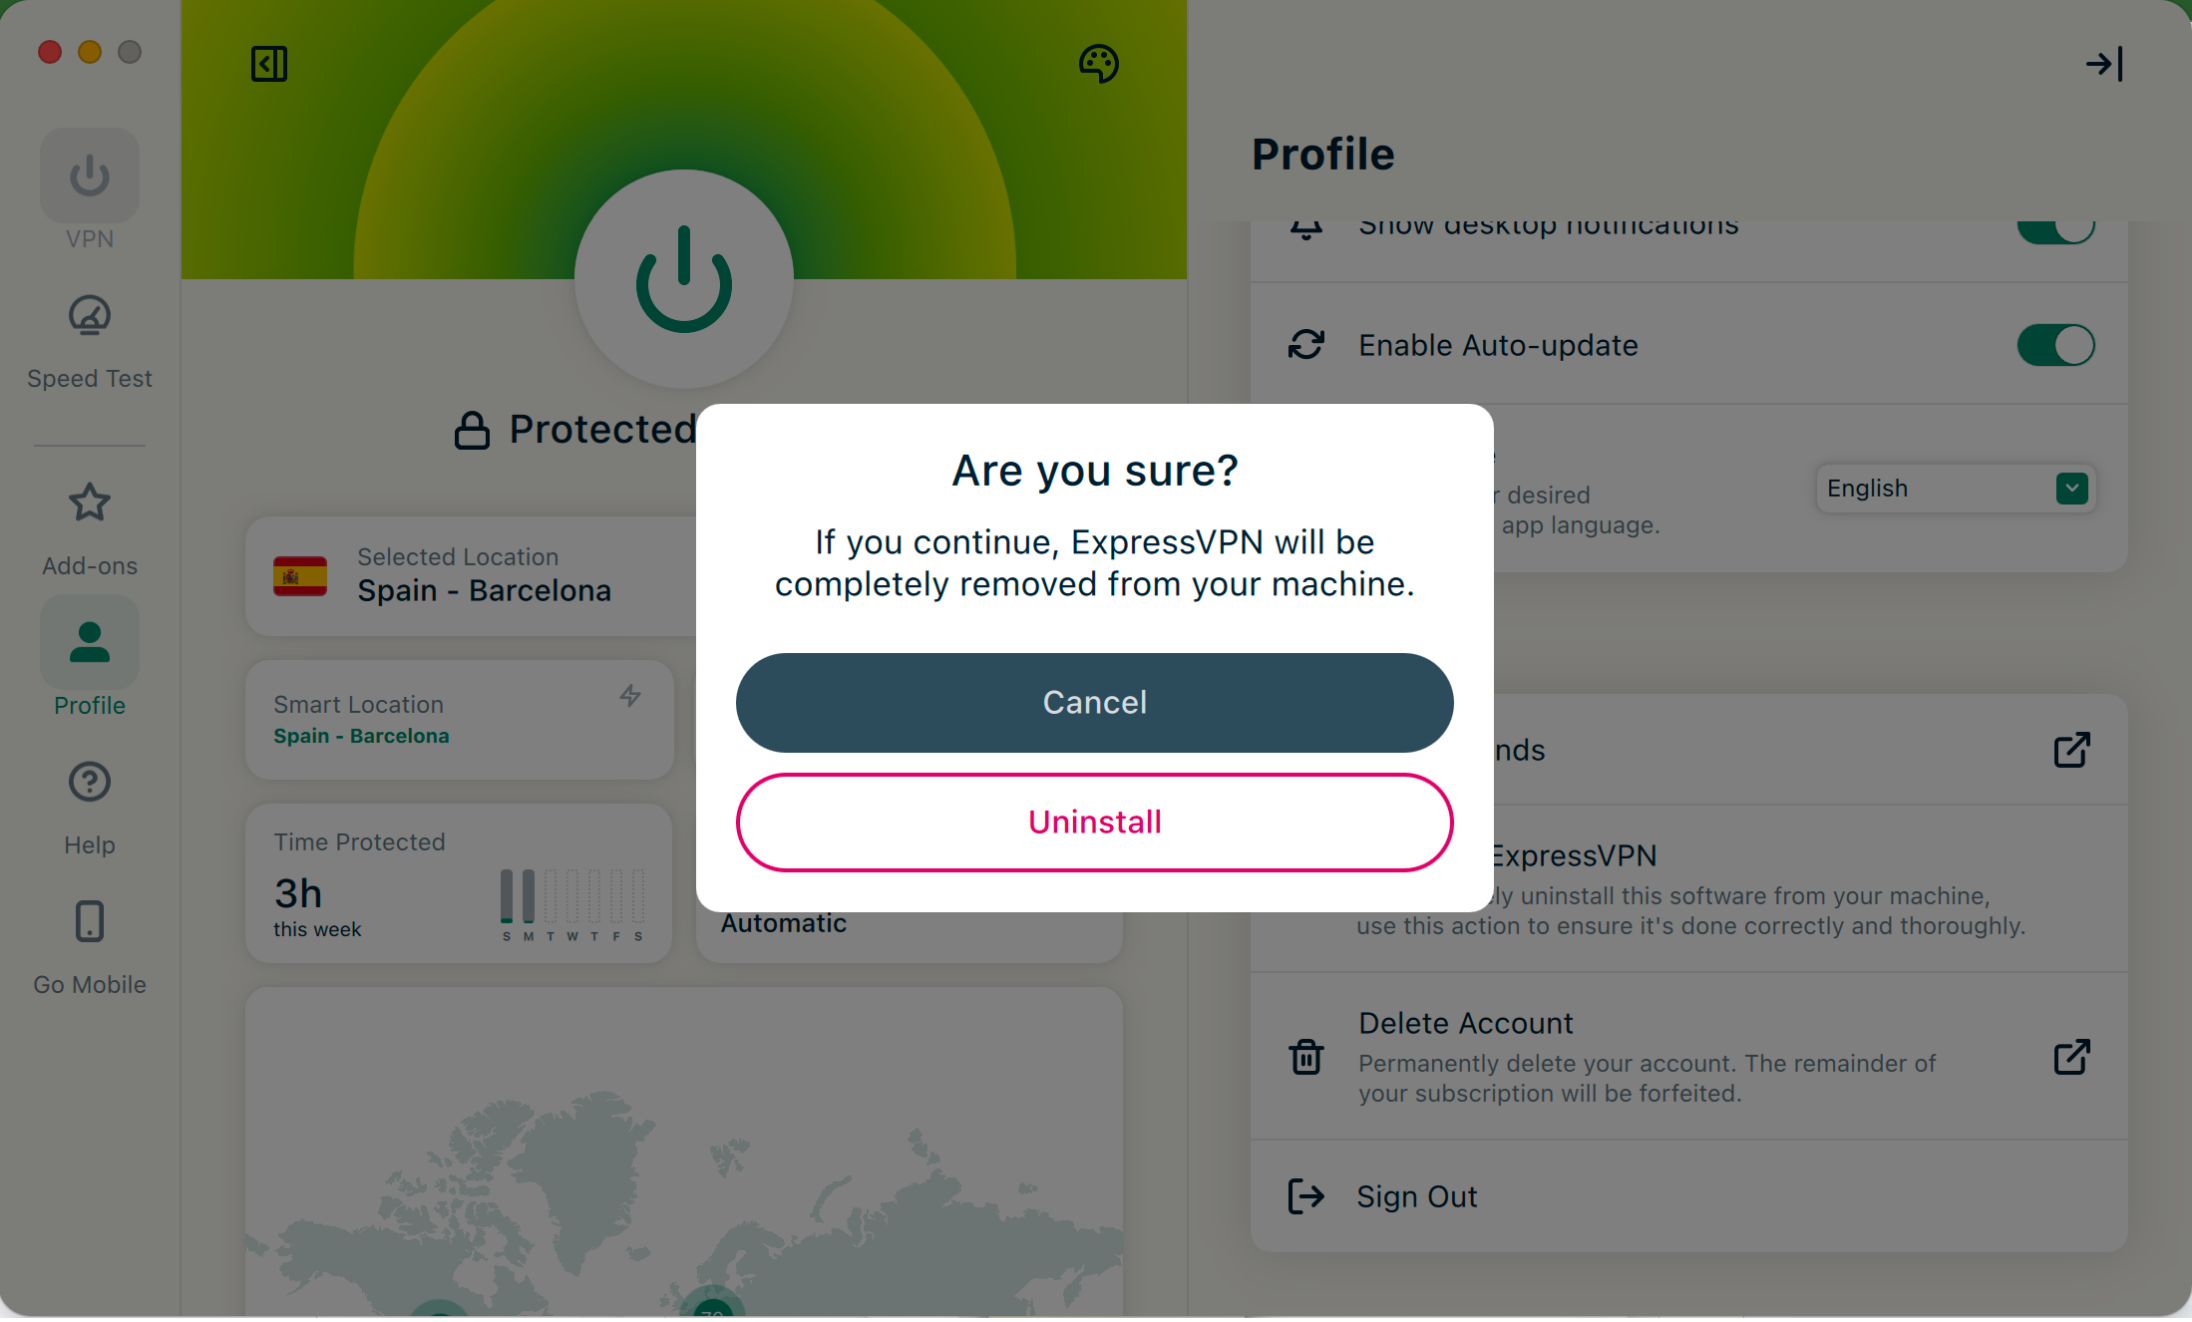
- Click Uninstall to confirm.

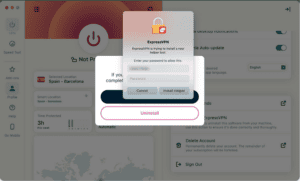
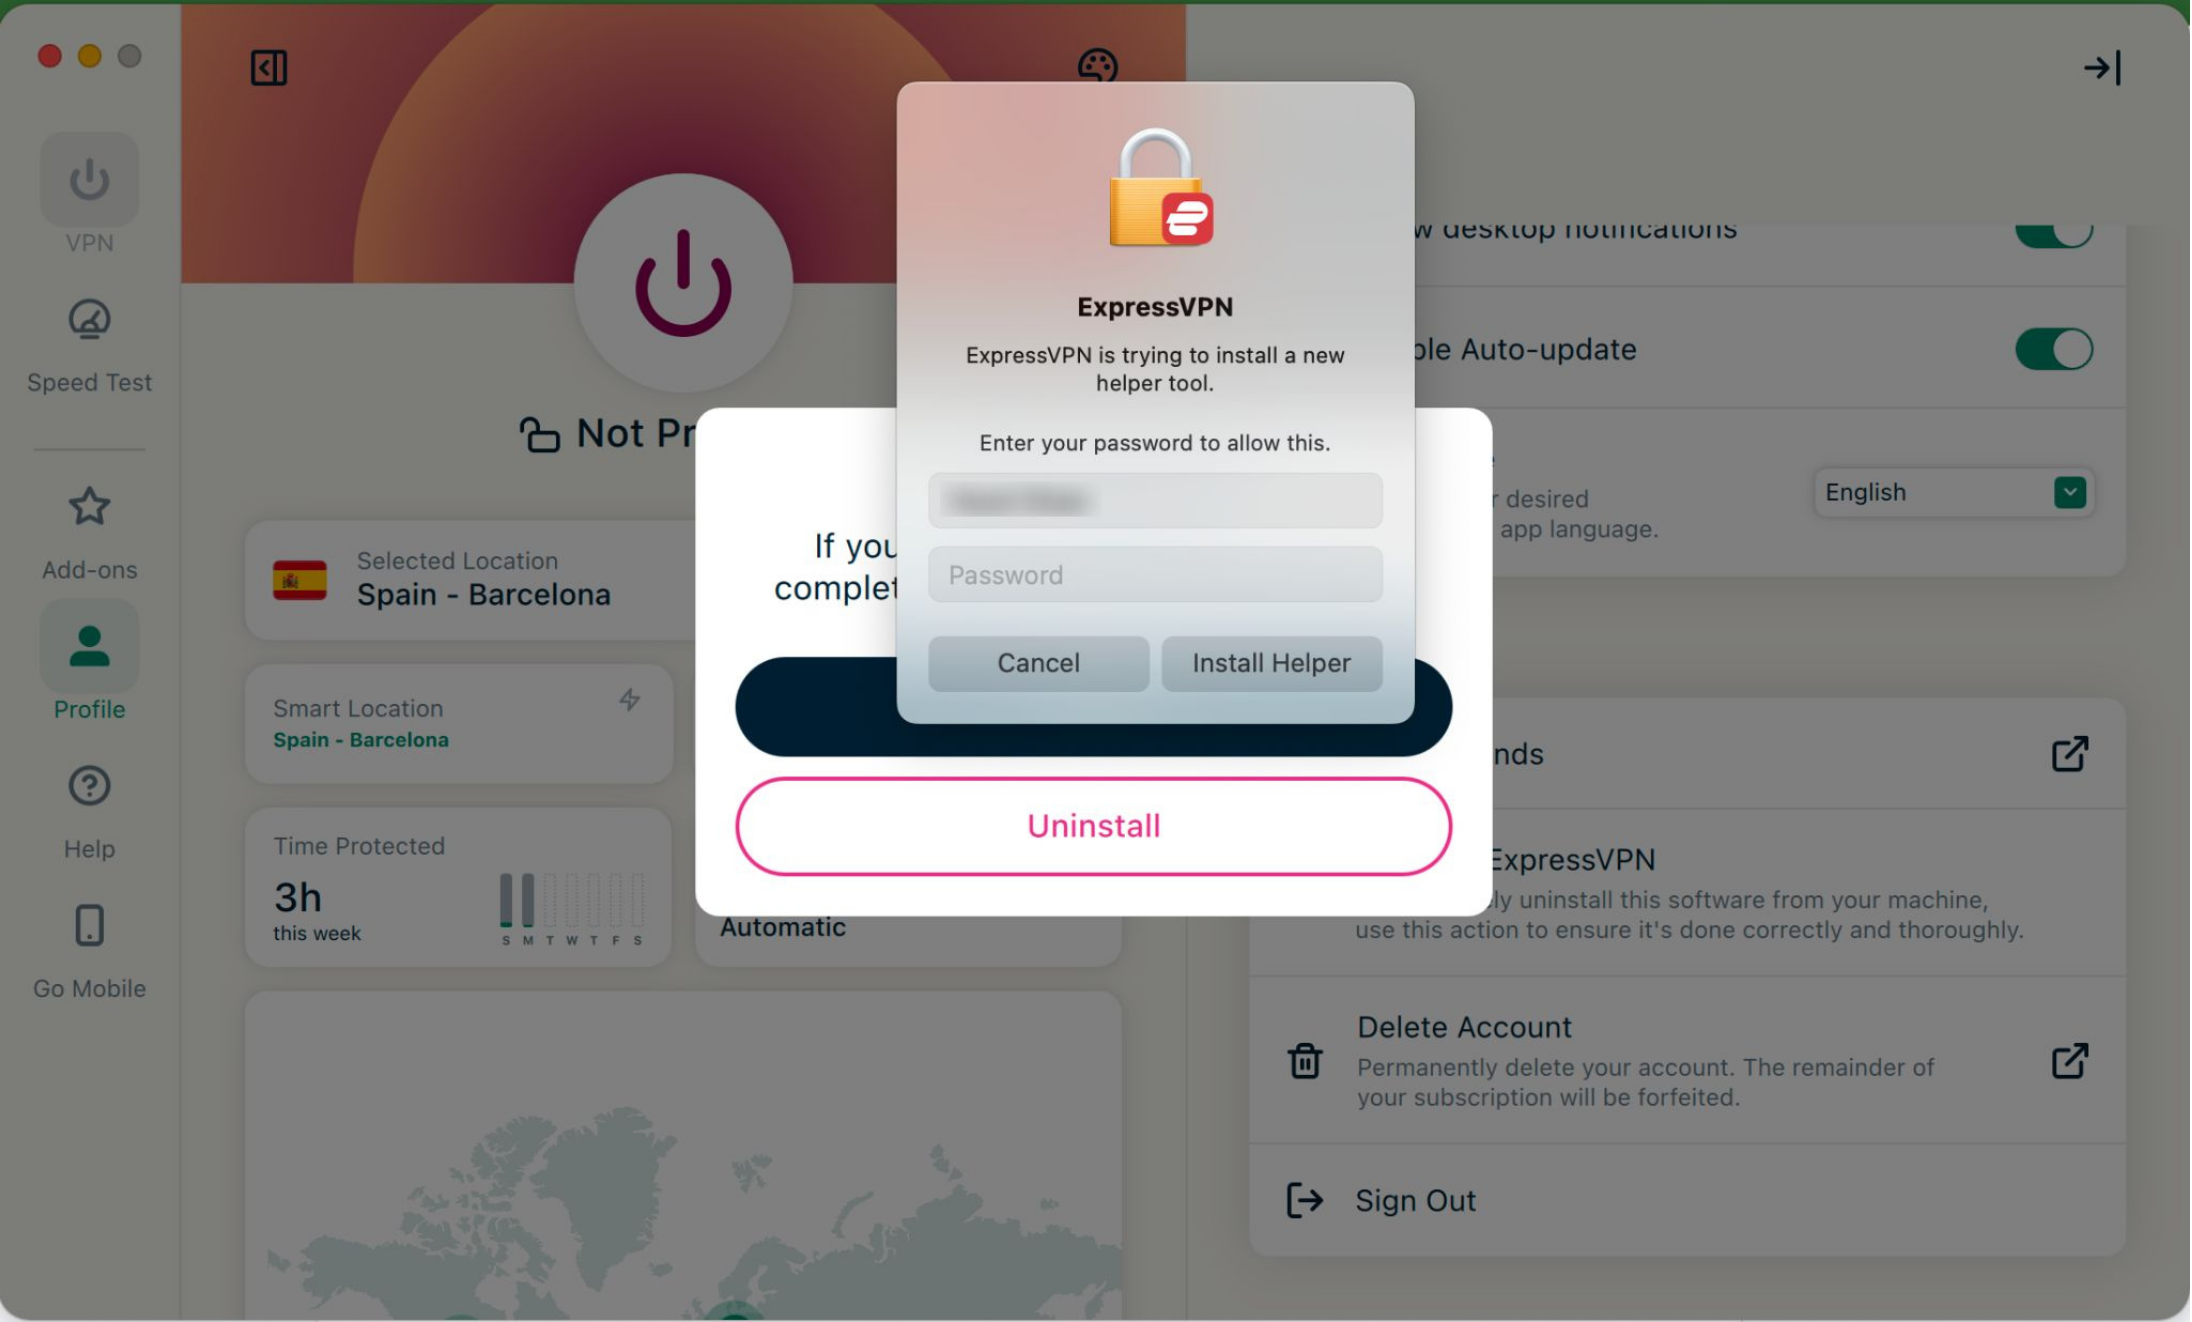
- Enter your Mac password, then click Install Helper.
ExpressVPN is now removed from your Mac.
Need help? Contact the ExpressVPN Support Team for immediate assistance.