






Learn how to save your login details in the ExpressKeys apps and browser extension so you can use them to sign into your accounts.
Note: To import your logins in bulk from another password manager or browser, follow our guides on how to import your existing data into ExpressKeys.
Jump to…
How to save a login to the ExpressKeys mobile app (iOS and Android)
How to save a login to the ExpressKeys desktop app (macOS)
How to save a login to the ExpressKeys browser extension
How to save a login to the ExpressKeys mobile app (iOS and Android)
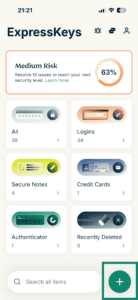
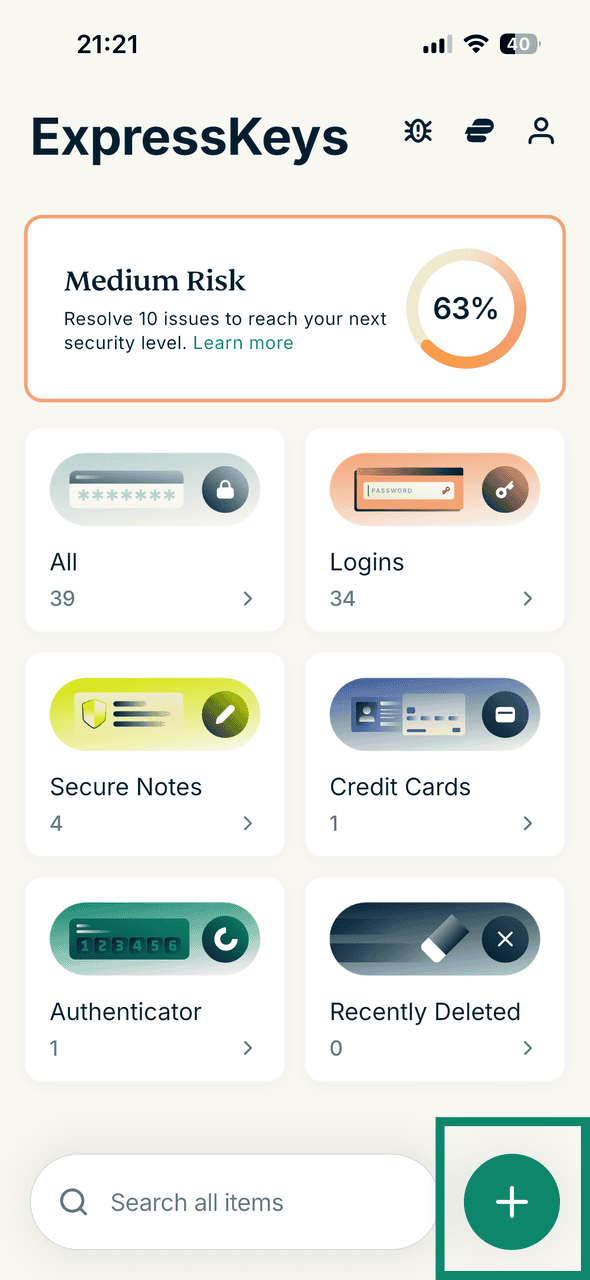
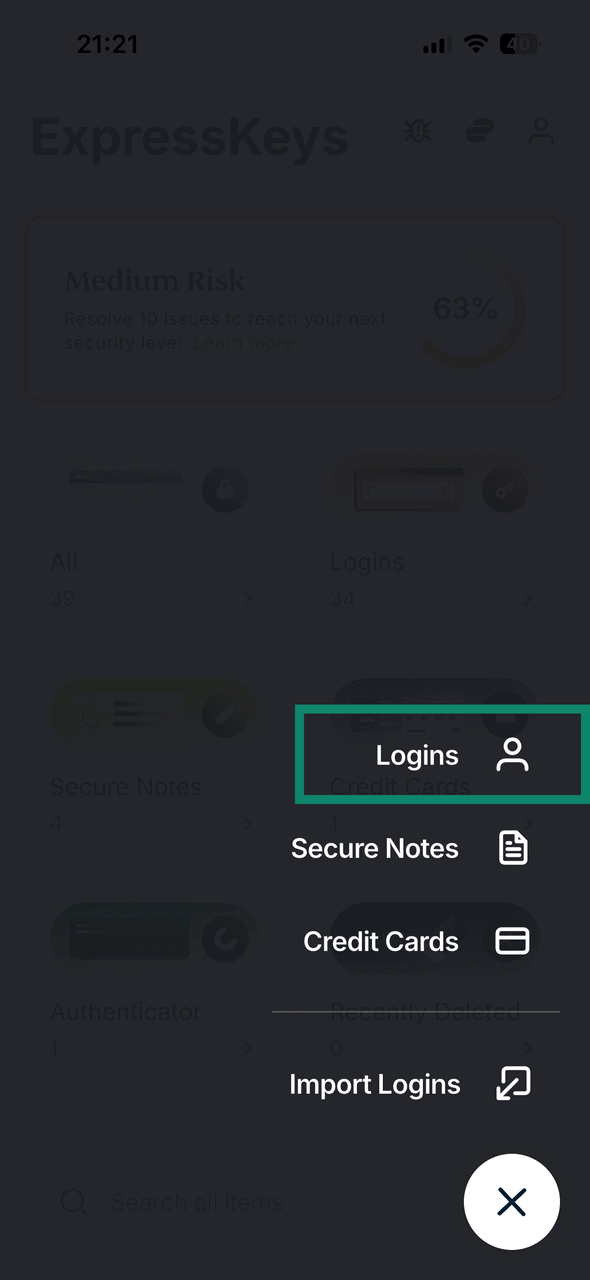
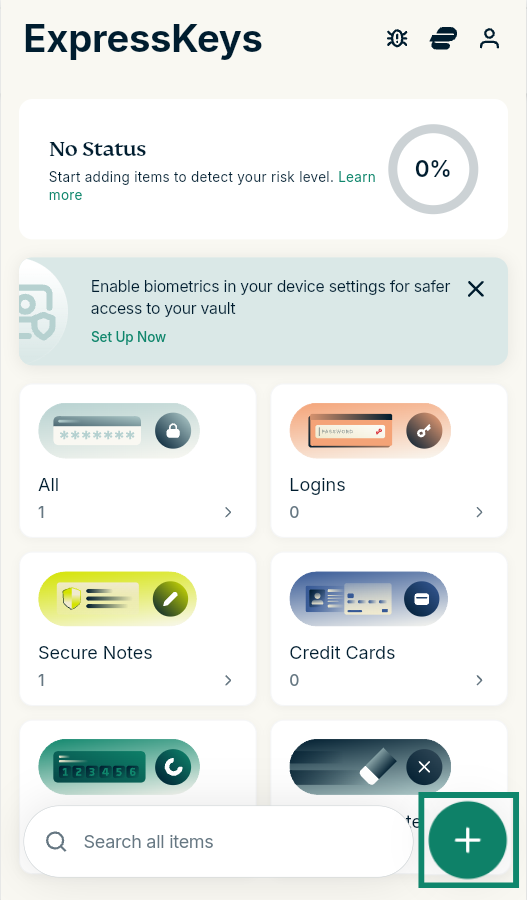
- Open the ExpressKeys app and tap the plus (

 ) icon.

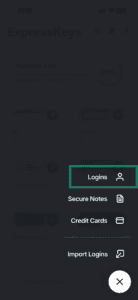
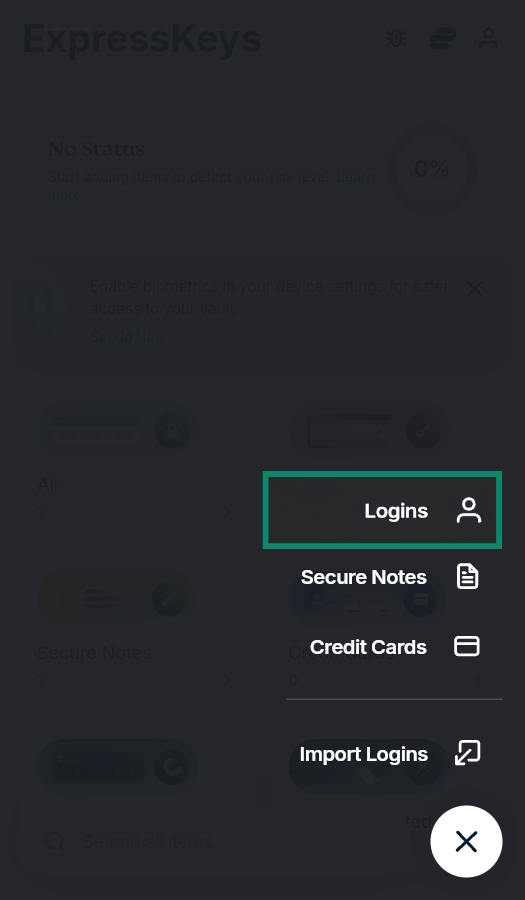
- Tap Logins.
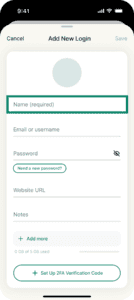
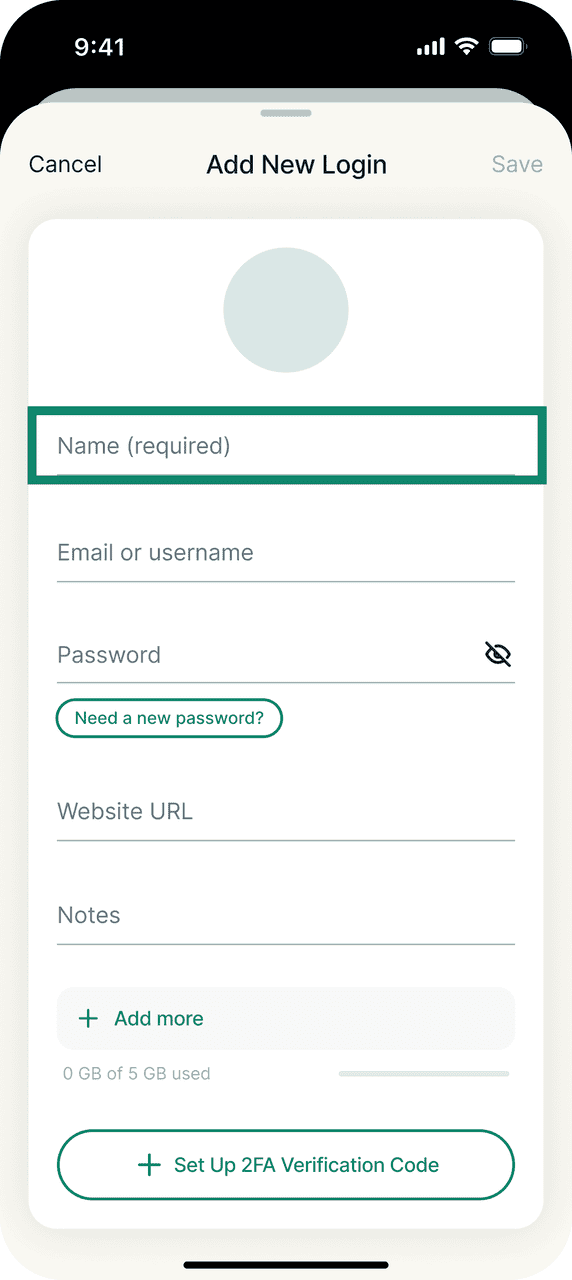
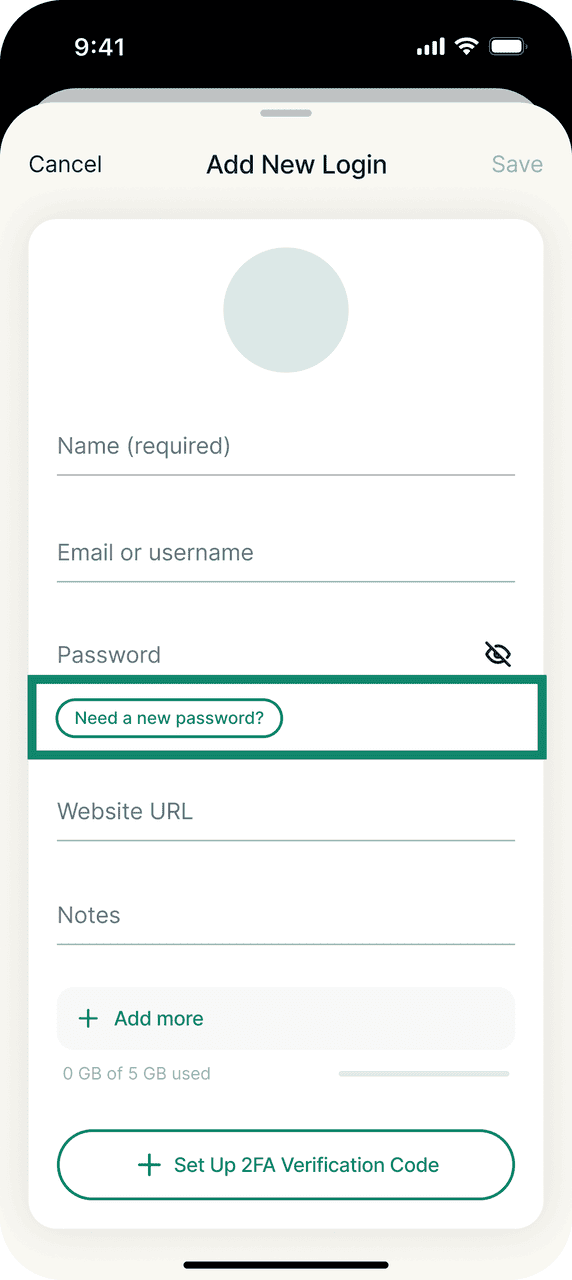
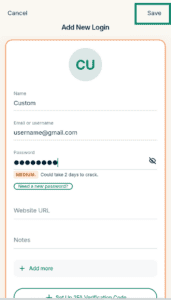
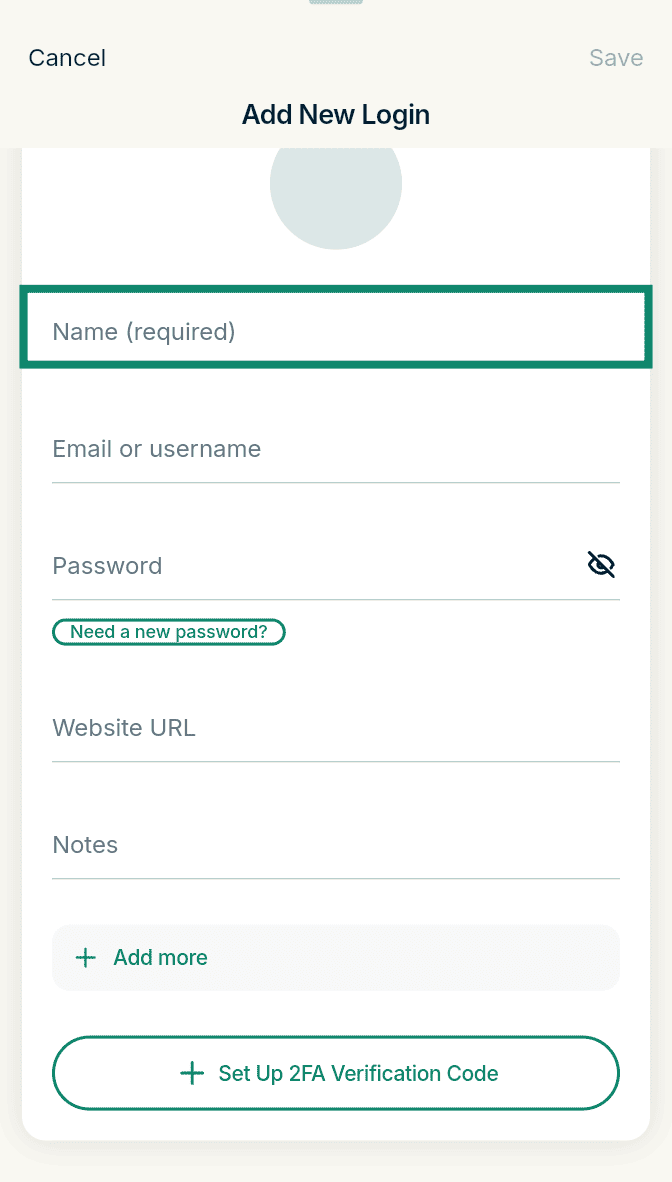
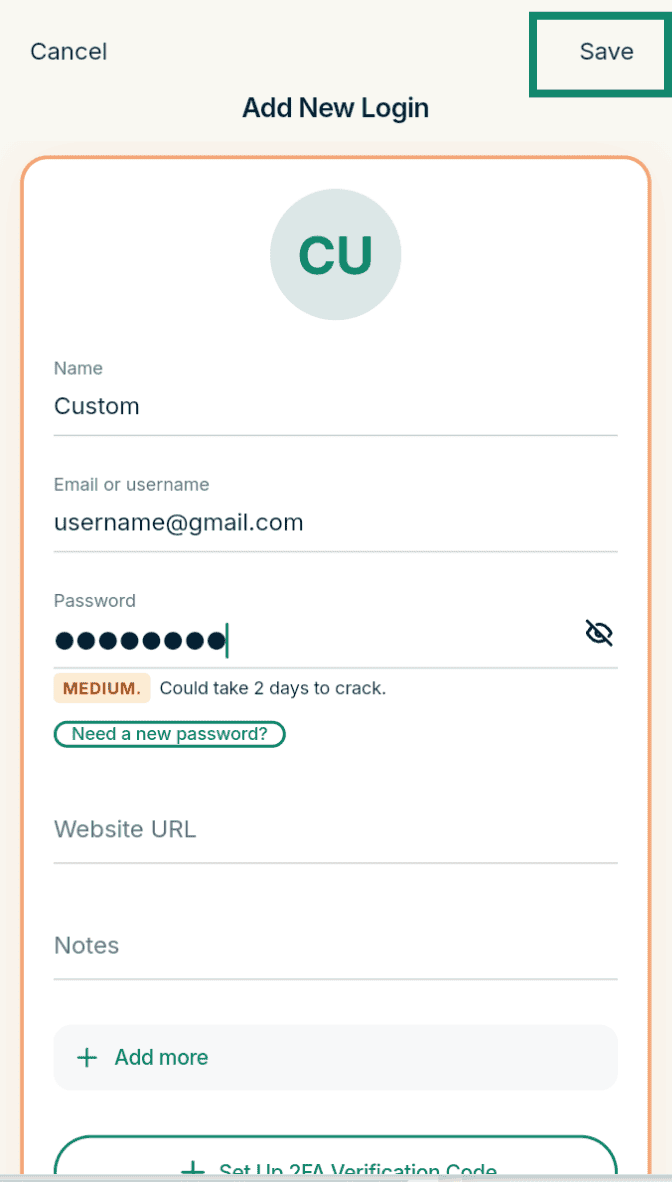
- Enter the Name of your login, e.g., browser login.

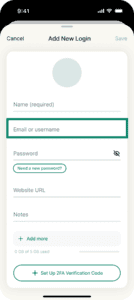
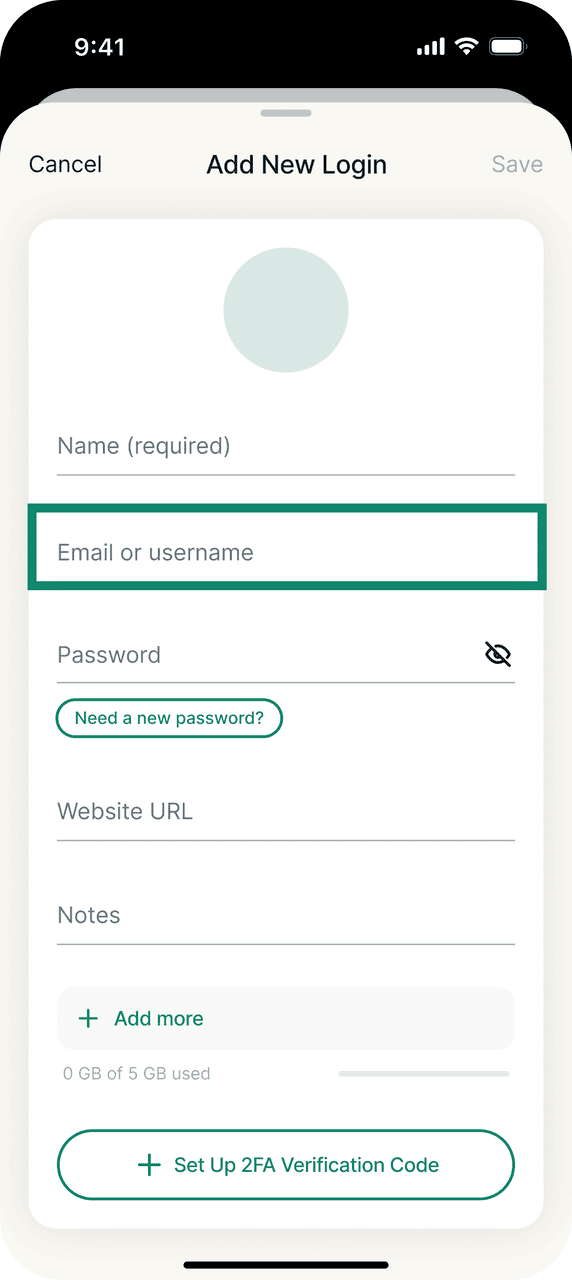
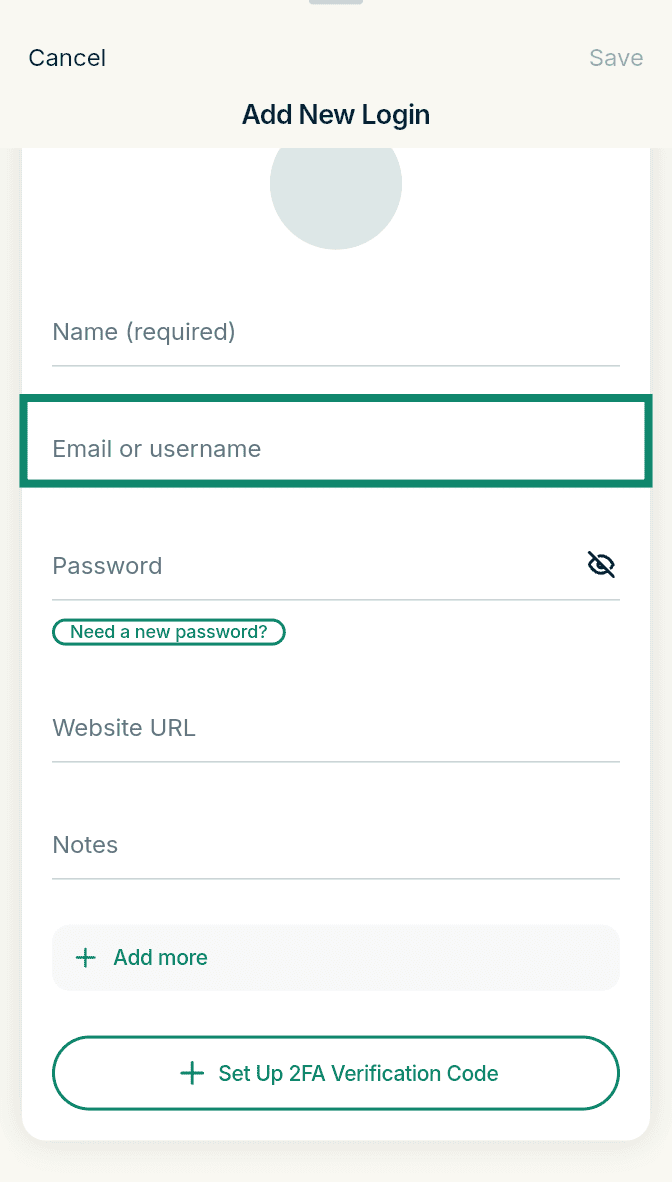
- Fill in the Email or username field.
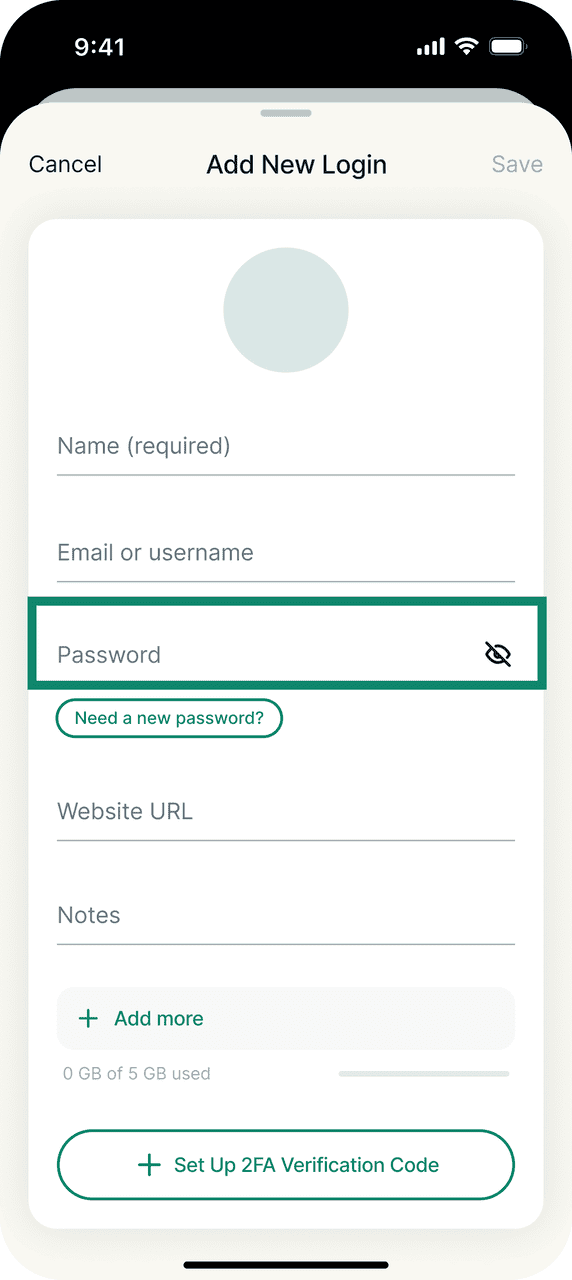
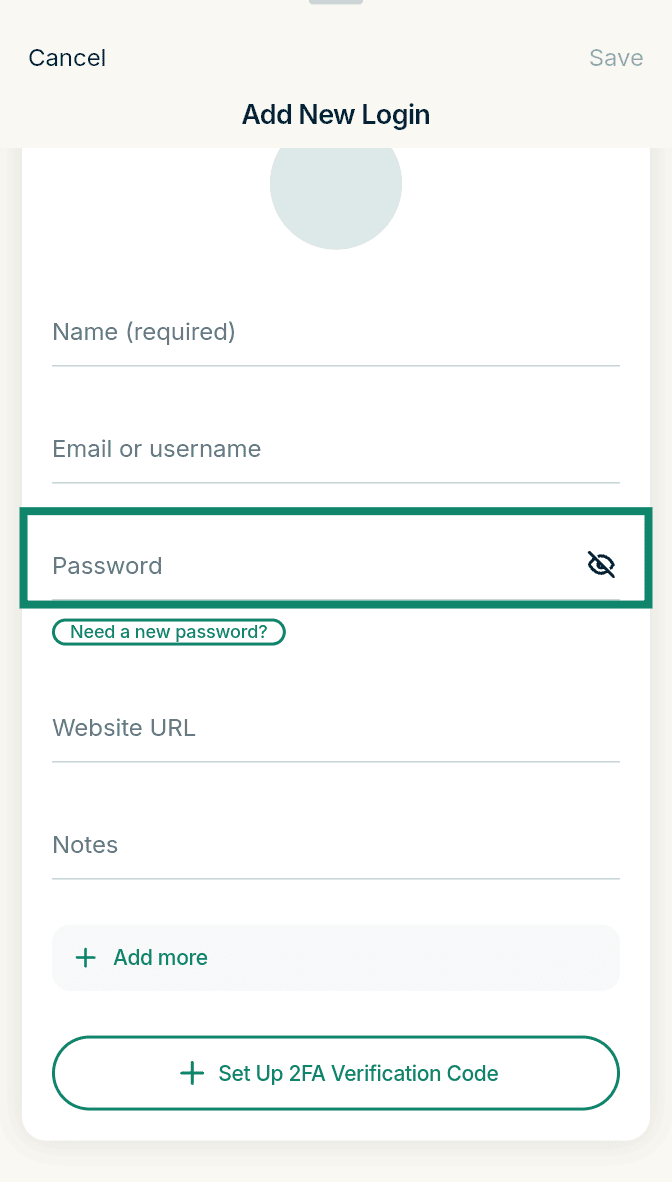
- Enter the Password.
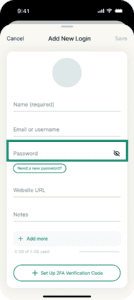
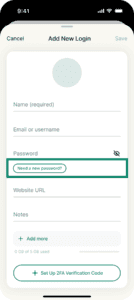
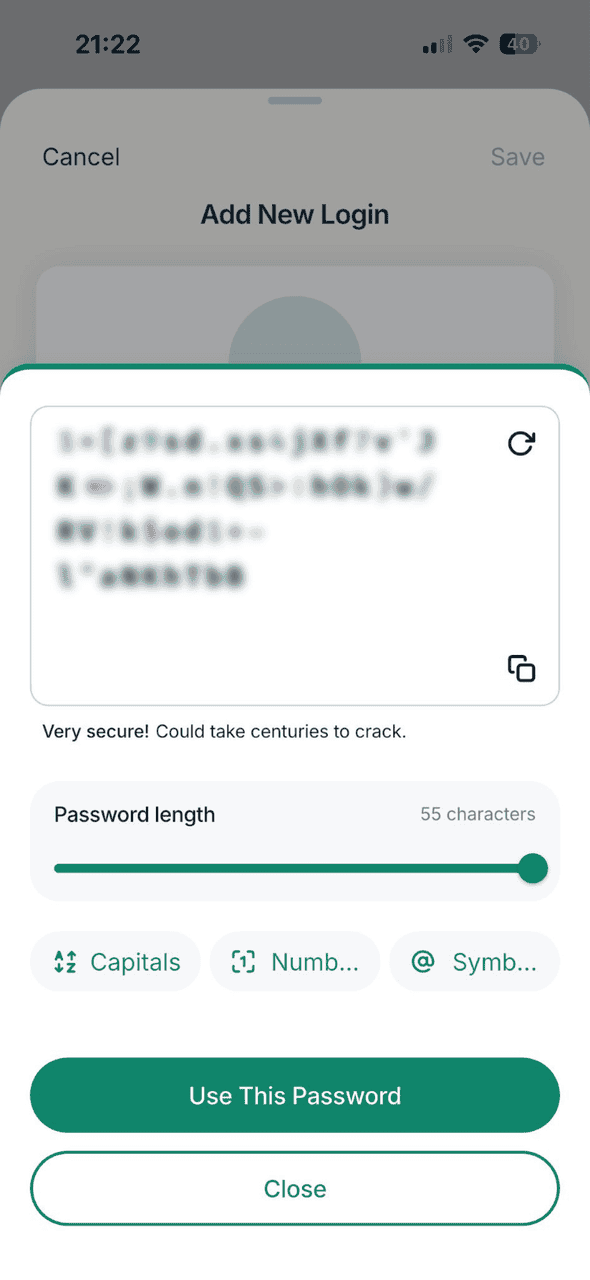
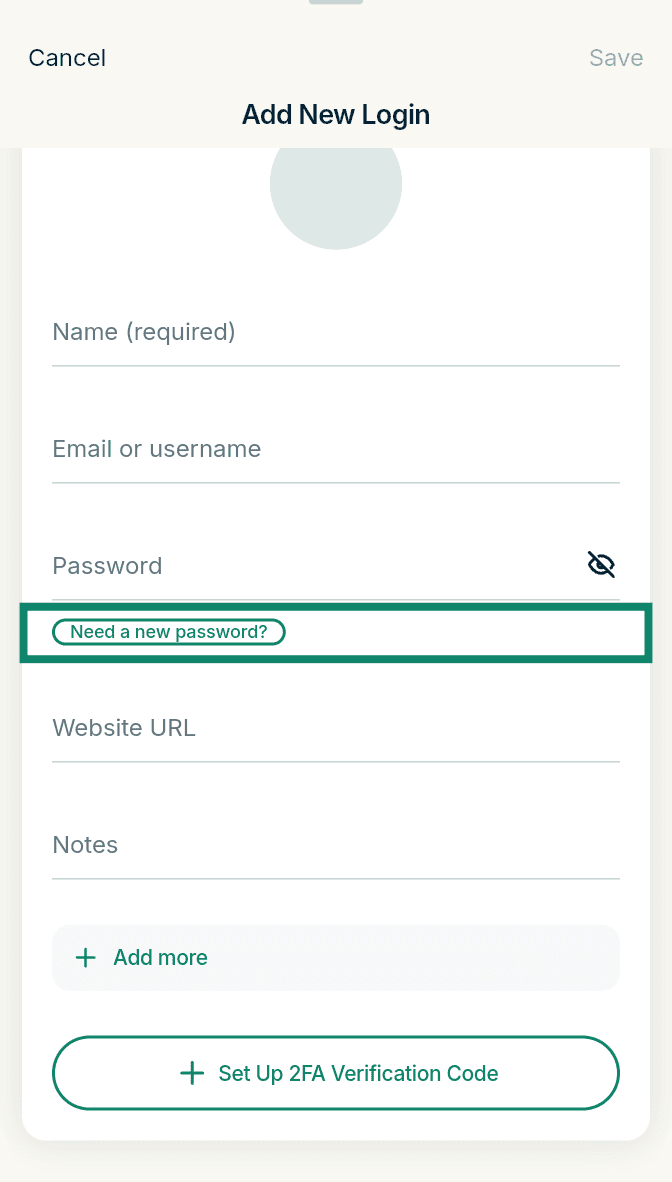
- If you want to generate a new, random password, tap Need a new password.
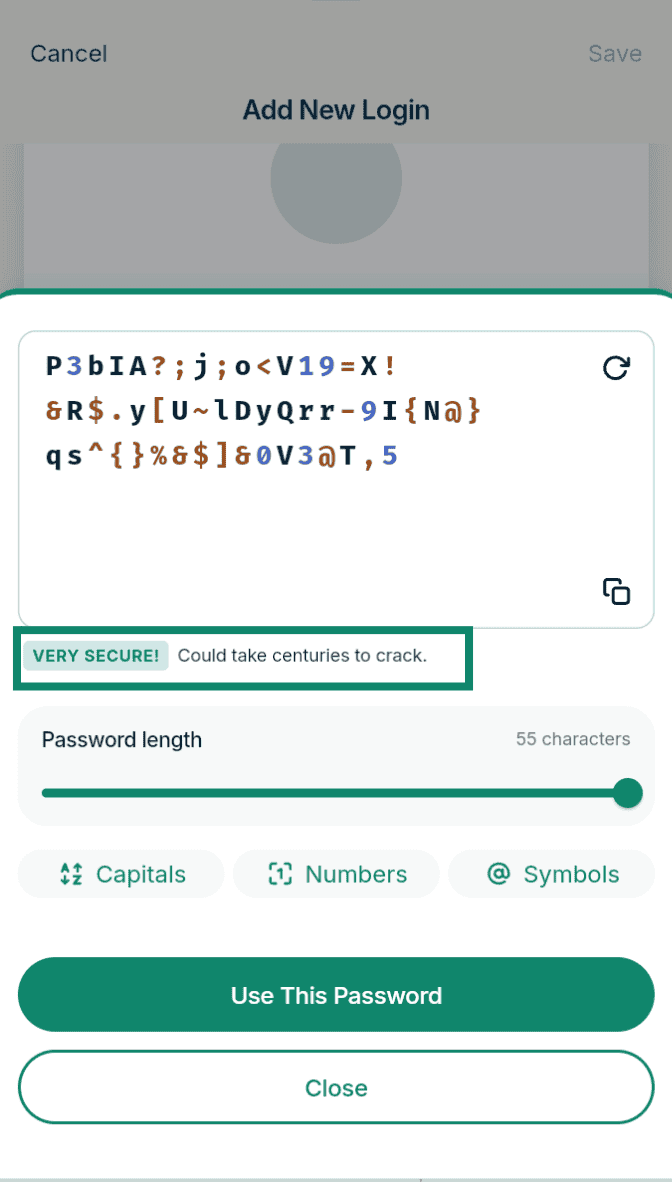
- Tap Use This Password.
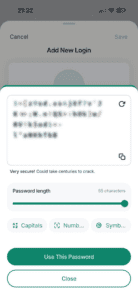
- If you want to generate a new, random password, tap Need a new password.
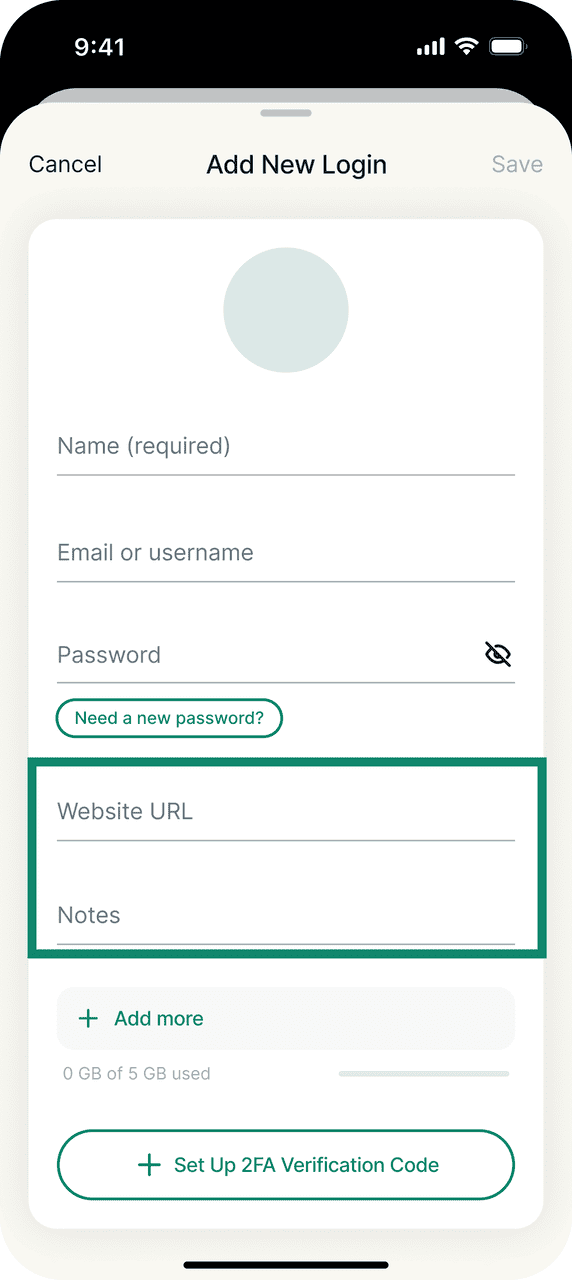
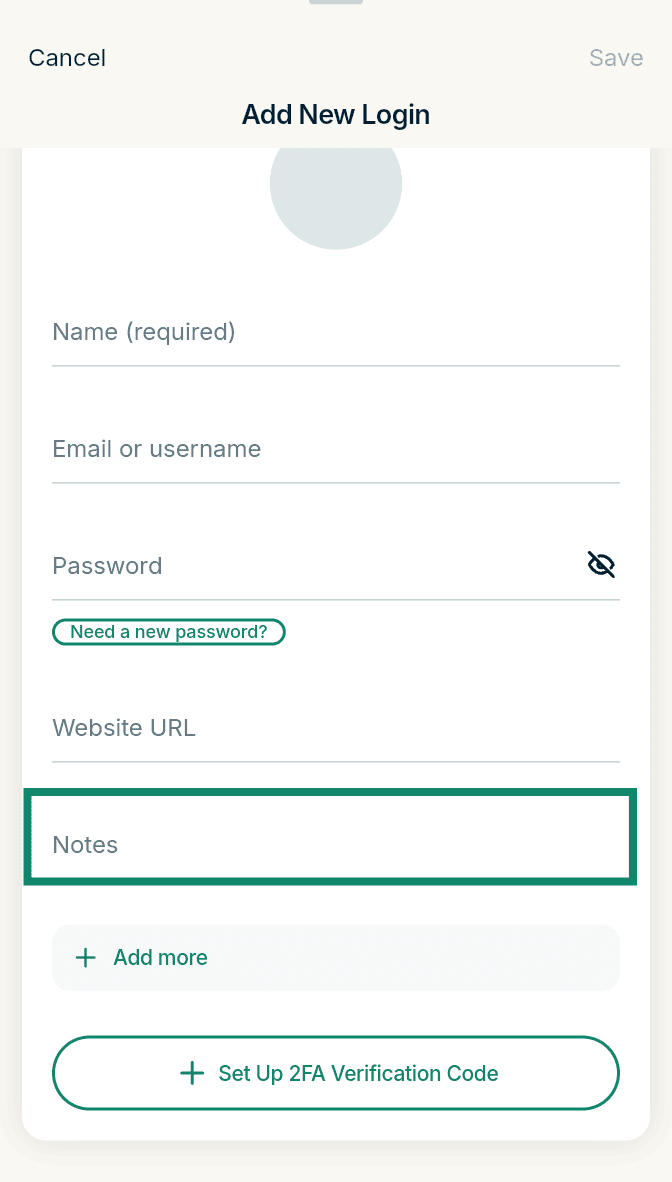
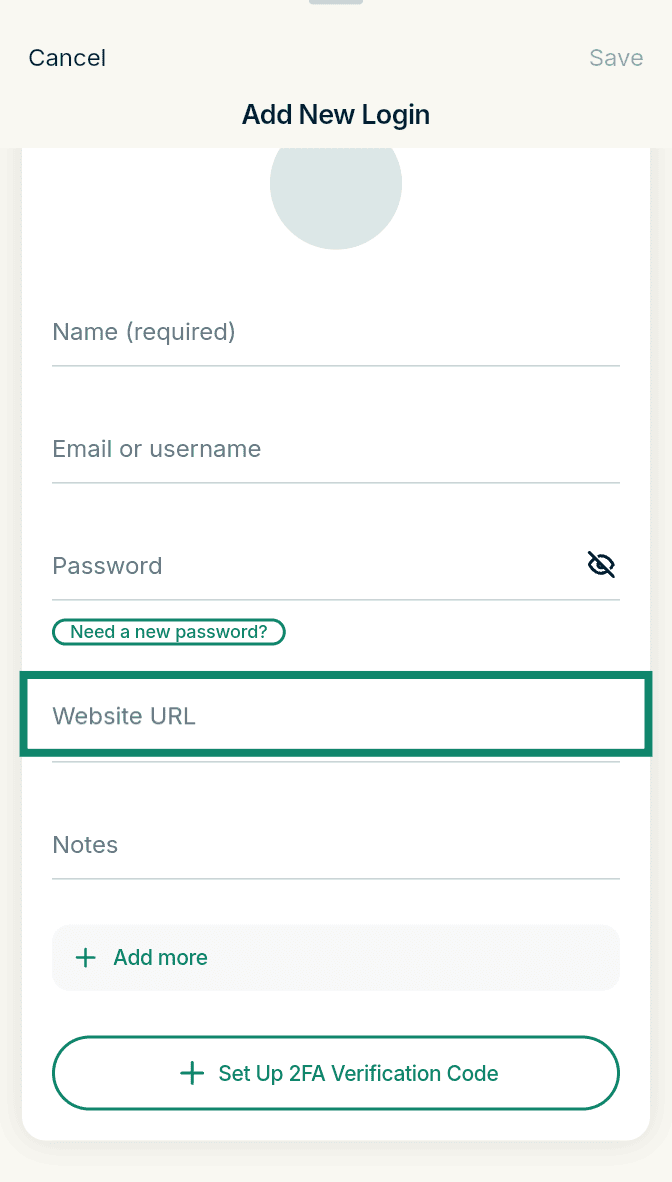
- Fill in the Website URL field and any notes you want to add about the login.
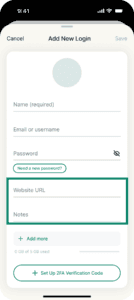
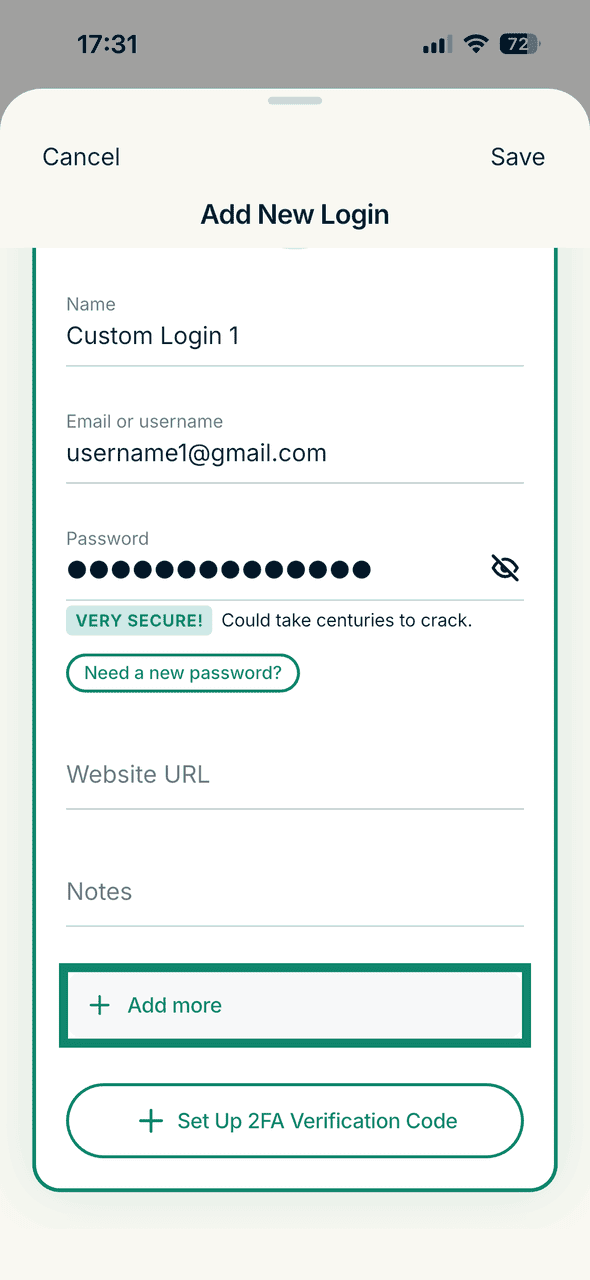
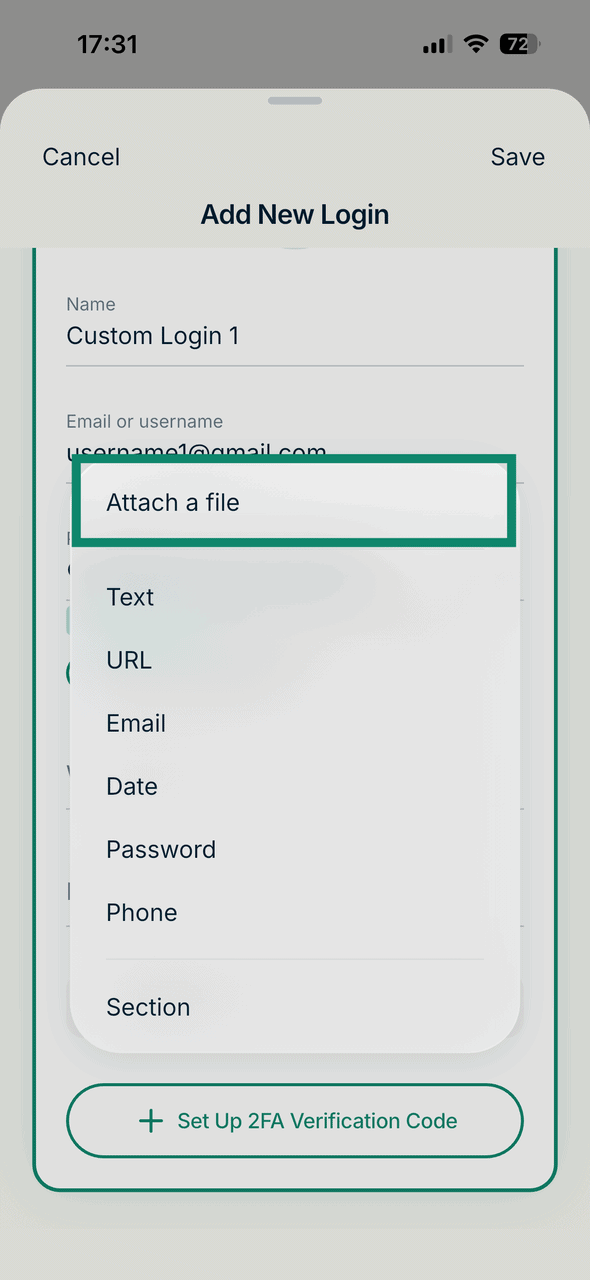
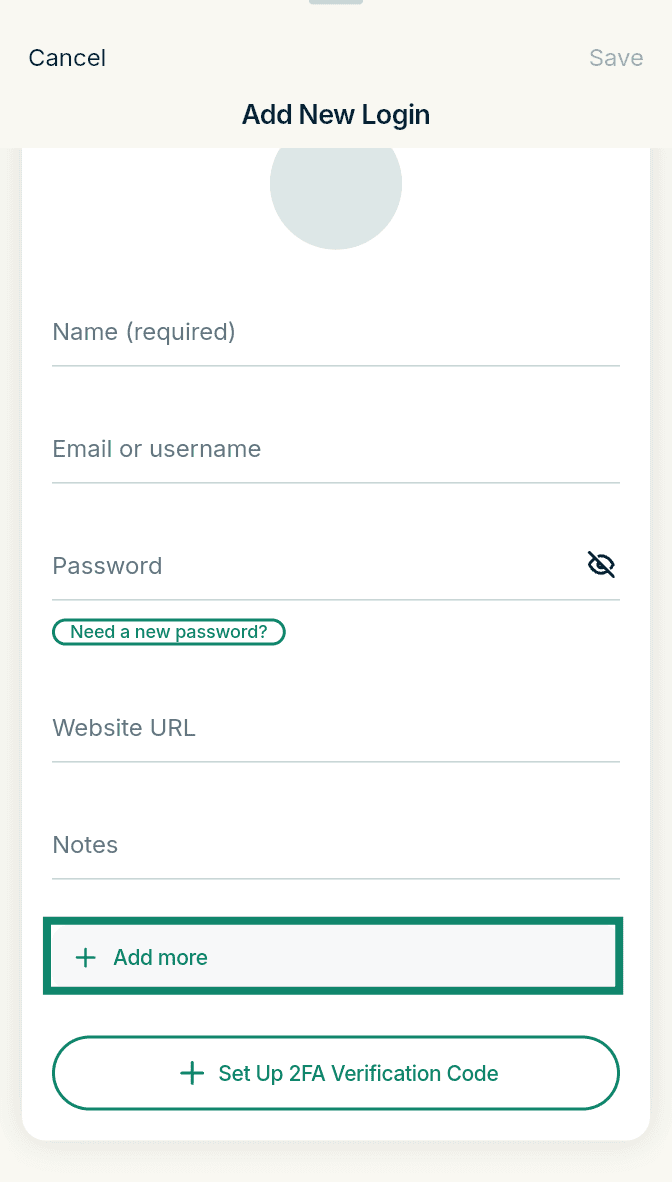
- If you need to attach a file or save extra details, you can add a custom field to keep them organized alongside your login. Tap Add more.
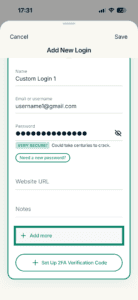
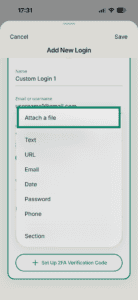
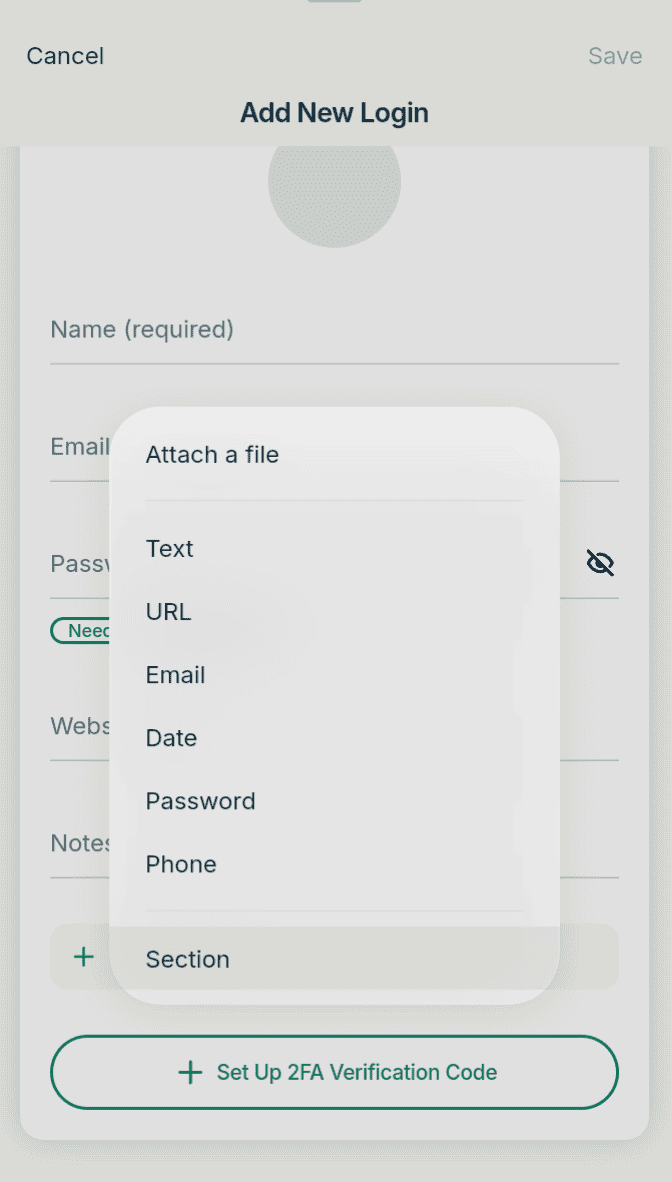
- Select the type of field that fits the information you want to store:
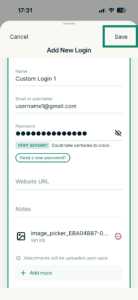
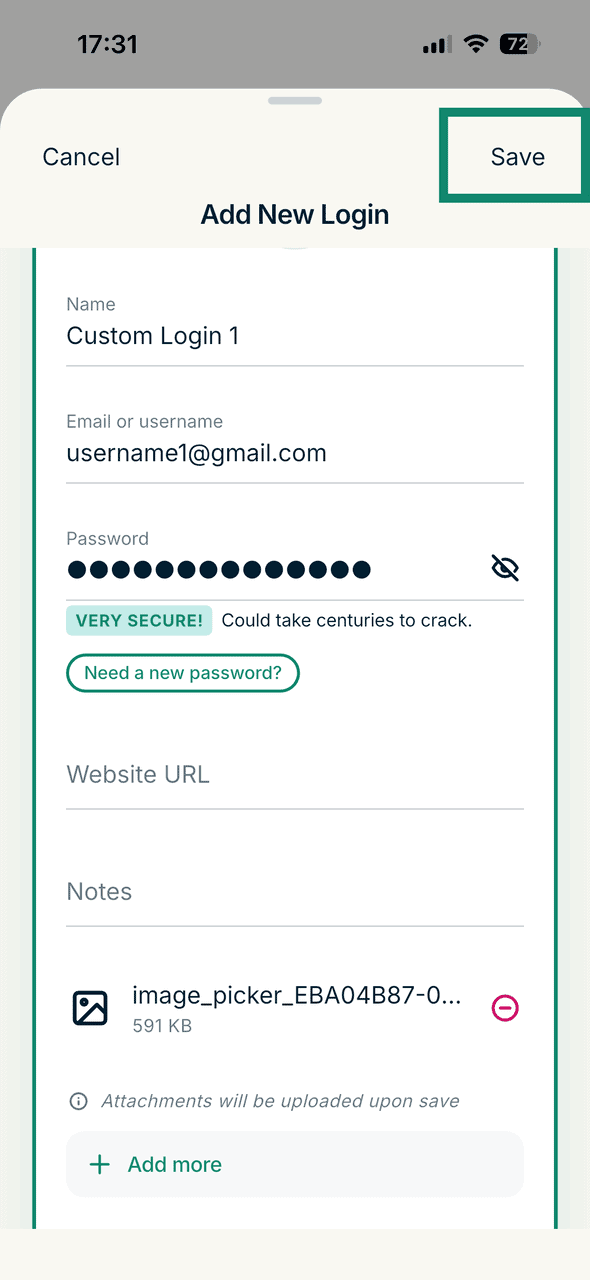
- Attach a file: Take a photo or upload any file type.
- Text: General text, such as an account ID.
- URL: A web address.
- Email: An email address.
- Password: Concealed text, such as a password or PIN.
- Date: A calendar date.
- Phone: A phone number.
- Section: A custom section to group several fields together under one label.
- Once done, tap Save.
After entering your login details, you can enable autofill so ExpressKeys automatically fills in your information when you sign in to apps and websites.
You can also add and generate two-factor authentication (2FA) codes in ExpressKeys for your logins.
Need help? Contact the ExpressVPN Support Team for immediate assistance.
How to save a login to the ExpressKeys desktop app (macOS)
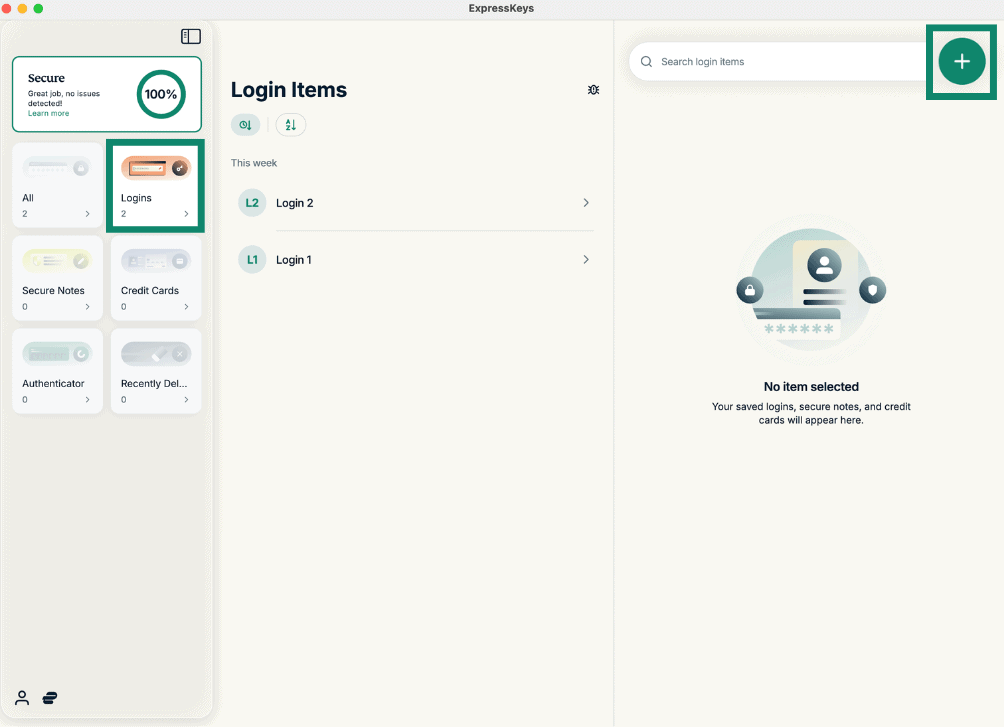
- Open the ExpressKeys app and authenticate with your vault password or Touch ID if prompted.
- Go to Logins and click the plus (+) icon.


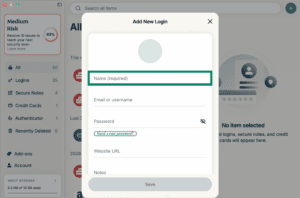
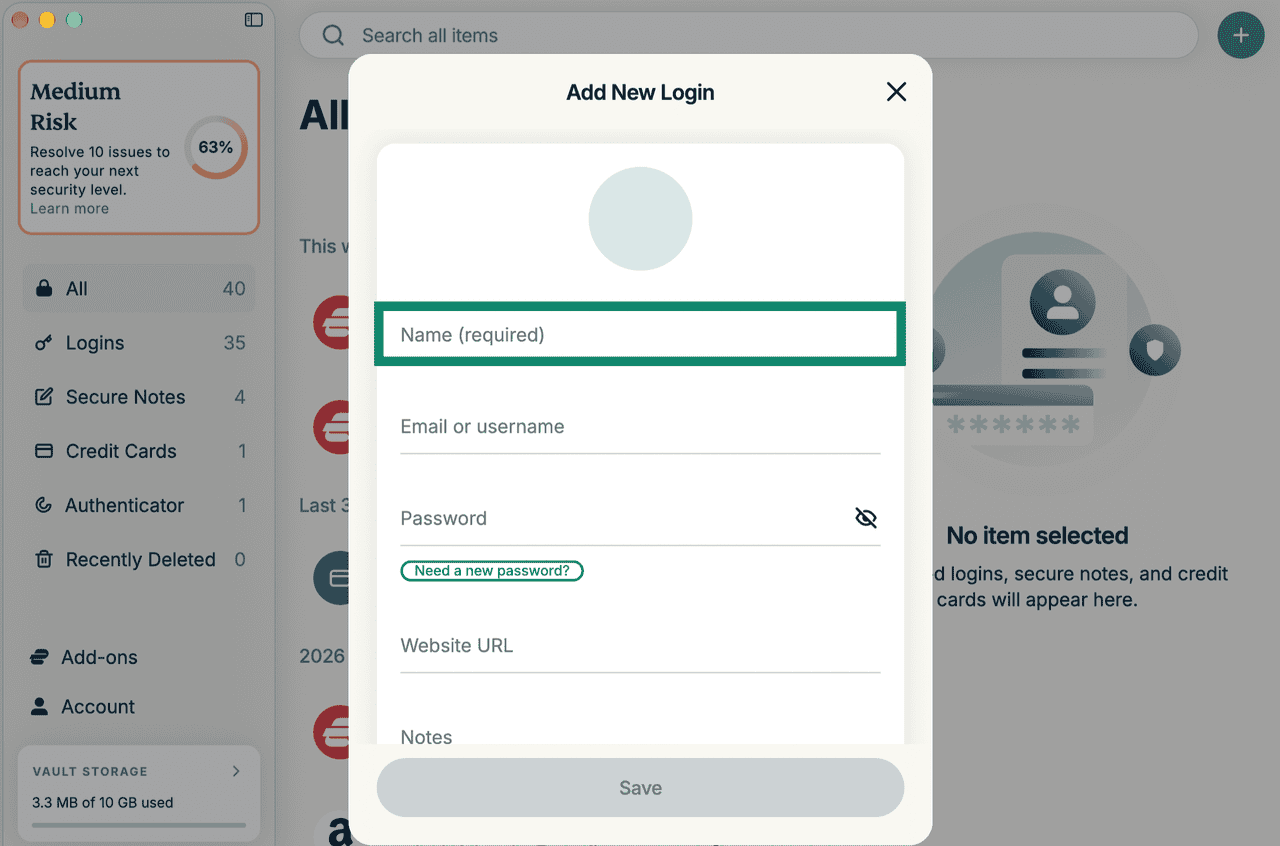
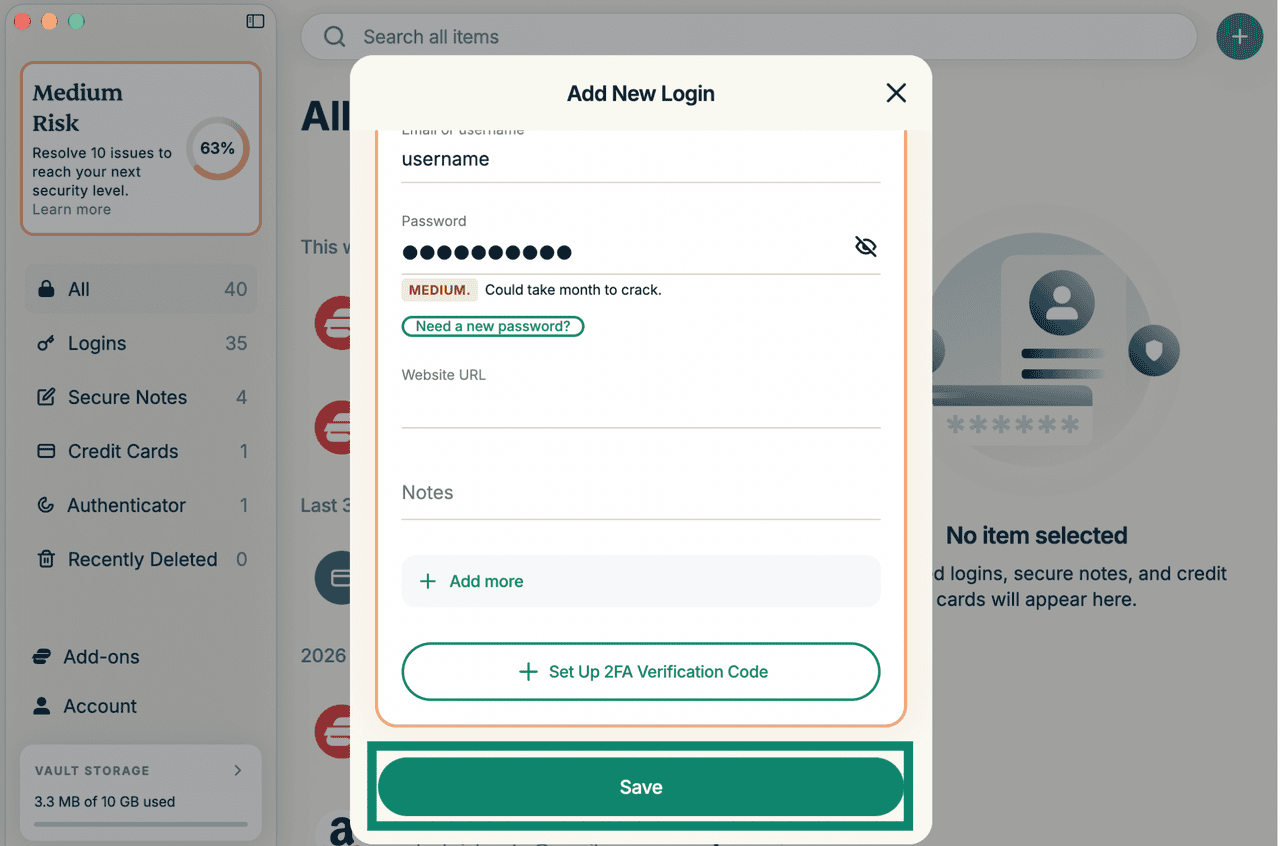
- On the Add New Login window that opens, enter the Name of your login, for example, “bank login.”

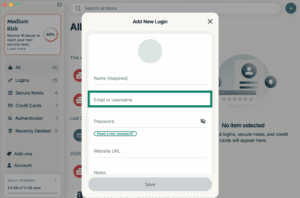
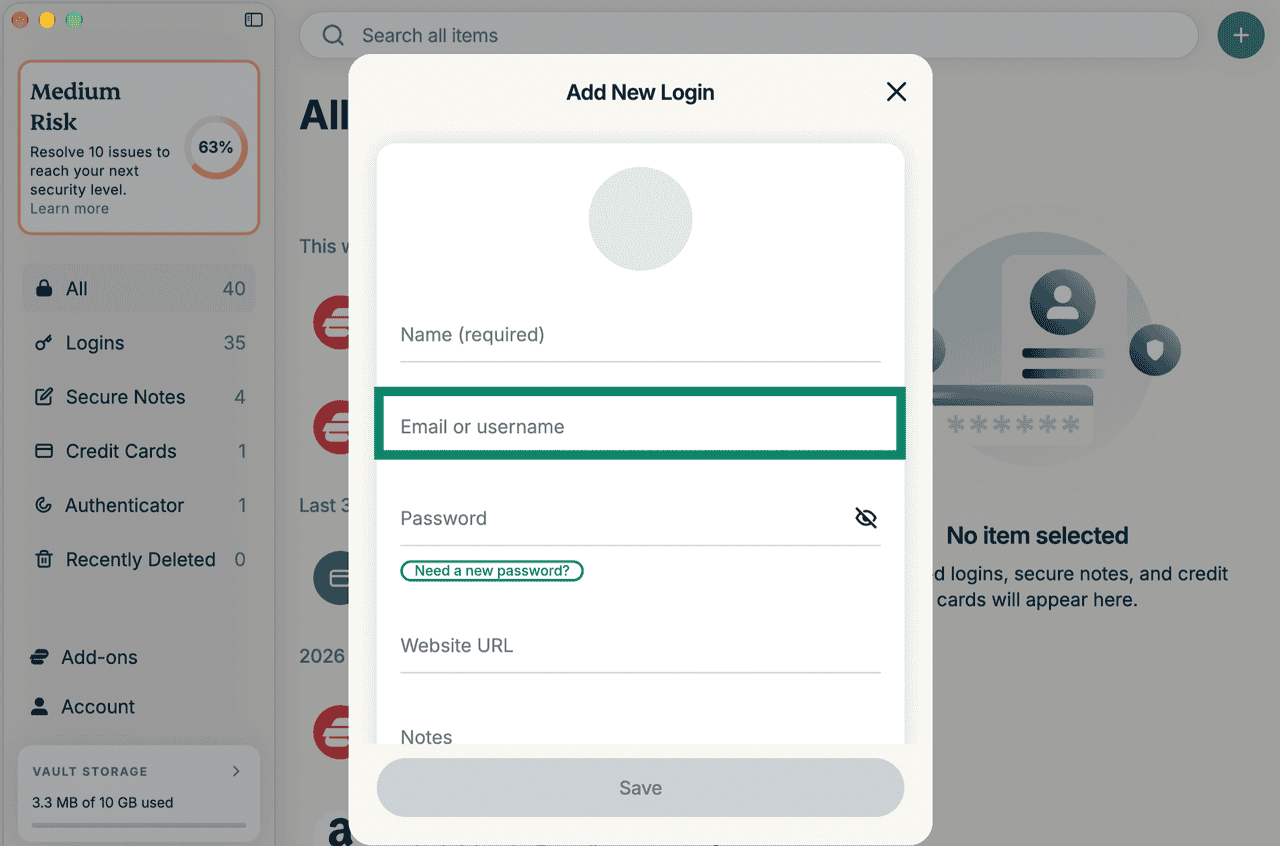
- Fill in the Email or username field.
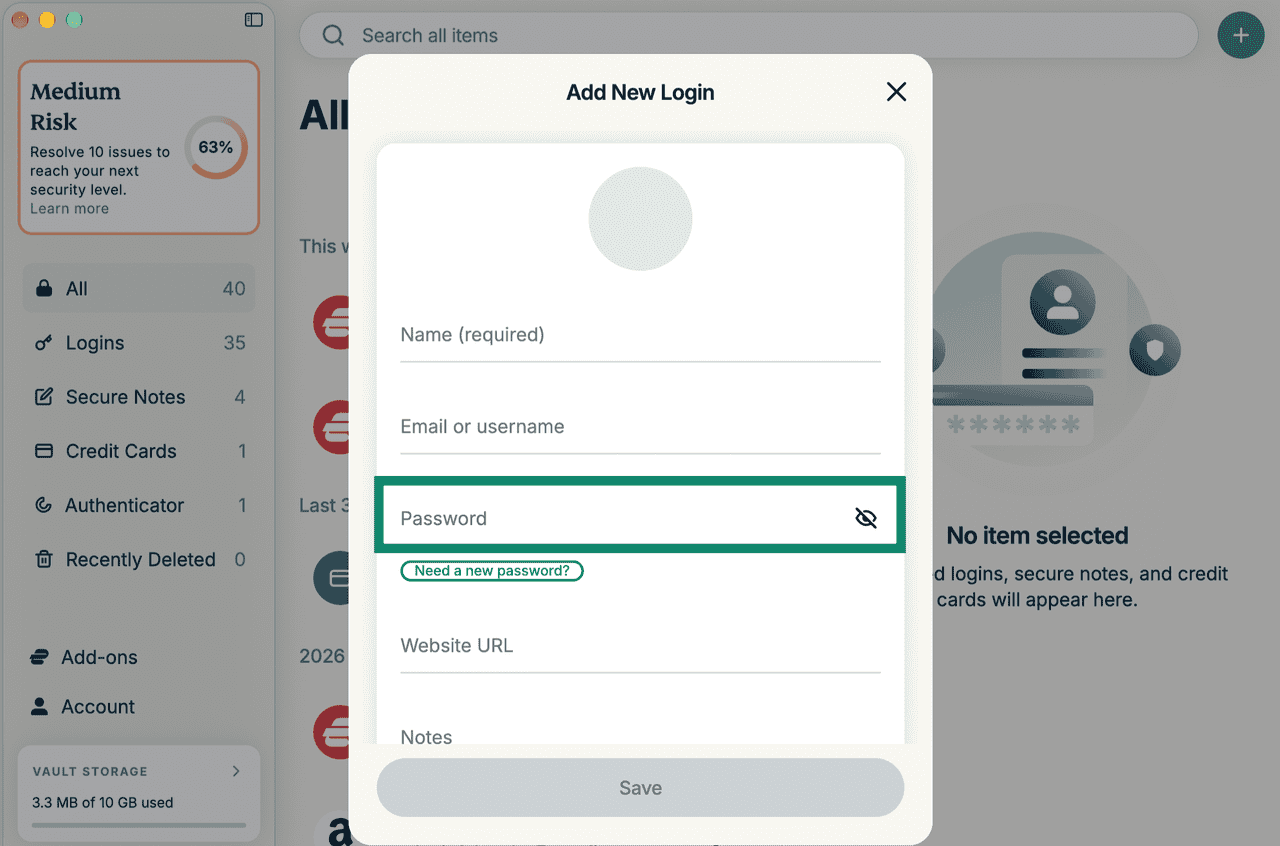
- Type in the Password.
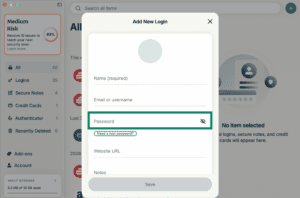
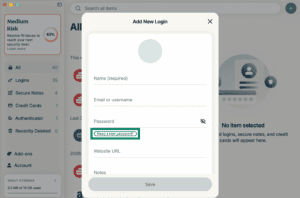
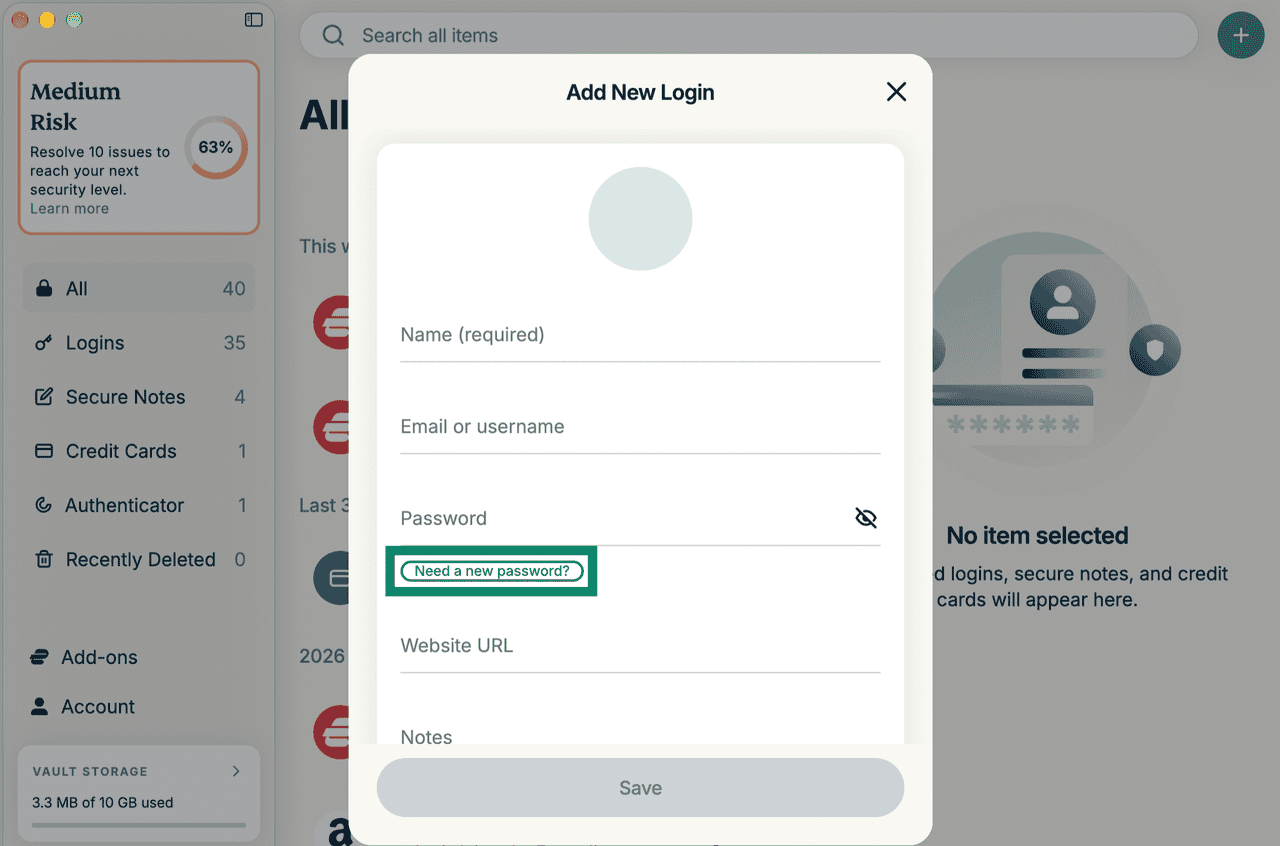
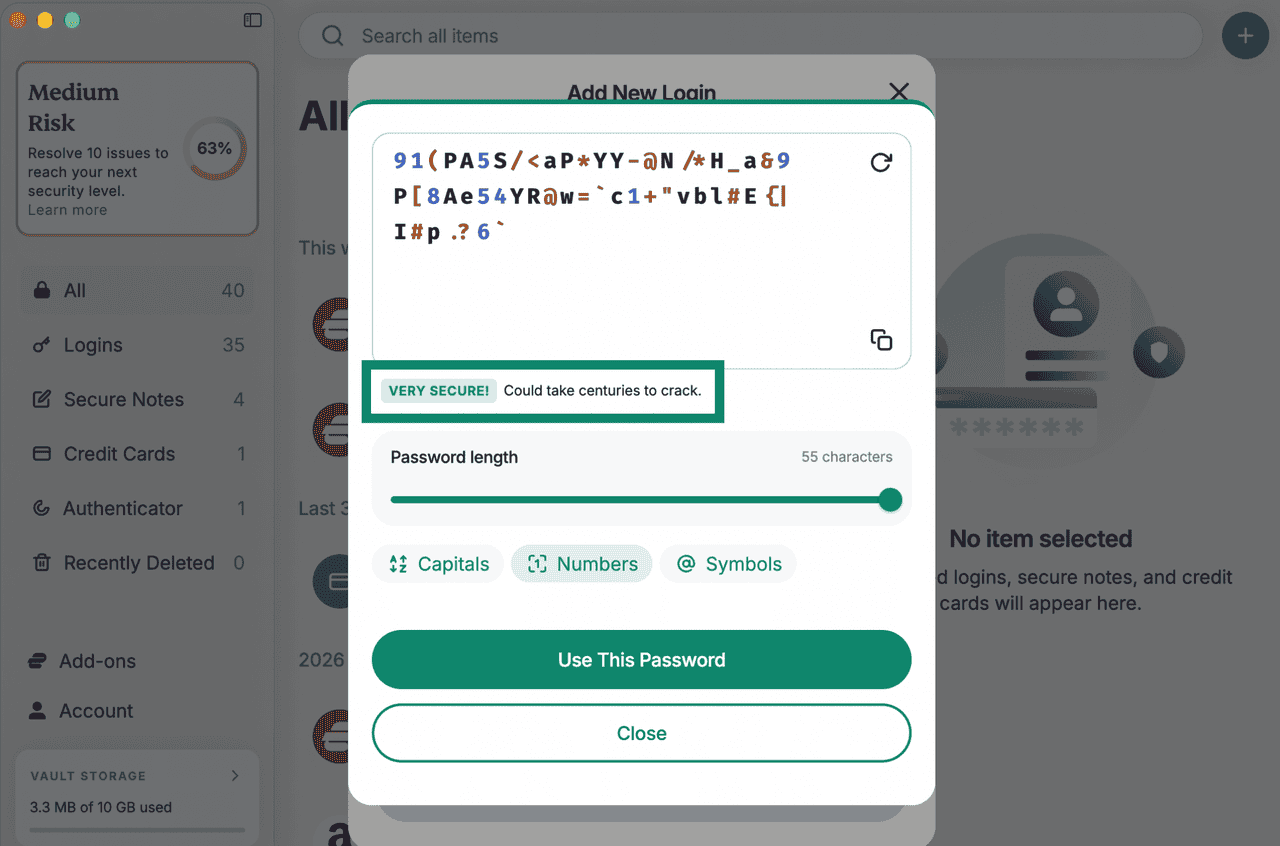
Optional: Generate a strong passwordTo generate a new, strong password using ExpressKeys, click Need a new password?
For maximum security, adjust the password until you see “Very secure! Could take centuries to crack.” then click Use This Password.
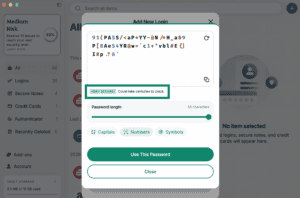
Note: Generating a password in the ExpressKeys app will not automatically update your password for the account itself. For example, if you generate a password for your Amazon account here, you will also need to update the password in your Amazon account settings.
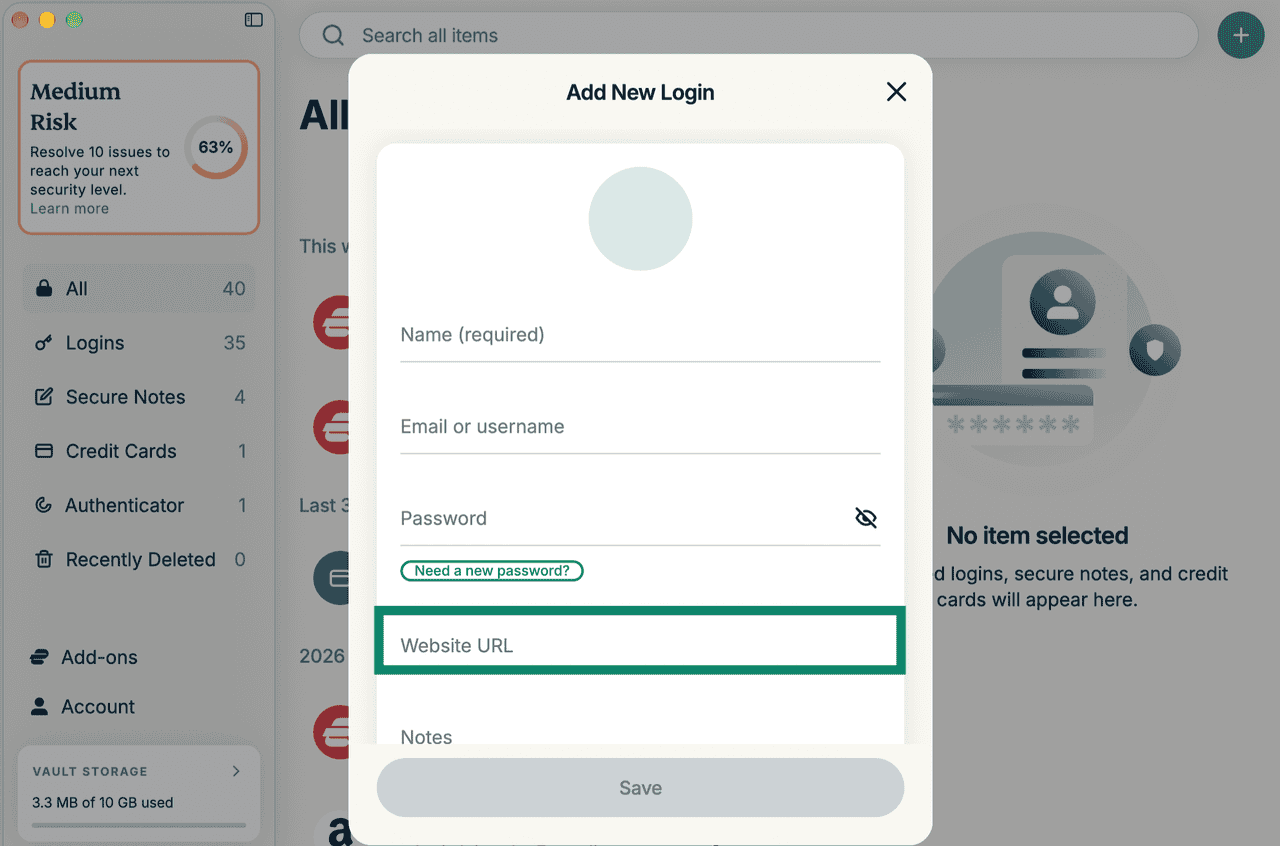
- Enter the website address in the Website URL field.
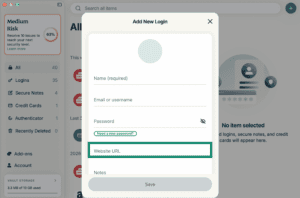
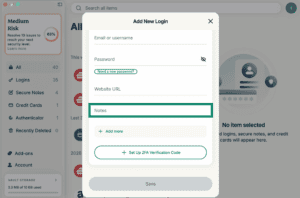
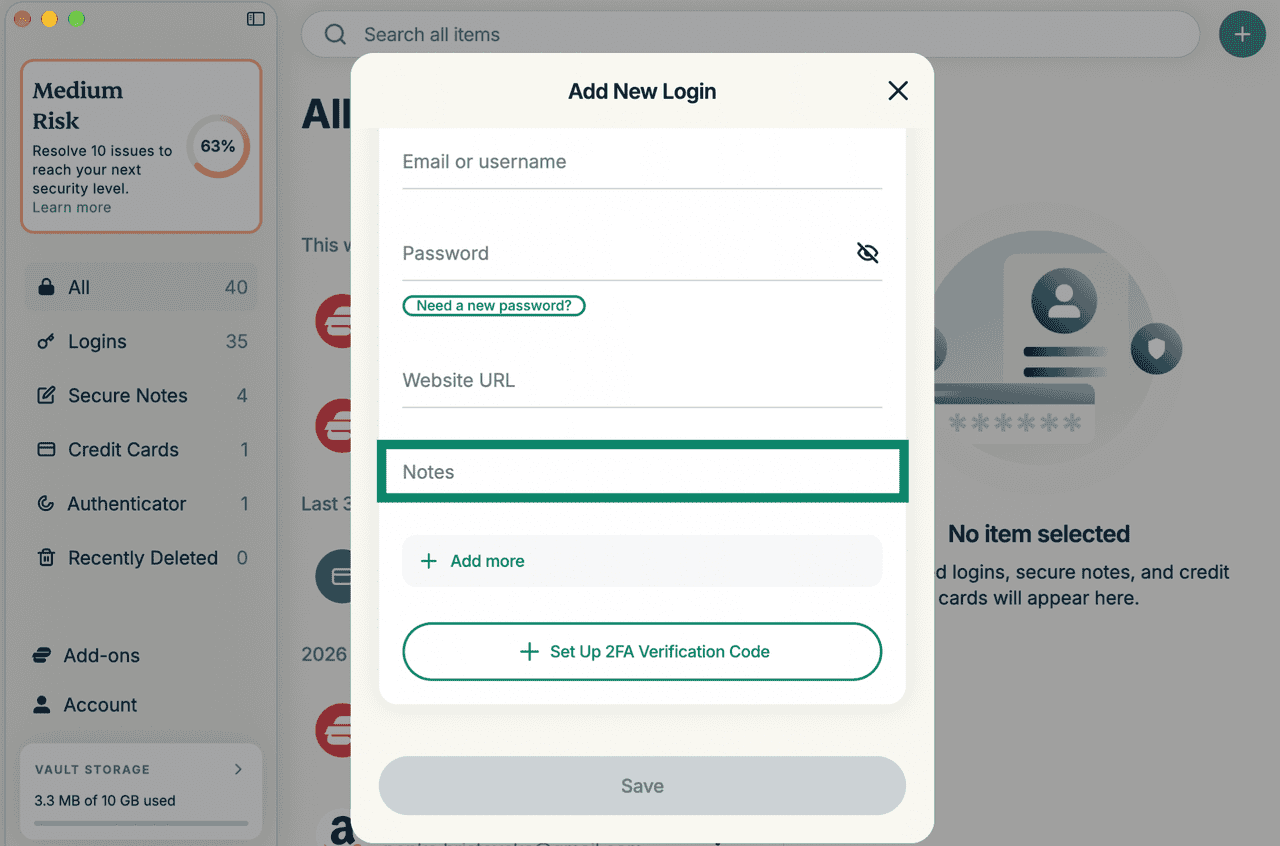
- Type in any Notes you would like to add about the login.
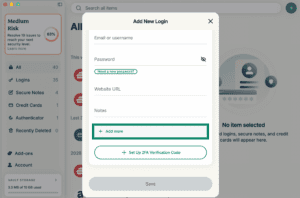
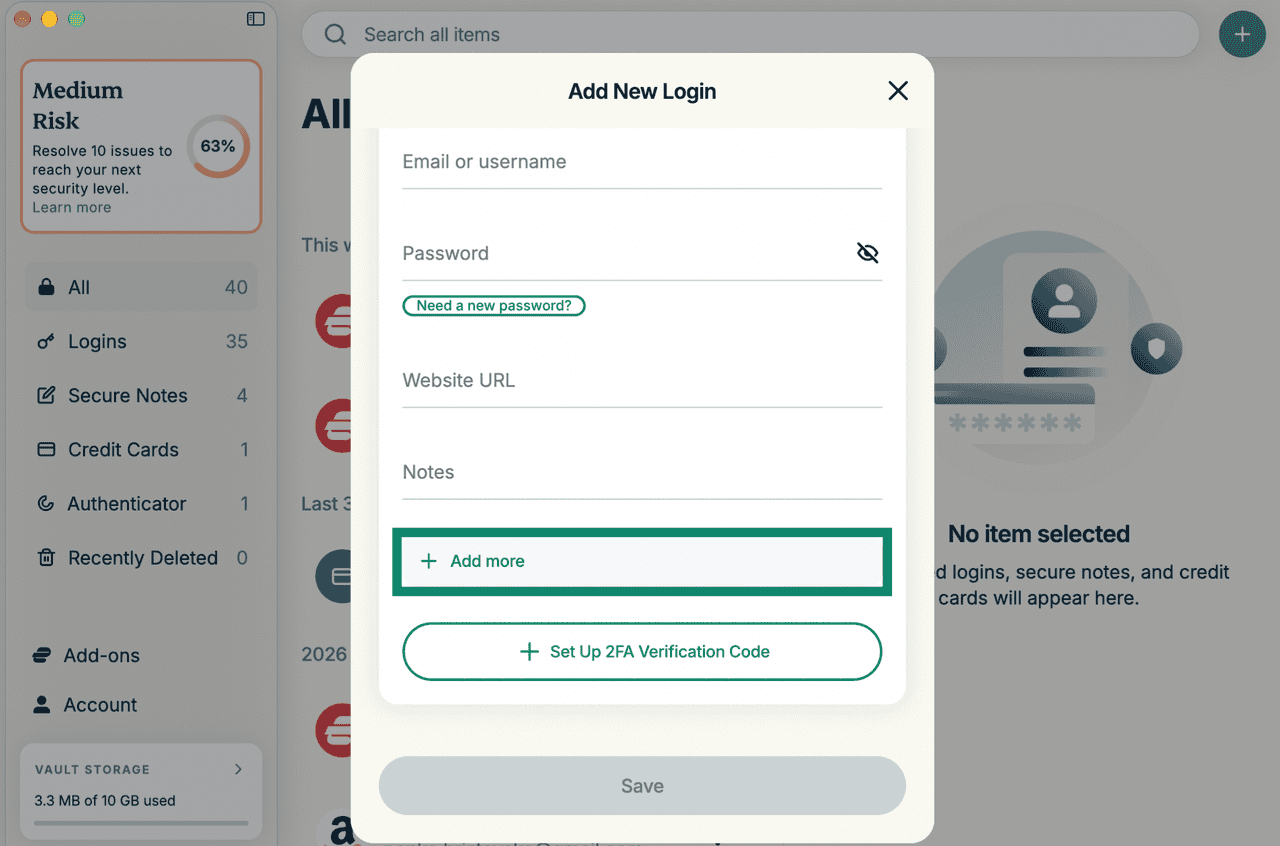
- If you would like to attach a relevant file or add any extra details in a custom field, click Add more.
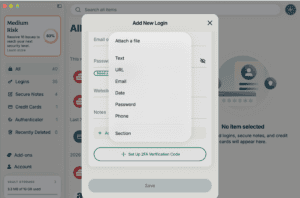
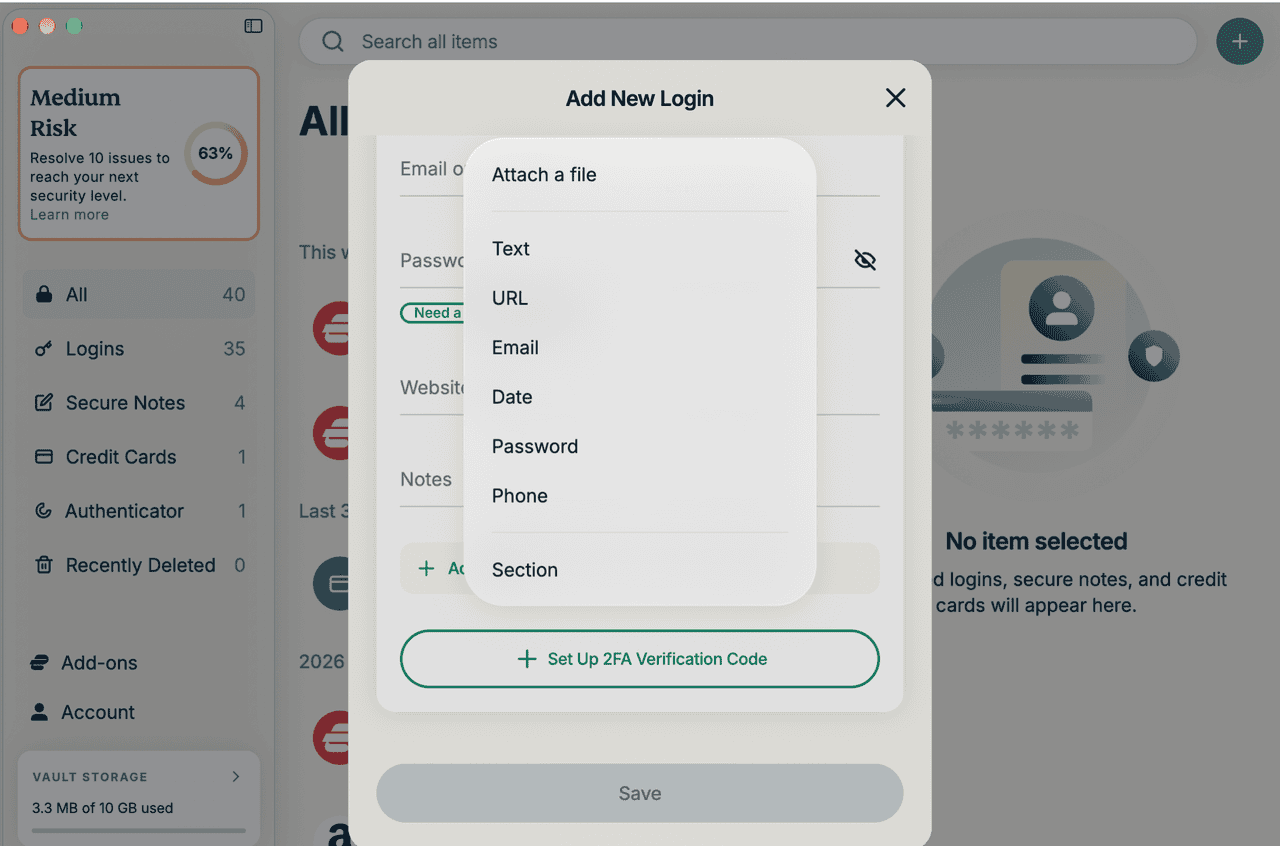
- Select the desired option:
- Attach a file: Attach a photo or a document (any file type).
- Text: General text, such as an account ID.
- URL: A web address.
- Email: An email address.
- Password: Concealed text, such as a password or PIN.
- Date: A calendar date.
- Phone: A phone number.
- Sign in with: The service used to sign in, such as Google or Apple.
- Section: A custom field with your own label.
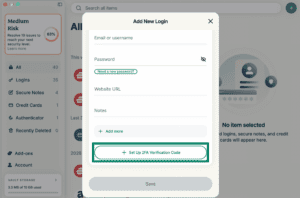
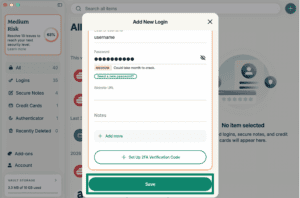
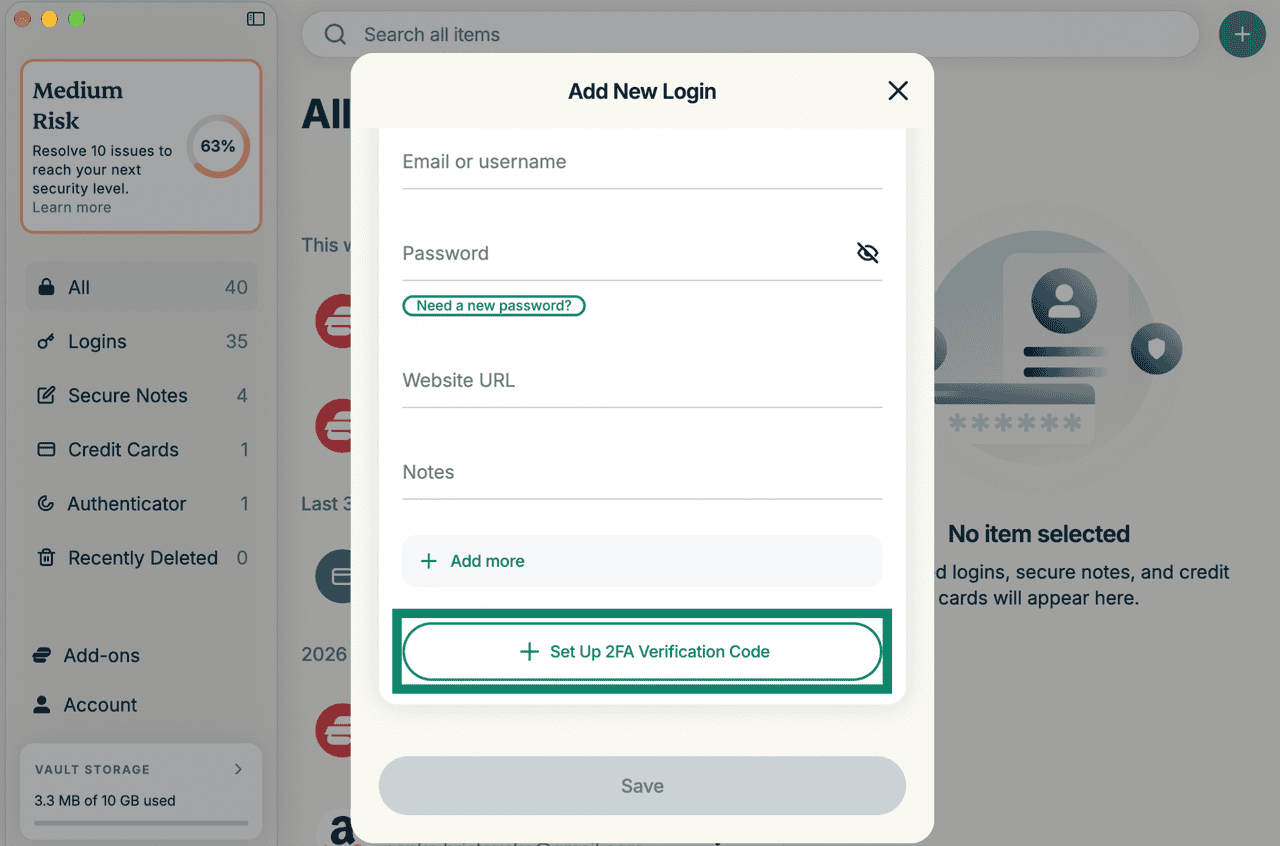
- If you would like to add a two-factor authentication (2FA) code for the login, click Set Up 2FA Verification Code and follow the instructions in this guide.
- When finished, click Save.
How to save a login to the ExpressKeys browser extension
To save a login in the ExpressKeys browser extension:
- Open ExpressKeys and unlock your vault.
- Click the plus icon (+).
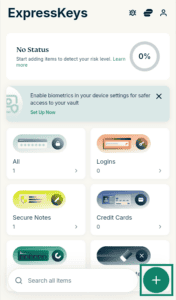

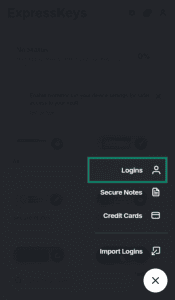
- Select Logins.

- Enter the Name of your login, for example, “bank login.”
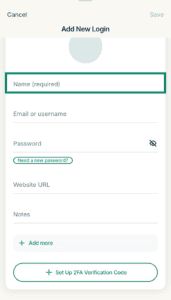

- Fill in the Email or username field.
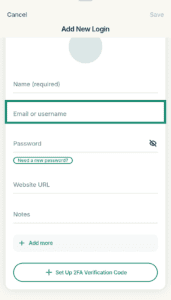
- Type in the Password.
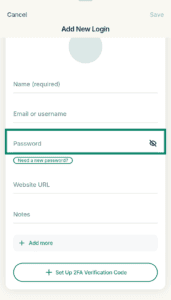 Optional: Generate a strong password
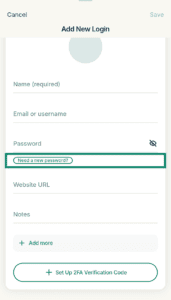
Under the Password field, click Need a new password? to open the built-in password generator.
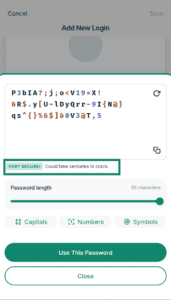
 Change password settings as you like. For maximum security, change settings until you see a message saying “Very secure! Could take centuries to crack.”
 Type in any Notes you would like to add about the login.
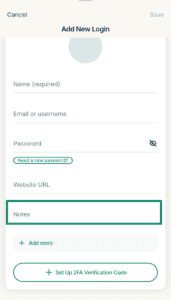
Note: Updating a password in ExpressKeys only changes the saved password in your password manager. It does not change the actual password for the website or account. To fully update your password, make sure you also change it in the account’s or website’s settings. - Enter the website address in the Website URL field.
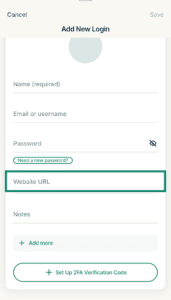
- Type in any Notes you would like to add about the login.
- If you would like to attach a relevant file or another custom field, like a backup email or password, click Add more.
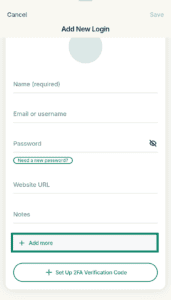
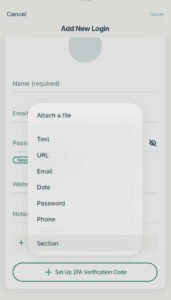
- Then, select the desired option:
- Attach a file: Attach a photo or a document (any file type).
- Text: General text, such as an account ID.
- URL: A web address.
- Email: An email address.
- Password: Concealed text, such as a password or PIN.
- Date: A calendar date.
- Phone: A phone number.
- Sign in with: The service used to sign in, such as Google or Apple.
- Section: A custom field with your own label.
- Once finished, click Save.
Need help? Contact the ExpressVPN Support Team for immediate assistance.