



System for Cross-domain Identity Management (SCIM) is an open standard for automatically synchronizing users between your identity provider and ExpressVPN for Teams.
This guide explains how to set up SCIM and manage users in ExpressVPN for Teams.
Jump to…
What can you do with SCIM?
After you enable and configure SCIM, users from your organization’s directory automatically appear in your ExpressVPN for Teams dashboard, where you can assign ExpressVPN licenses from the synced user list.
If someone leaves your organization and you remove them from your identity provider, any ExpressVPN for Teams license assigned to them is automatically revoked and unassigned, making it available for another user.
Note: You cannot use the bulk upload via CSV file tool with SCIM.
Need help? Contact the ExpressVPN Support Team for immediate assistance.
How to set up SCIM
Before you begin: Make sure you have an ExpressVPN for Teams subscription with admin access to the ExpressVPN for Teams dashboard. You will also need admin access to your identity provider.
The steps to enable SCIM vary depending on your workspace provider. Follow the instructions below for Google Workspace, or jump to the steps for Okta, Microsoft Entra ID, and other providers.
Google Workspace
Enabling SCIM provisioning with Google will connect Google Workspace to your ExpressVPN for Teams account. To do so, follow these steps:
- Log into your ExpressVPN for Teams admin portal.
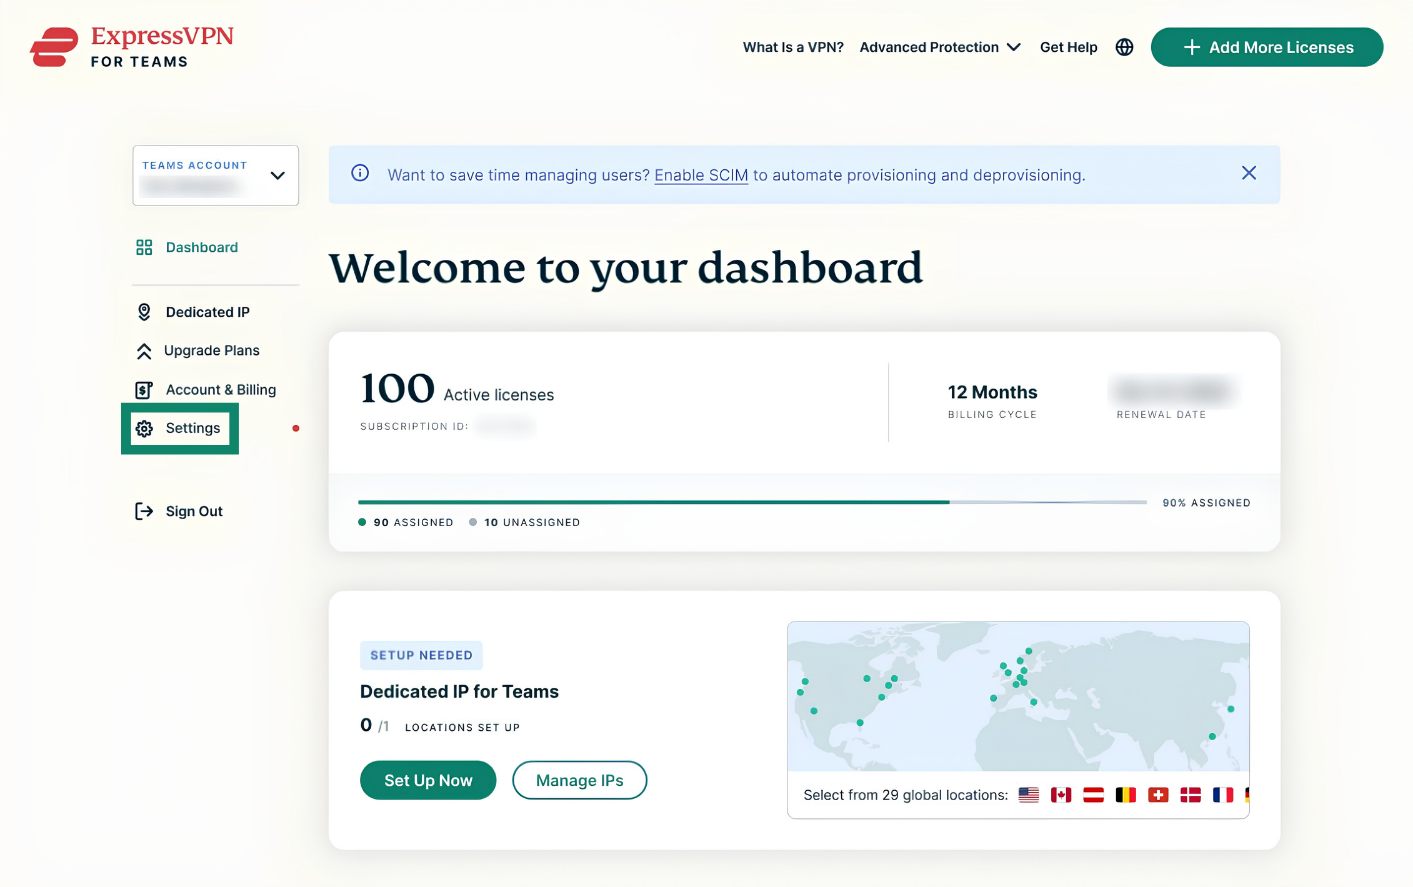
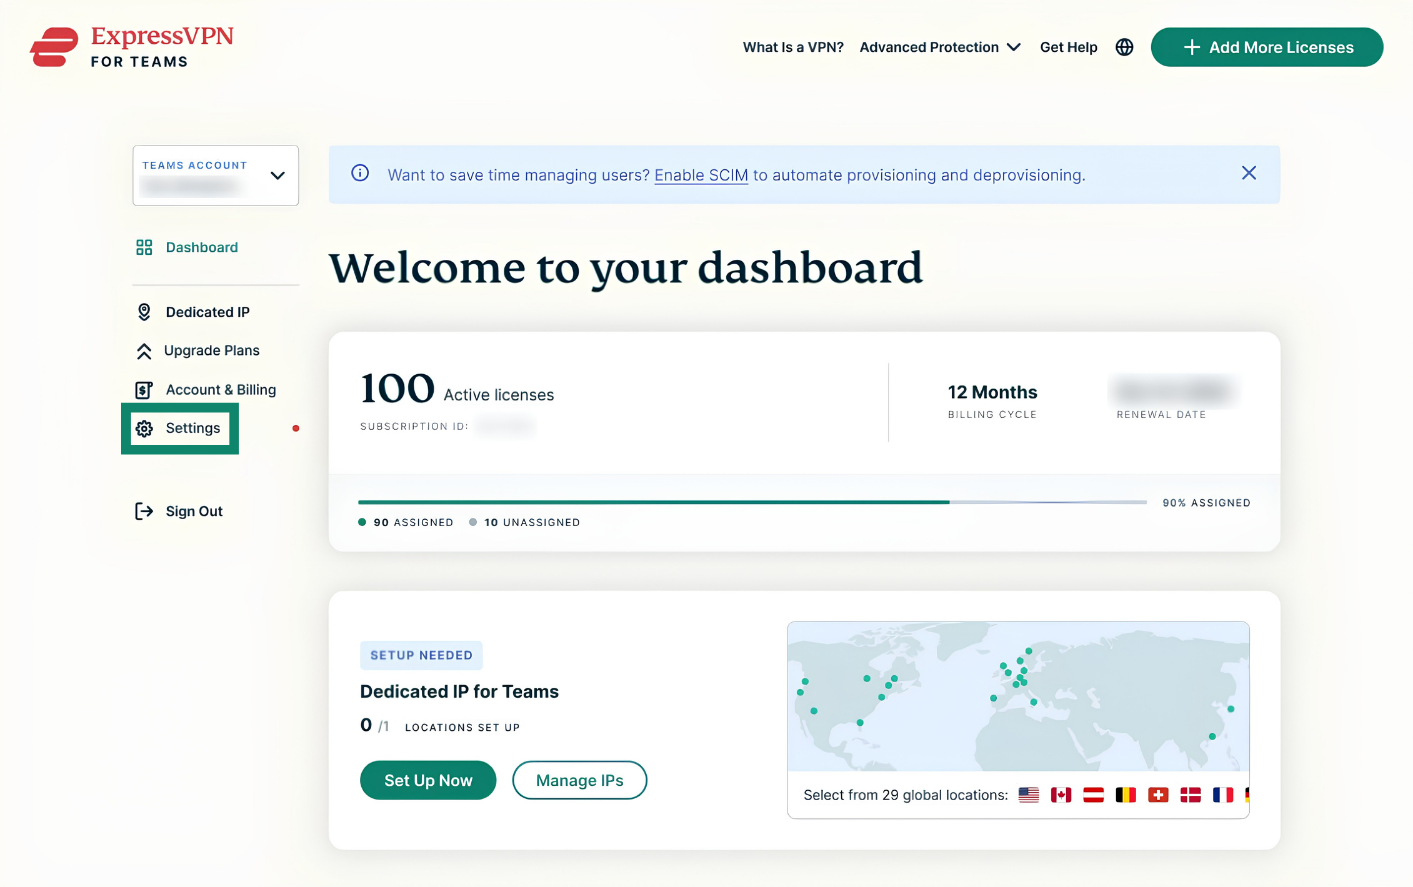
- On the dashboard, click Settings.
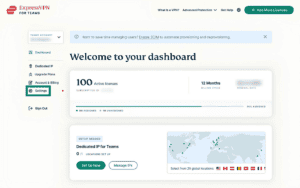

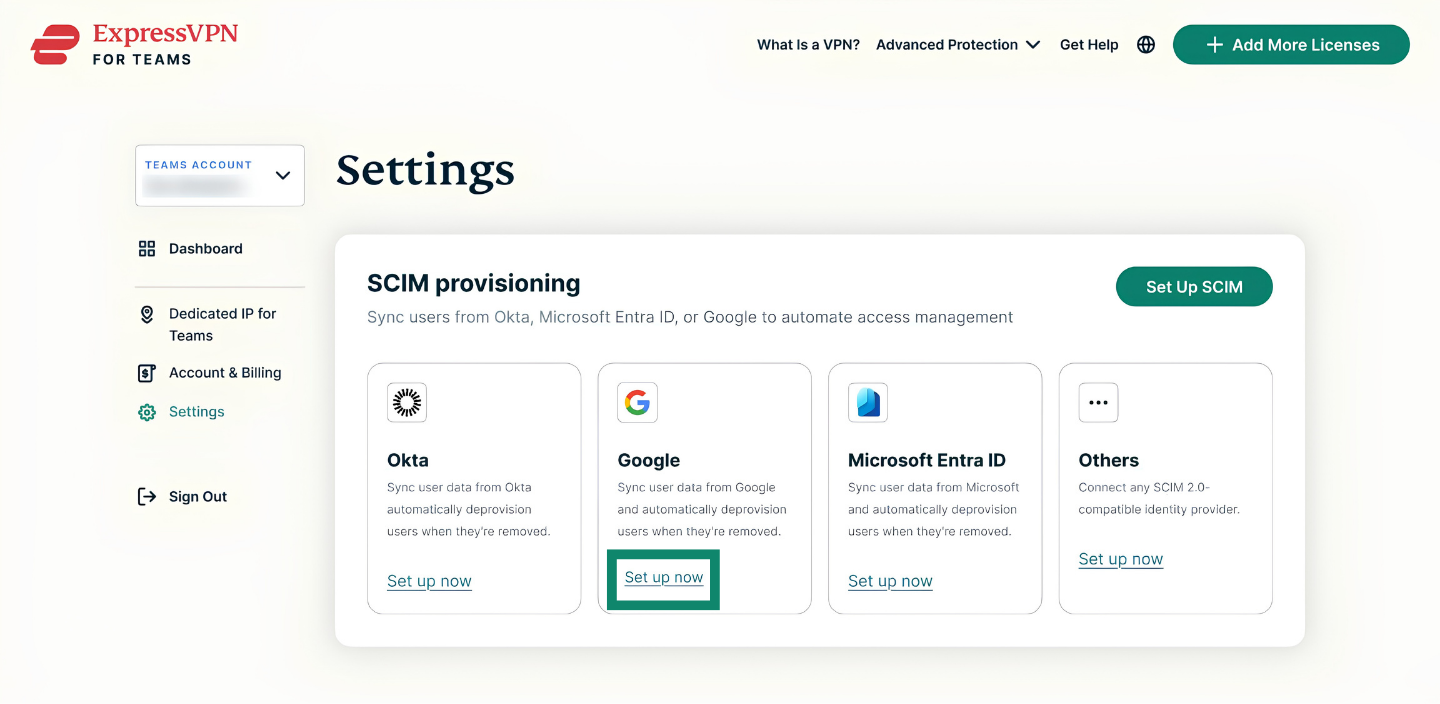
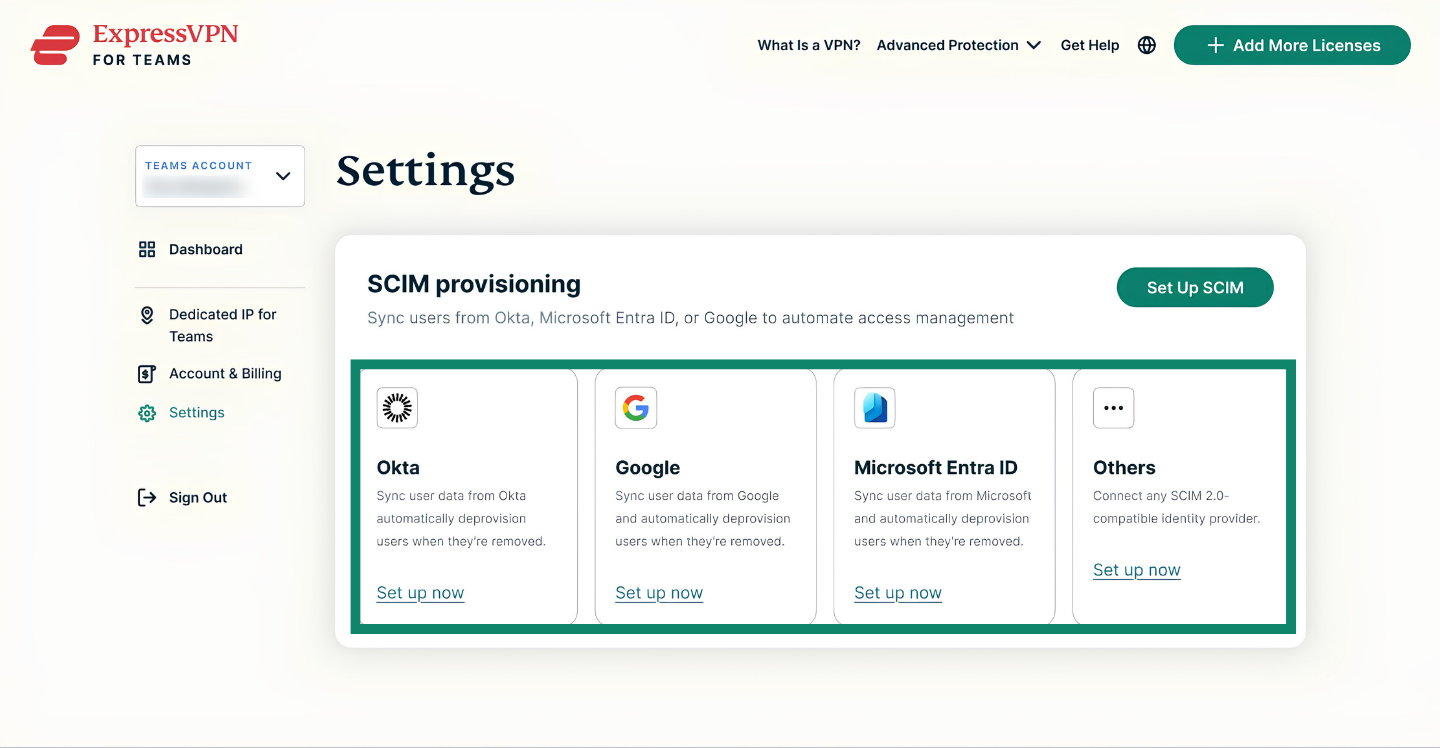
- In the SCIM provisioning widget, click Set up now under Google.
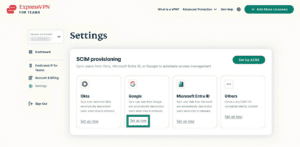

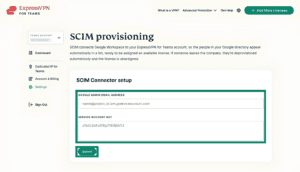
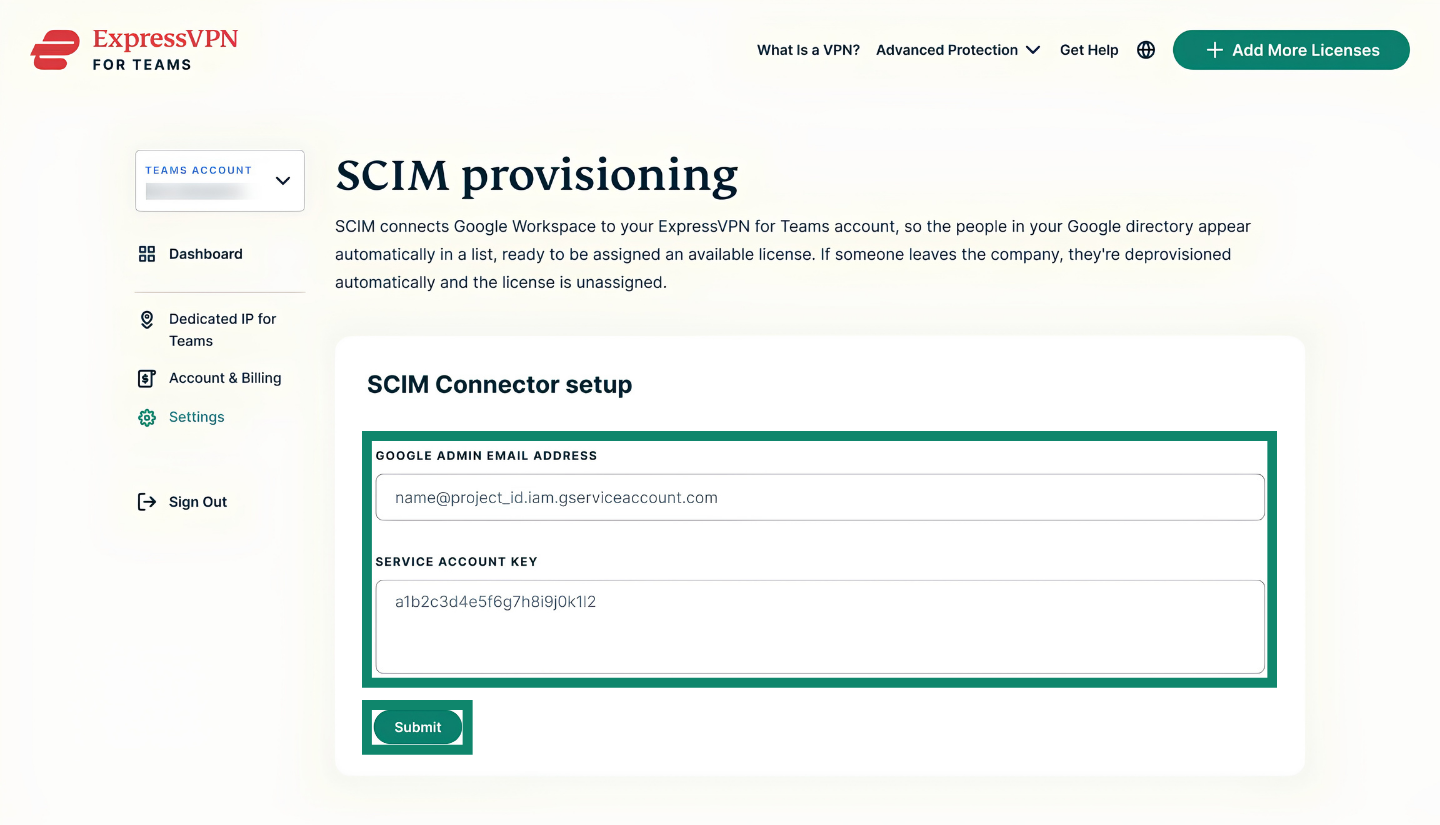
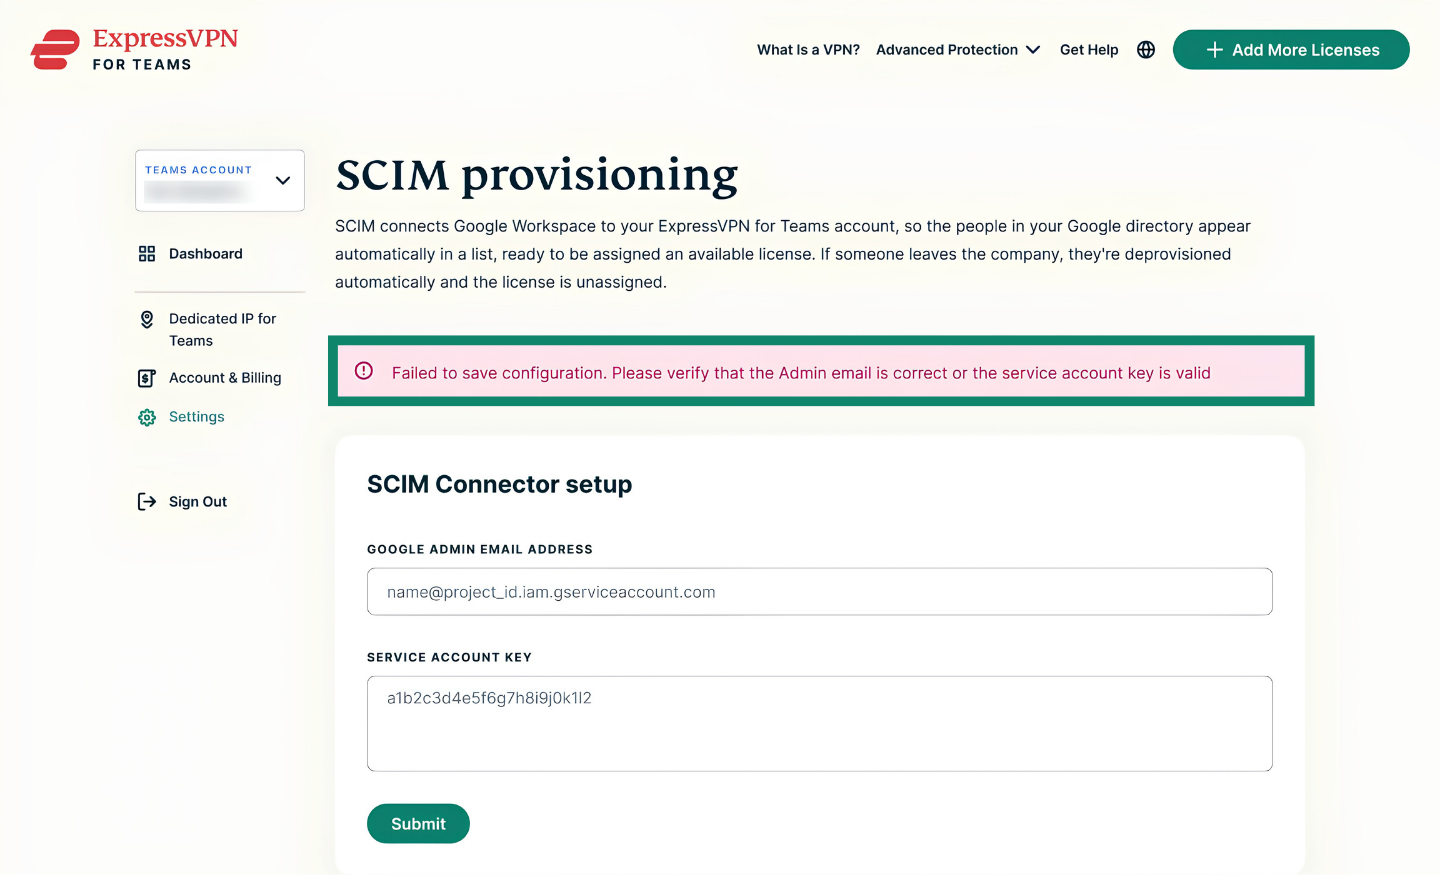
- Enter your Google Admin email address and service account key, then click Submit.

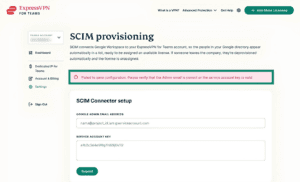
- Note: If you see an error message saying “Failed to save configuration,” verify that you entered the correct Google Admin address or that your service account key is valid.

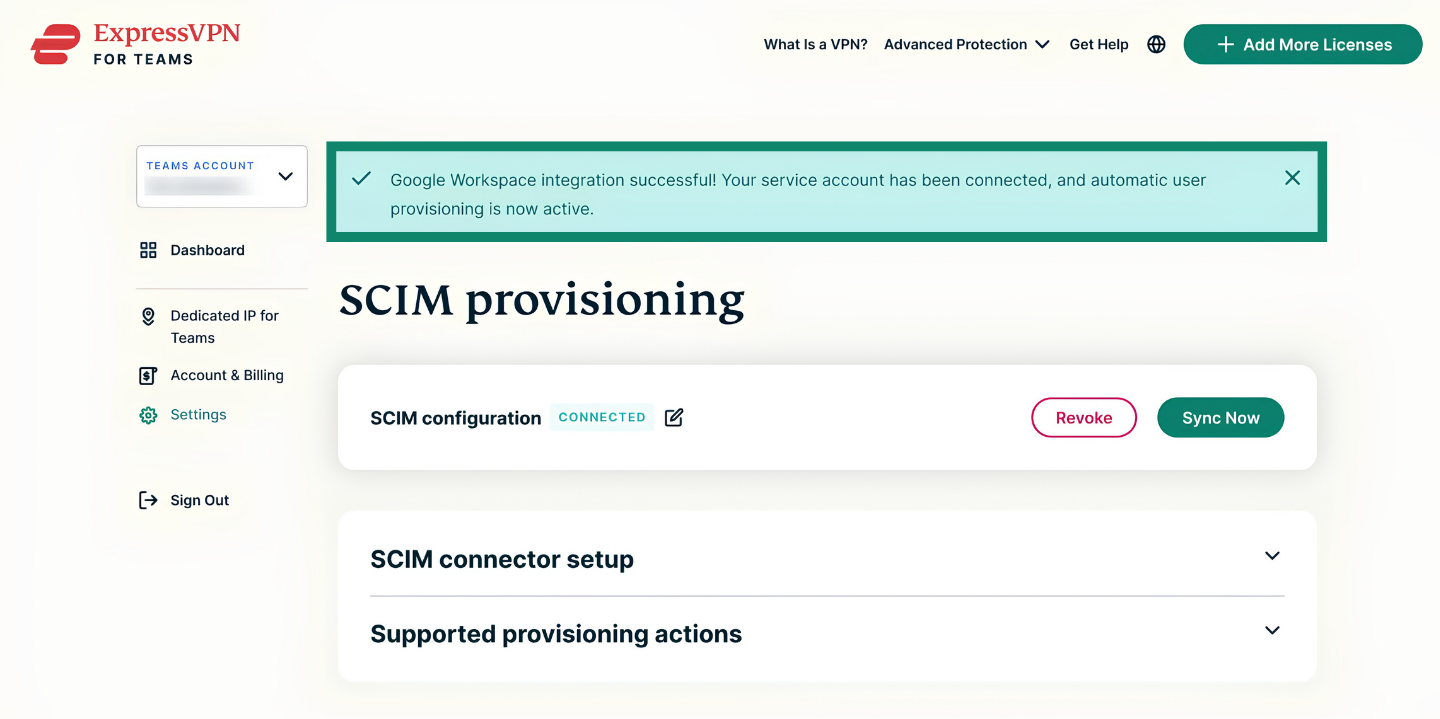
- If correctly set up, you will see a message saying that the Google Workspace integration has been successful.
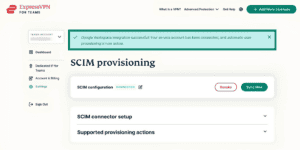

To sync users from your Google Workspace directory with your ExpressVPN for Teams account, access Settings in your admin dashboard and click Sync Now next to the connected Google SCIM configuration.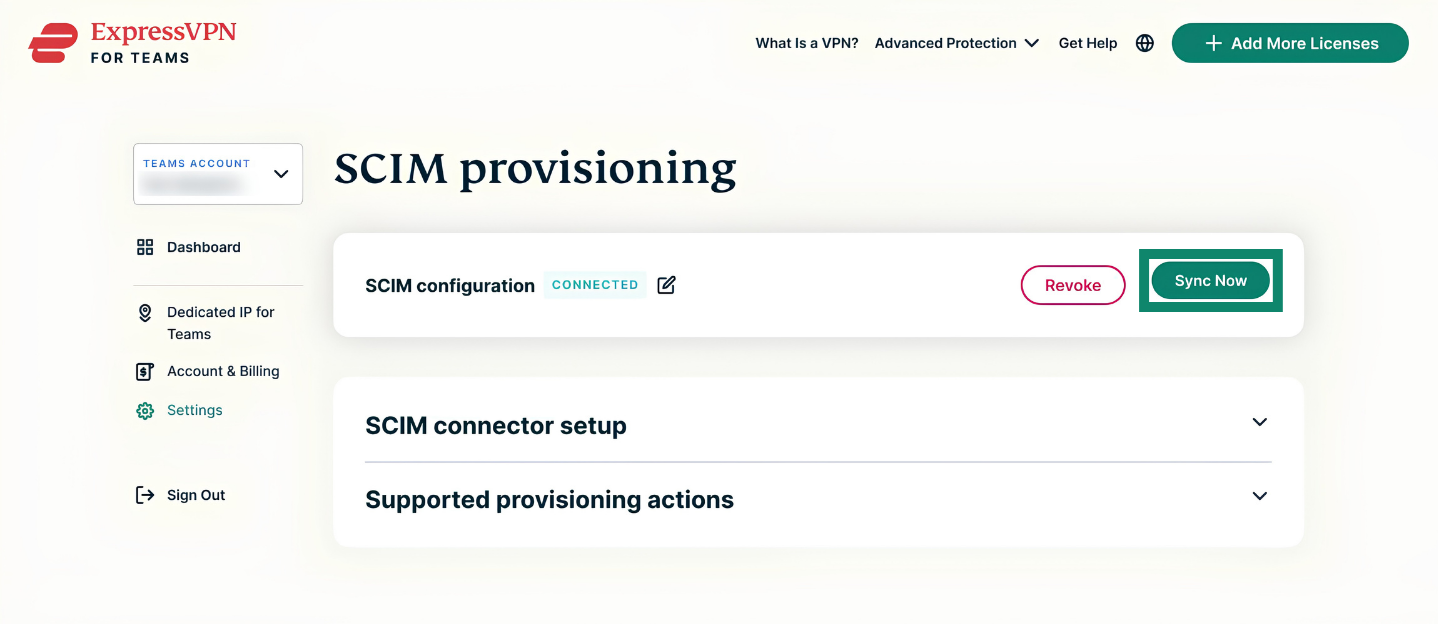
Okta, Microsoft Entra ID, and other providers
To set up SCIM on all other identity providers:
- Sign into your ExpressVPN for Teams admin portal.
- On the dashboard, click Settings.
- Under SCIM provisioning, select Set up now for your identity provider.
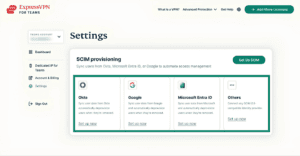

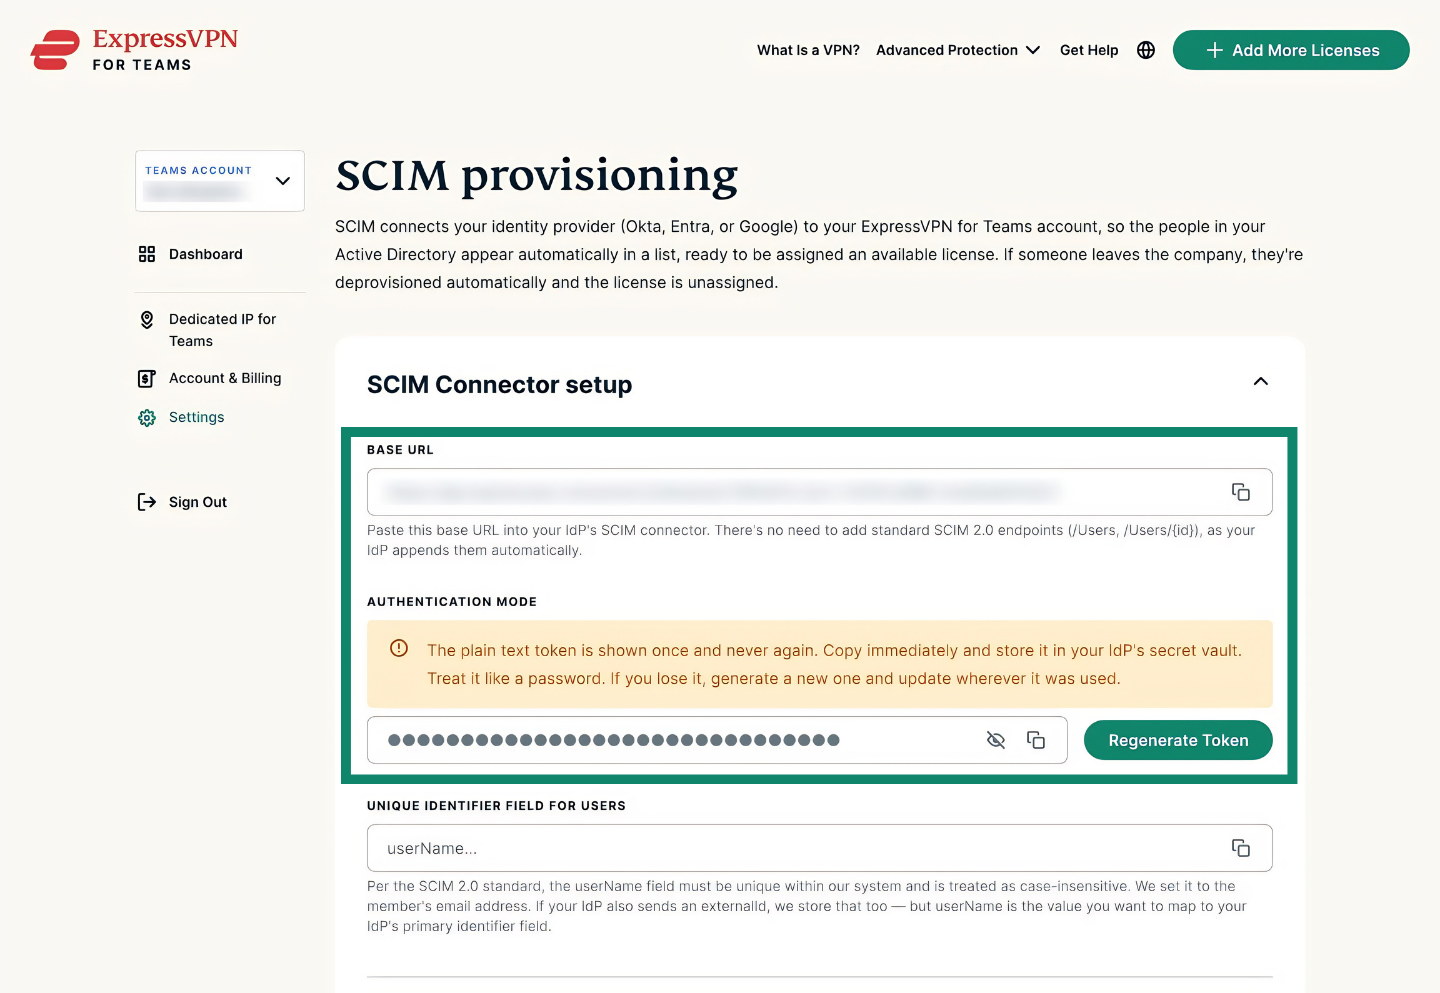
- Copy the SCIM Base URL and Bearer token. Use these credentials to configure SCIM in your identity provider.
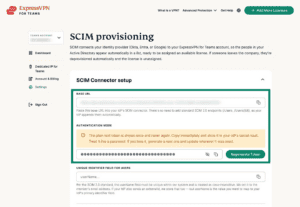

- Important: The Bearer token is shown only once. Store it securely before closing or refreshing the setup window.
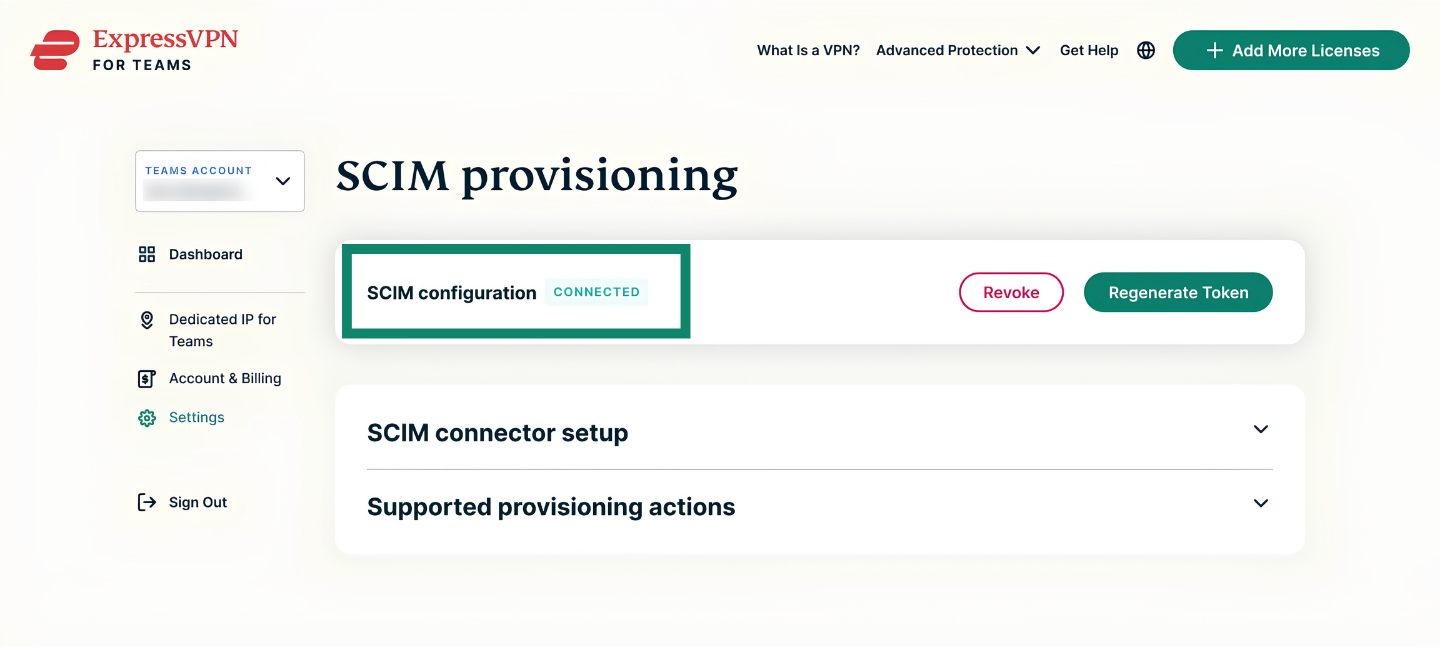
- Return to the Settings page and check that your SCIM configuration is labeled as CONNECTED.
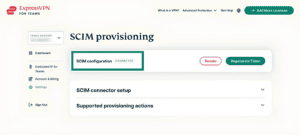

Once you have enabled SCIM, users from your organization’s directory are synced automatically to your ExpressVPN for Teams portal.
Need help? Contact the ExpressVPN Support Team for immediate assistance.
Manage users and assign licenses
After you enable SCIM, users from your organization’s directory are synced to the portal. You can assign licenses, unassign licenses, and find users who don’t currently have one. You can also turn auto-renewal on and off for single or multiple licenses.
How to assign licenses
- Sign into your ExpressVPN for Teams admin portal.
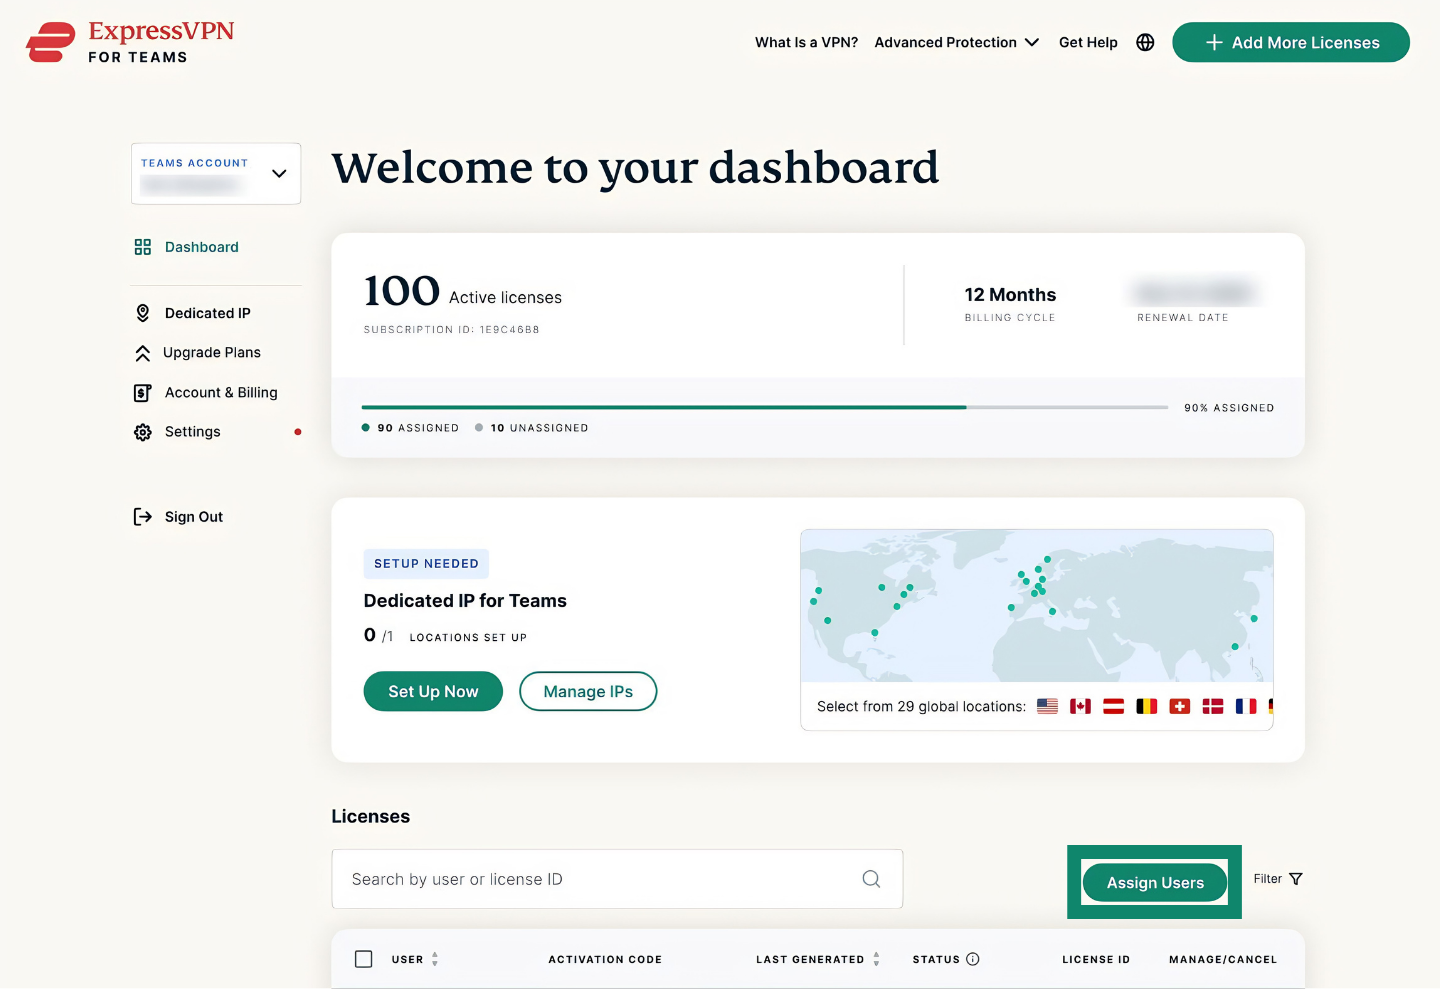
- Under Licenses, select Assign Users.
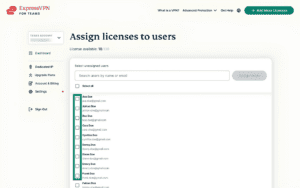
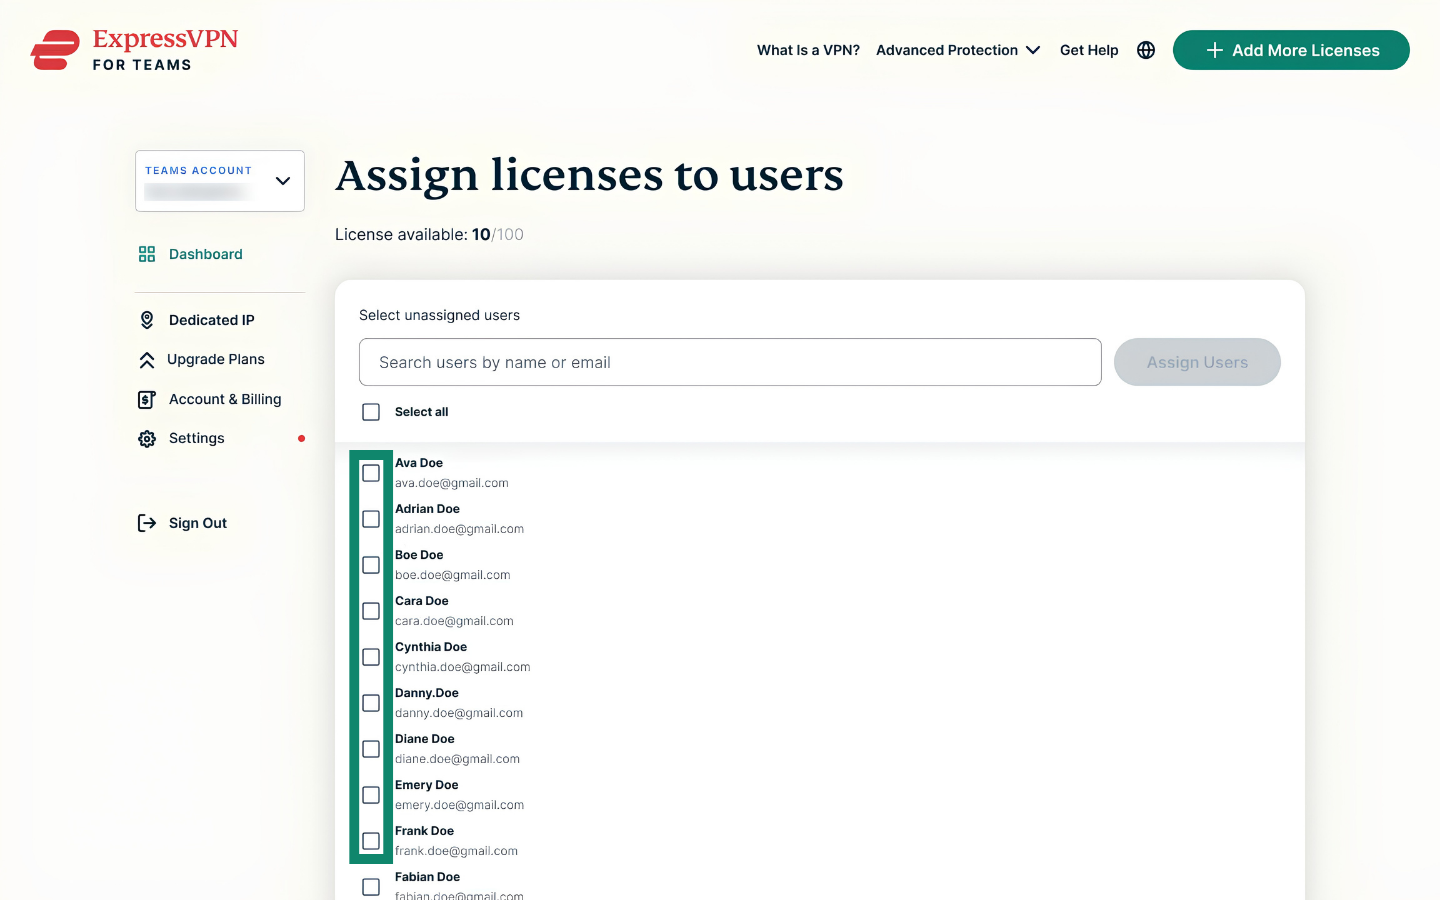
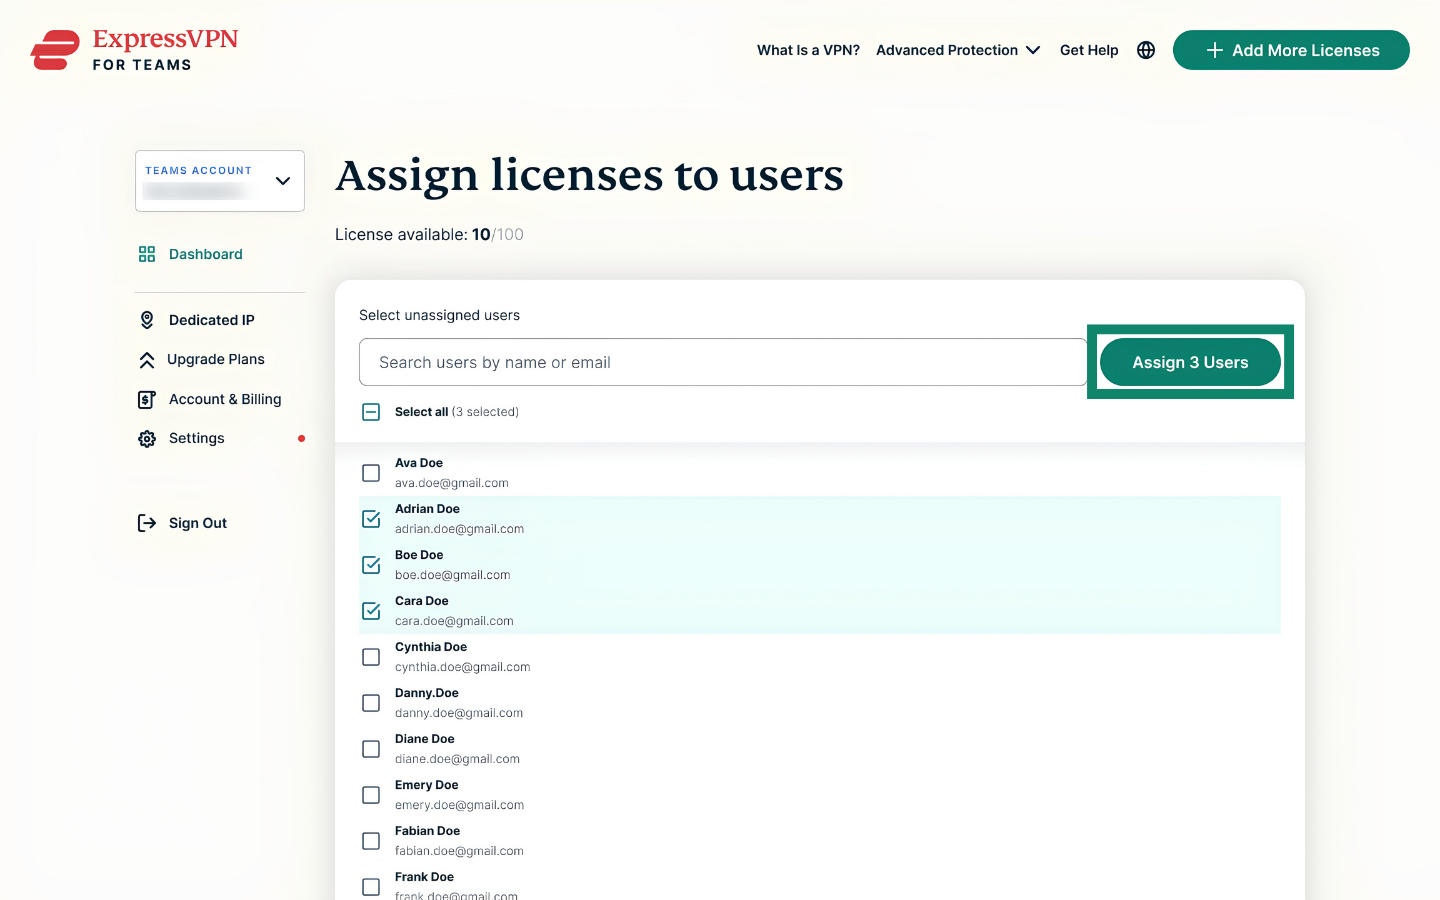
- Select the checkbox(es) next to the user name(s) you want to assign licenses to.

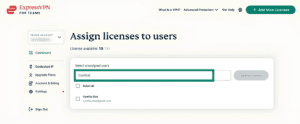
- You can also search users by name or email in the search bar.

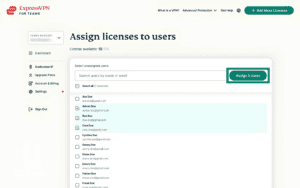
- Select Assign [number] users.
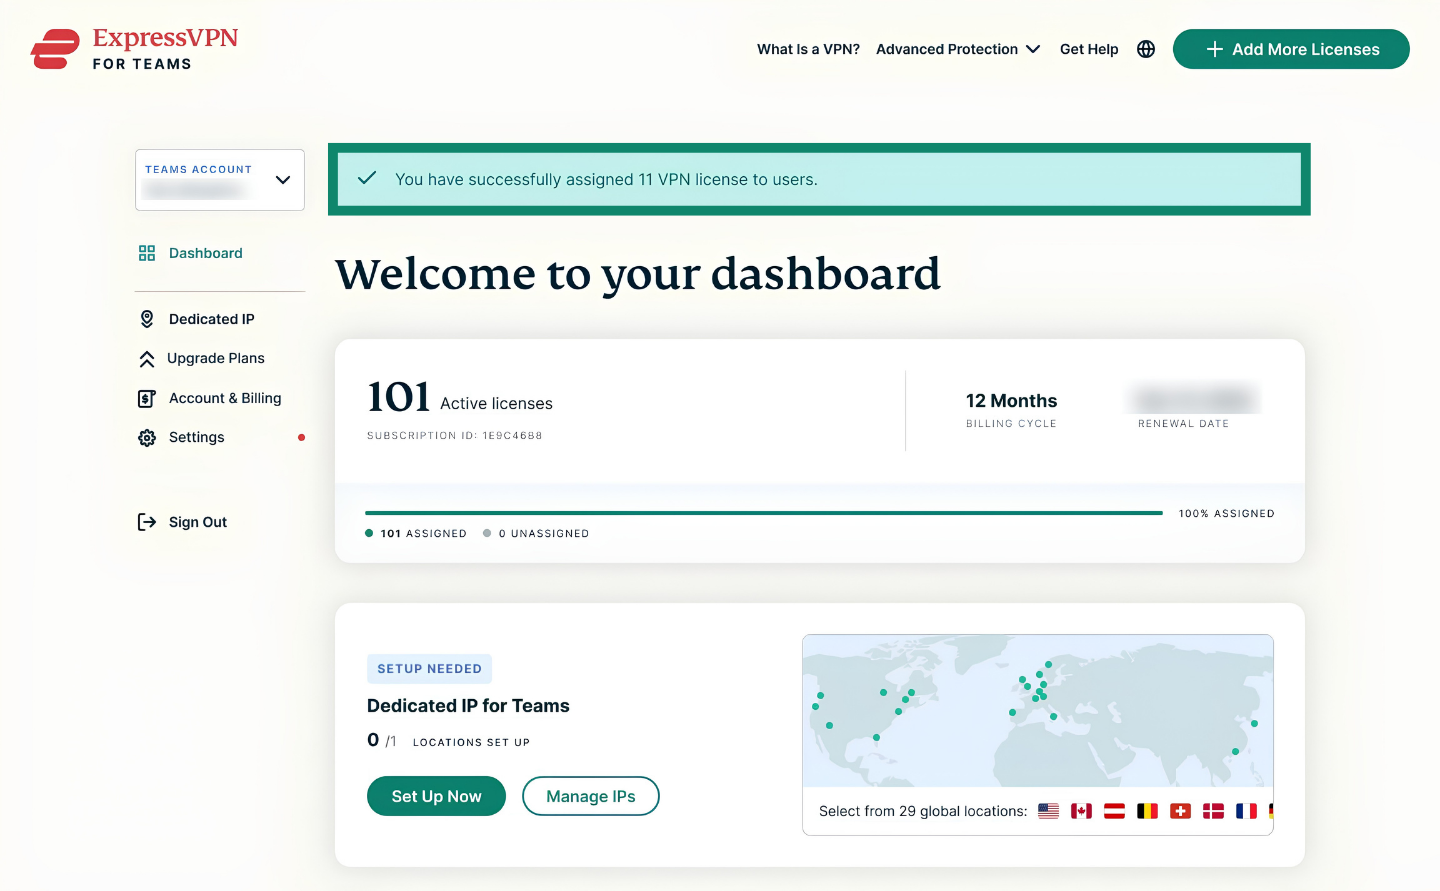
- You’ll see a confirmation banner once completed.
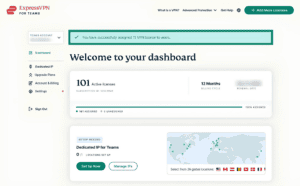

The selected users will receive a welcome email with instructions to activate ExpressVPN.
Note: If you select more users than you have available licenses, you will need to purchase additional licenses.
How to unassign licenses
To manually unassign a license:
- Sign into your ExpressVPN for Teams admin portal.
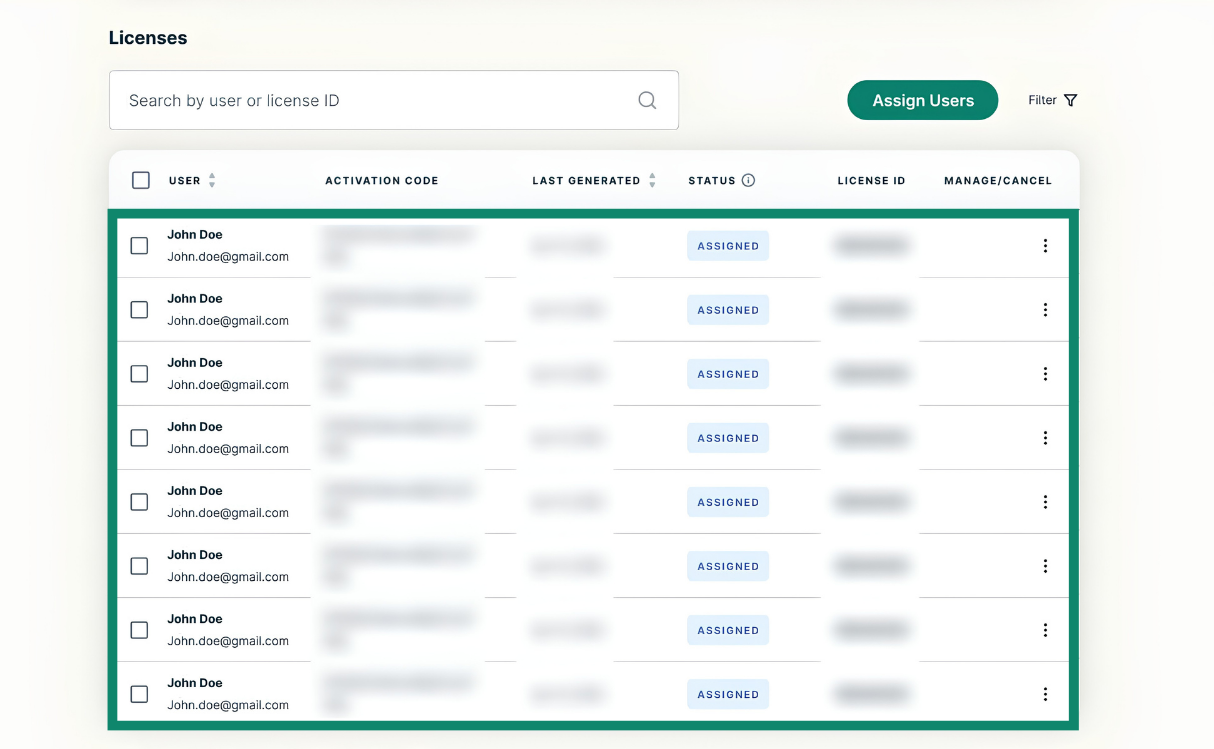
- Under Licenses, find the user whose license you want to unassign.
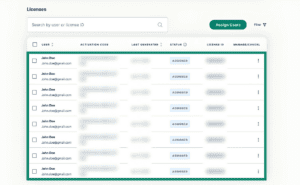

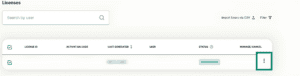
- Under Manage/cancel, click the three dots (⋮).

- Select Unassign.
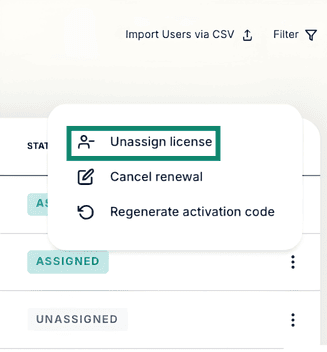

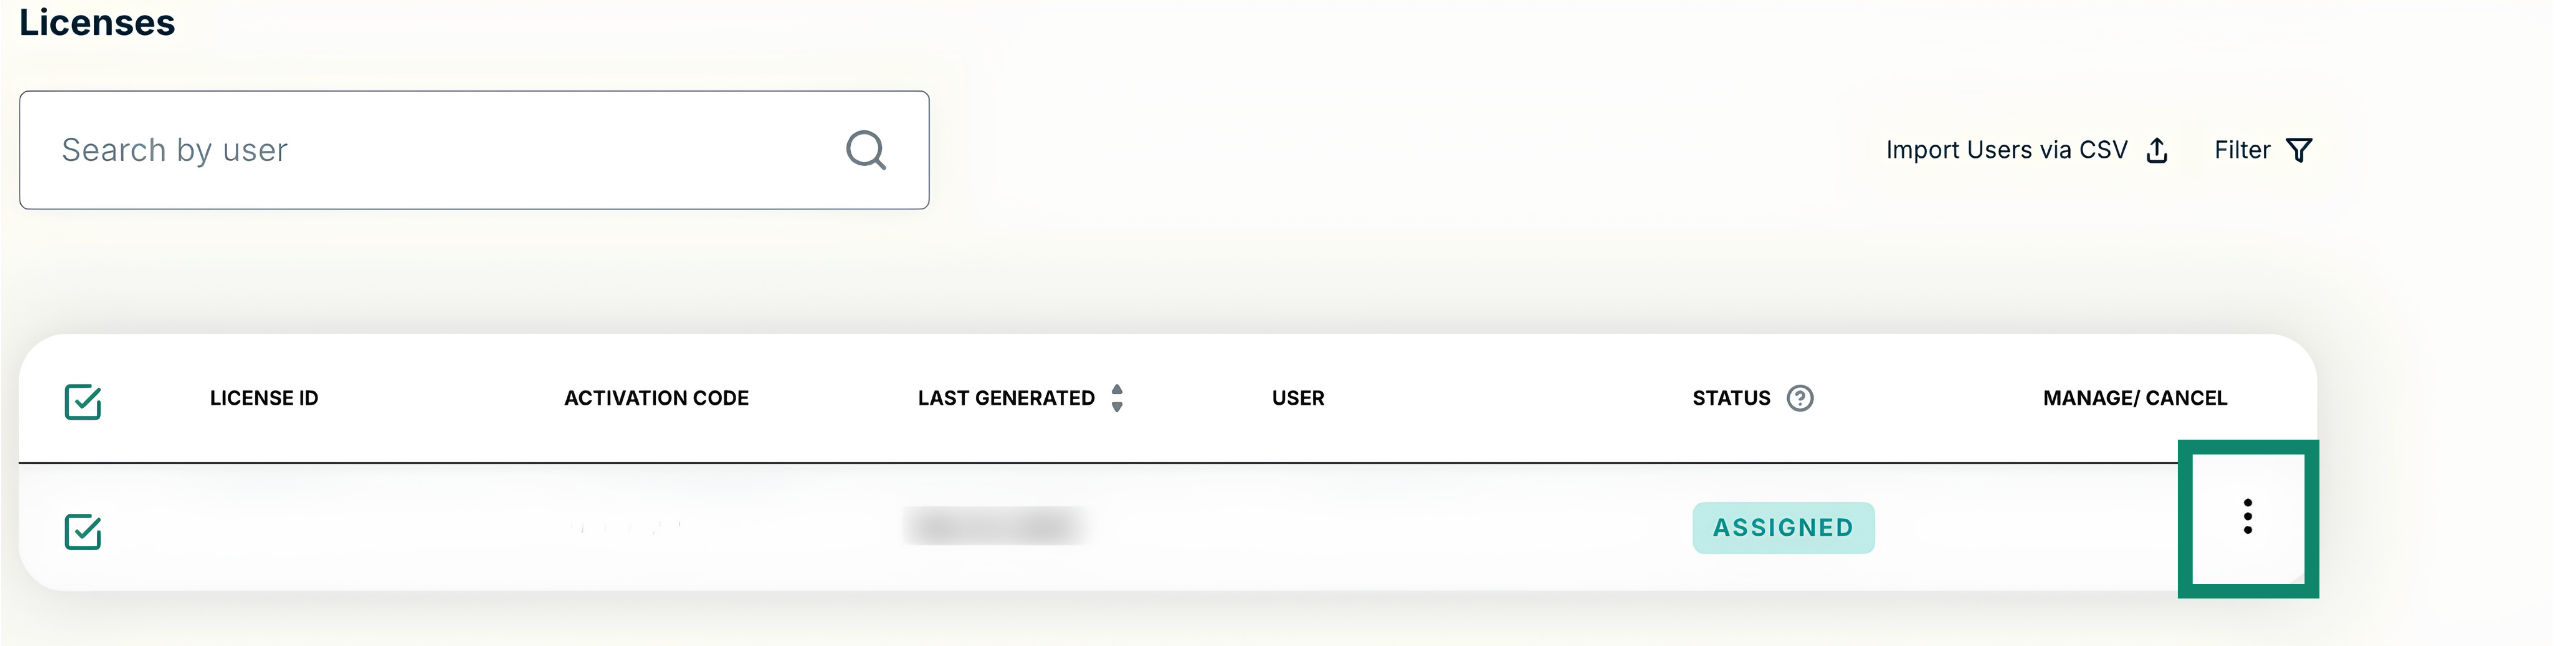
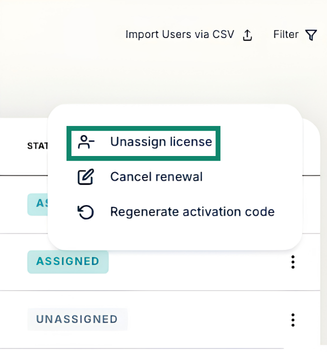
Once unassigned, the license is available to assign to another user.
How to filter users and licenses
- Sign into your ExpressVPN for Teams admin portal.
- Under Licenses, select Filter.
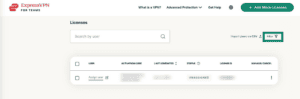

- Select the checkbox next to the filter you want to apply: Assigned, Expired, Unassigned, or Pending invite.
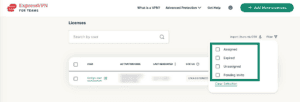

- The user list will automatically update to show only users that match the selected filter.
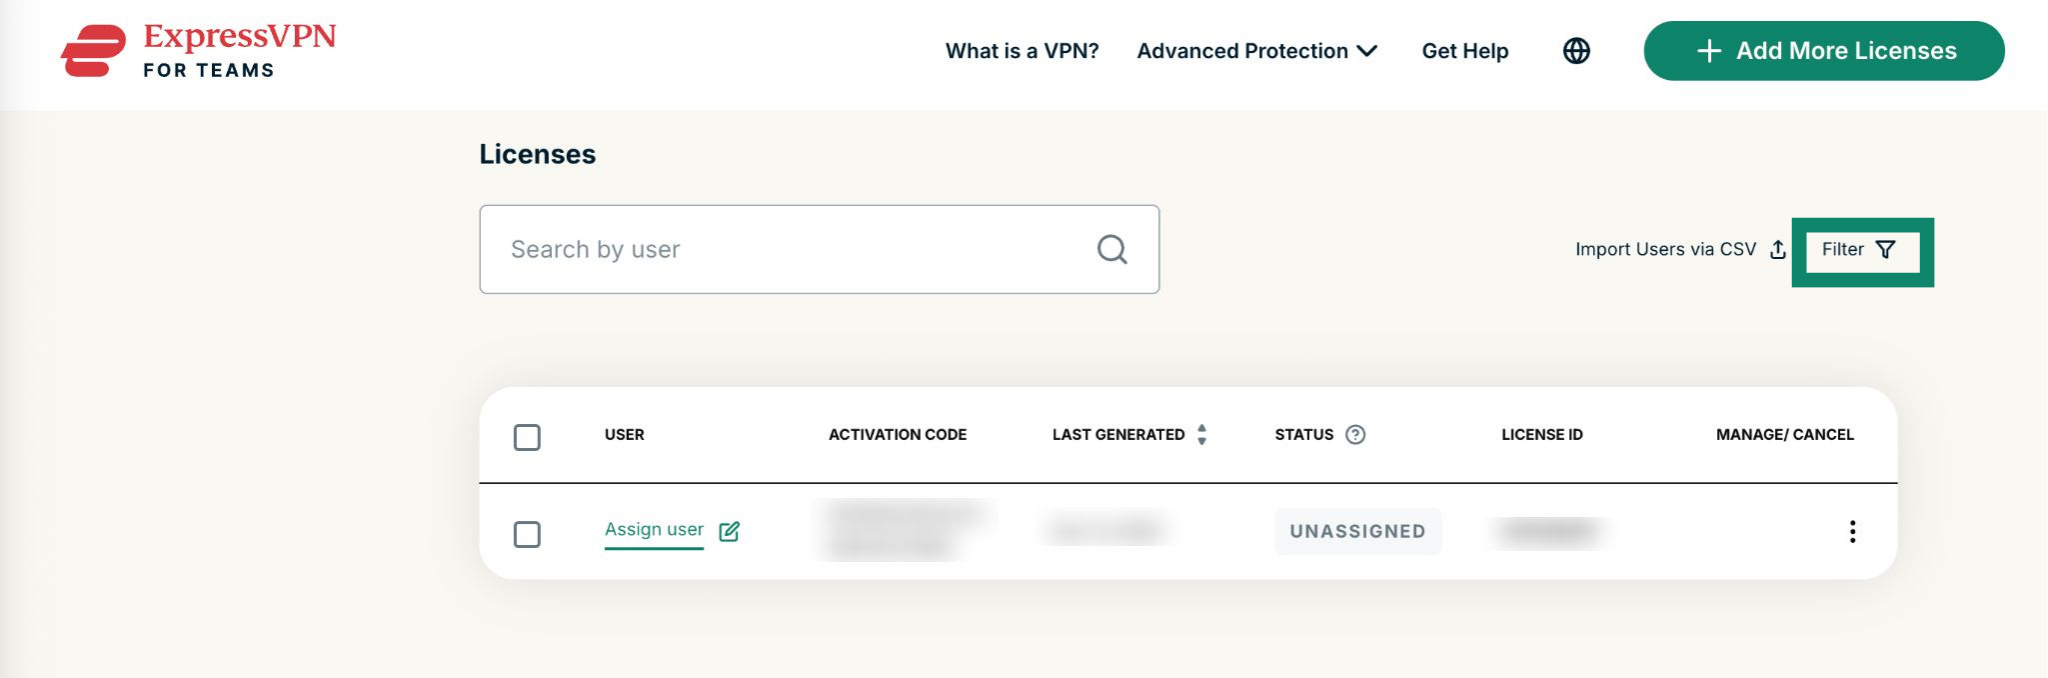
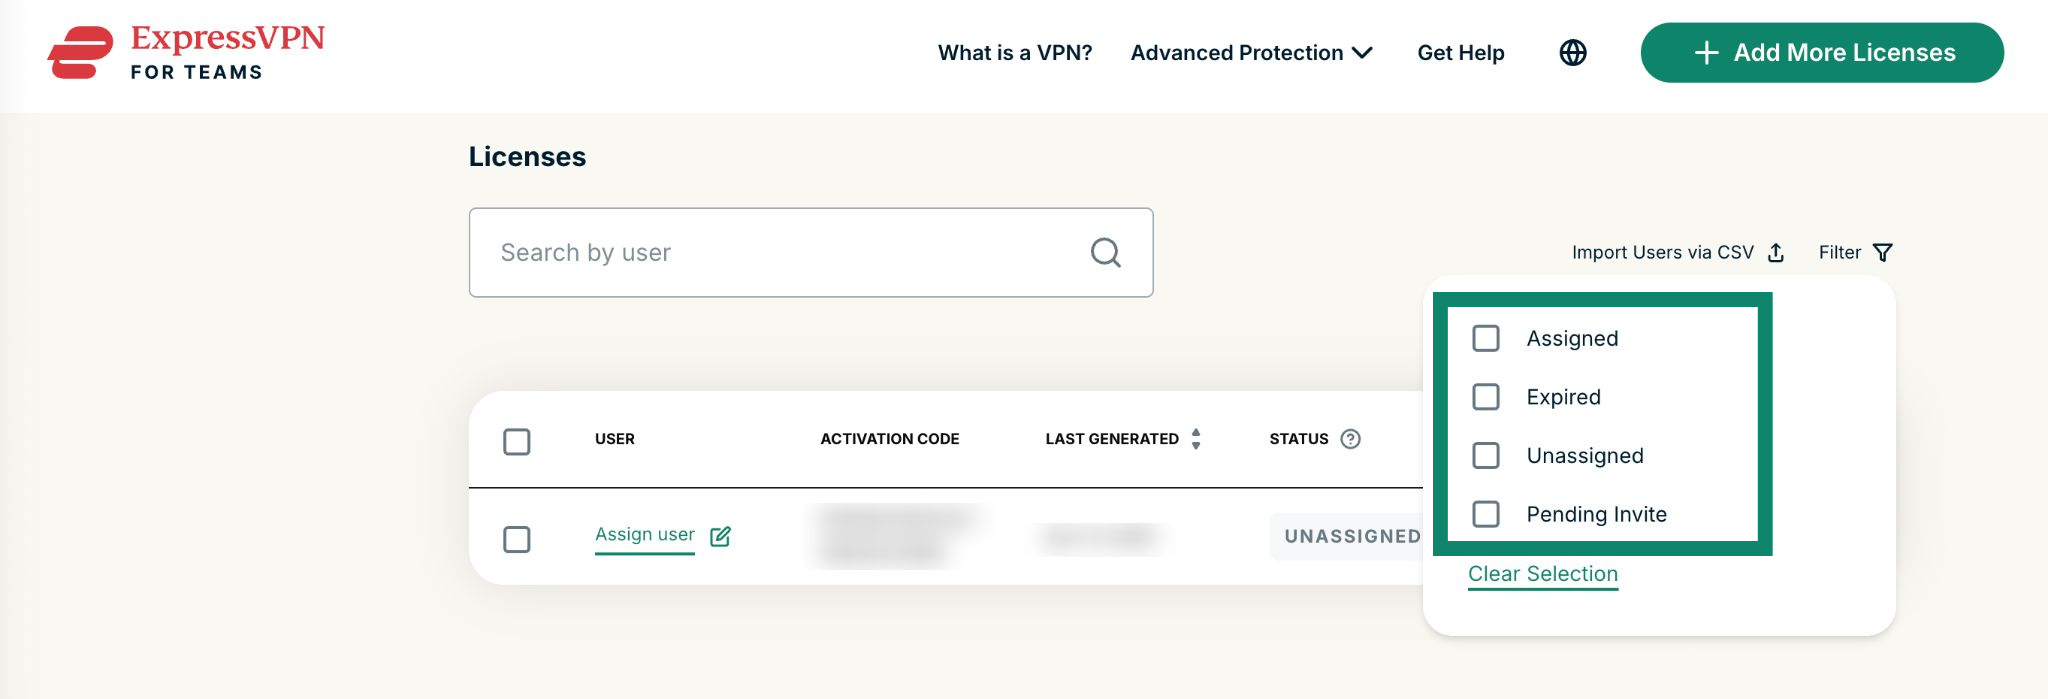
To remove a filter, select the X next to the applied filter.
How to turn auto-renewal on or off for licenses
- Sign into your ExpressVPN for Teams admin portal.
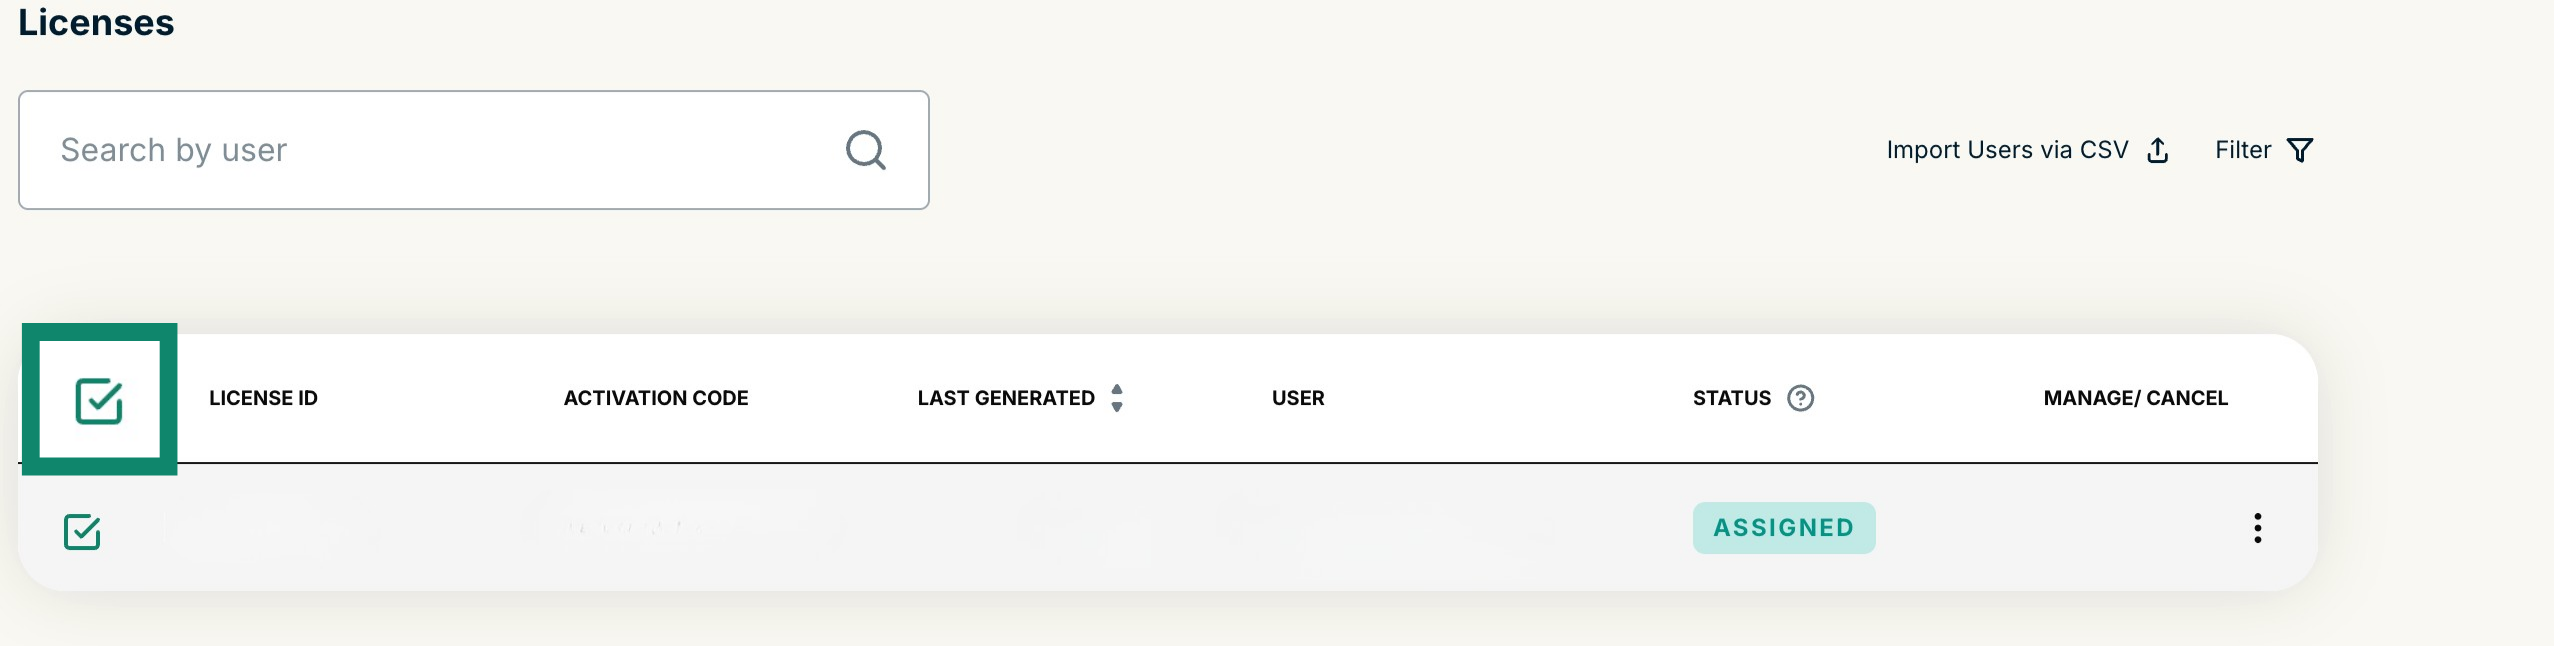
- Select the licenses you wish to cancel or turn on auto-renewal for by ticking the boxes in the left-hand column under LICENSE ID.
- You will see a black box pop up stating the number of licenses you have selected. Select Manage renewal.


- Next:
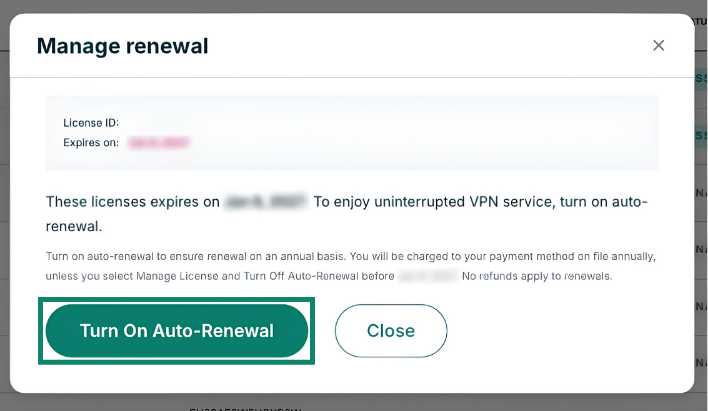
- If auto-renewal is turned off: You will see the option to Turn On Auto-Renewal. Click to enable it.
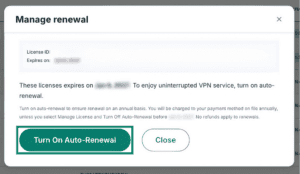

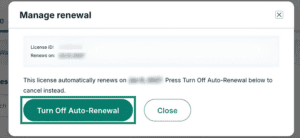
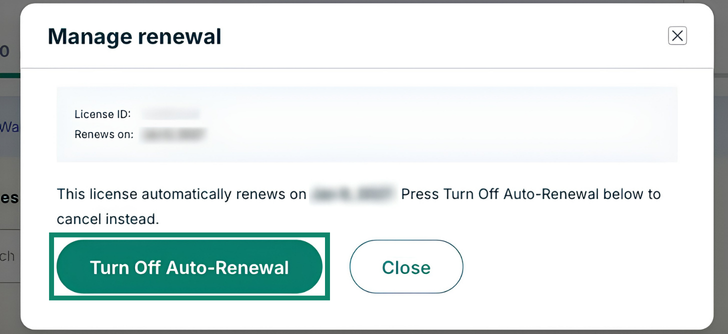
- If auto-renewal is turned on: You will see the option to Turn Off Auto-Renewal. Select to disable it.

- If auto-renewal is turned off: You will see the option to Turn On Auto-Renewal. Click to enable it.

For more detailed instructions, see our guide on how to turn on/off auto-renewal for ExpressVPN for Teams licenses.
Need help? Contact the ExpressVPN Support Team for immediate assistance.
How to purchase additional licenses
You can buy additional ExpressVPN for Teams licenses either from the dashboard or while assigning users.
Purchase licenses from the dashboard
- Sign into your ExpressVPN for Teams admin portal.
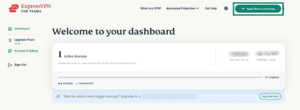
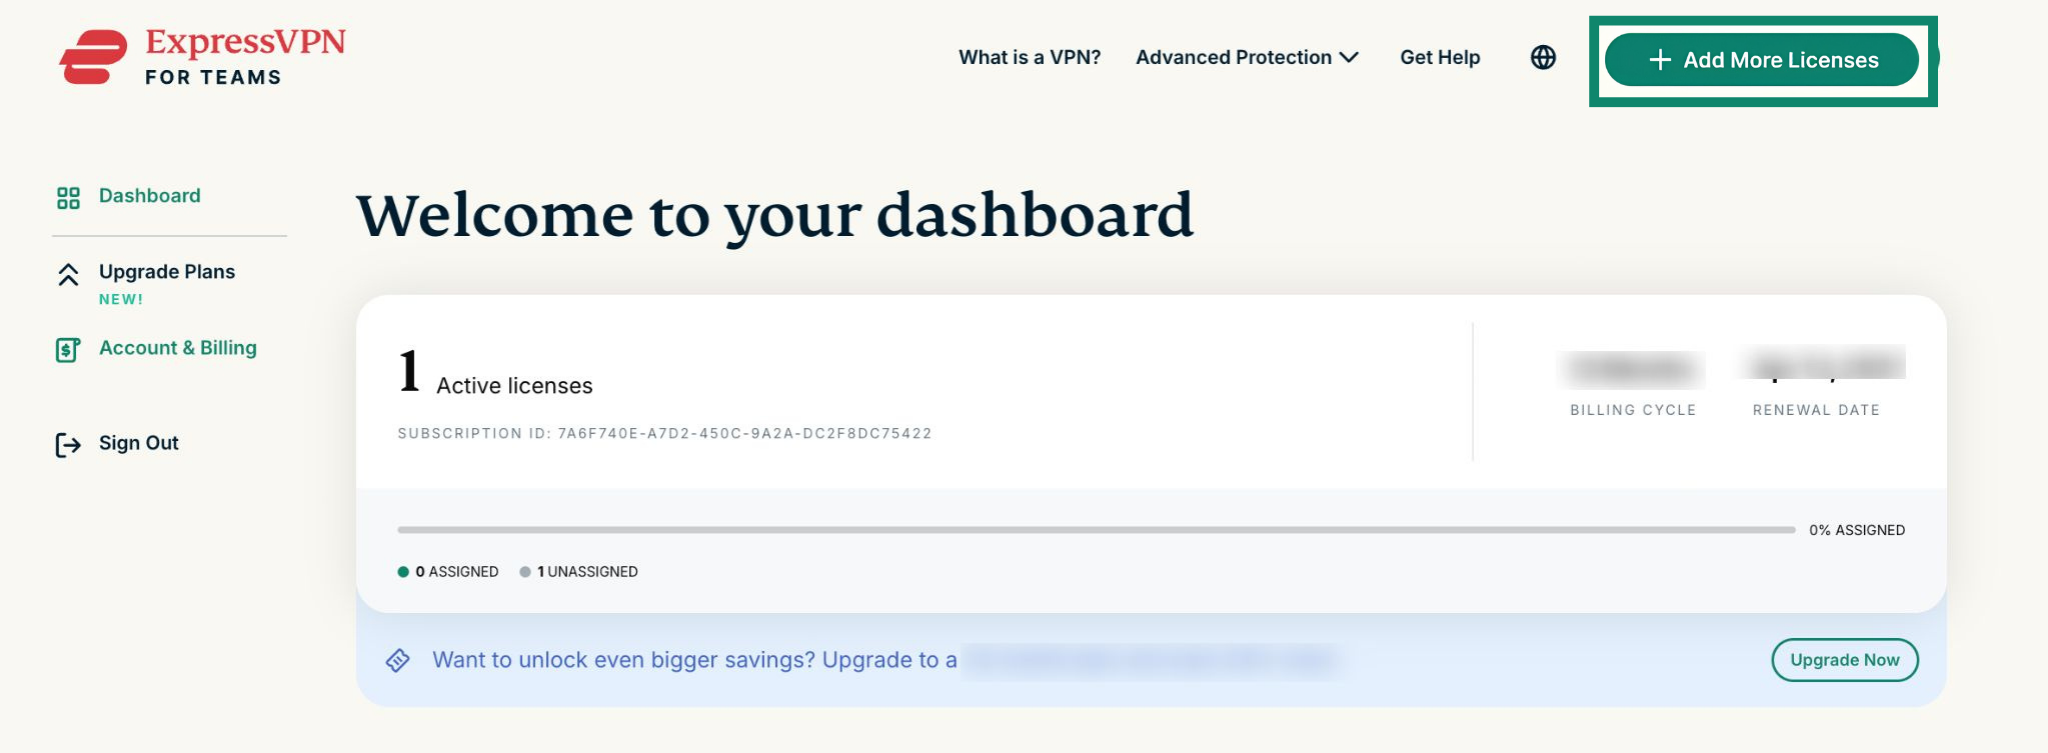
- In the top-right corner of the dashboard, select + Add More Licenses.

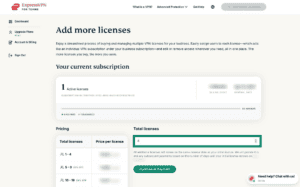
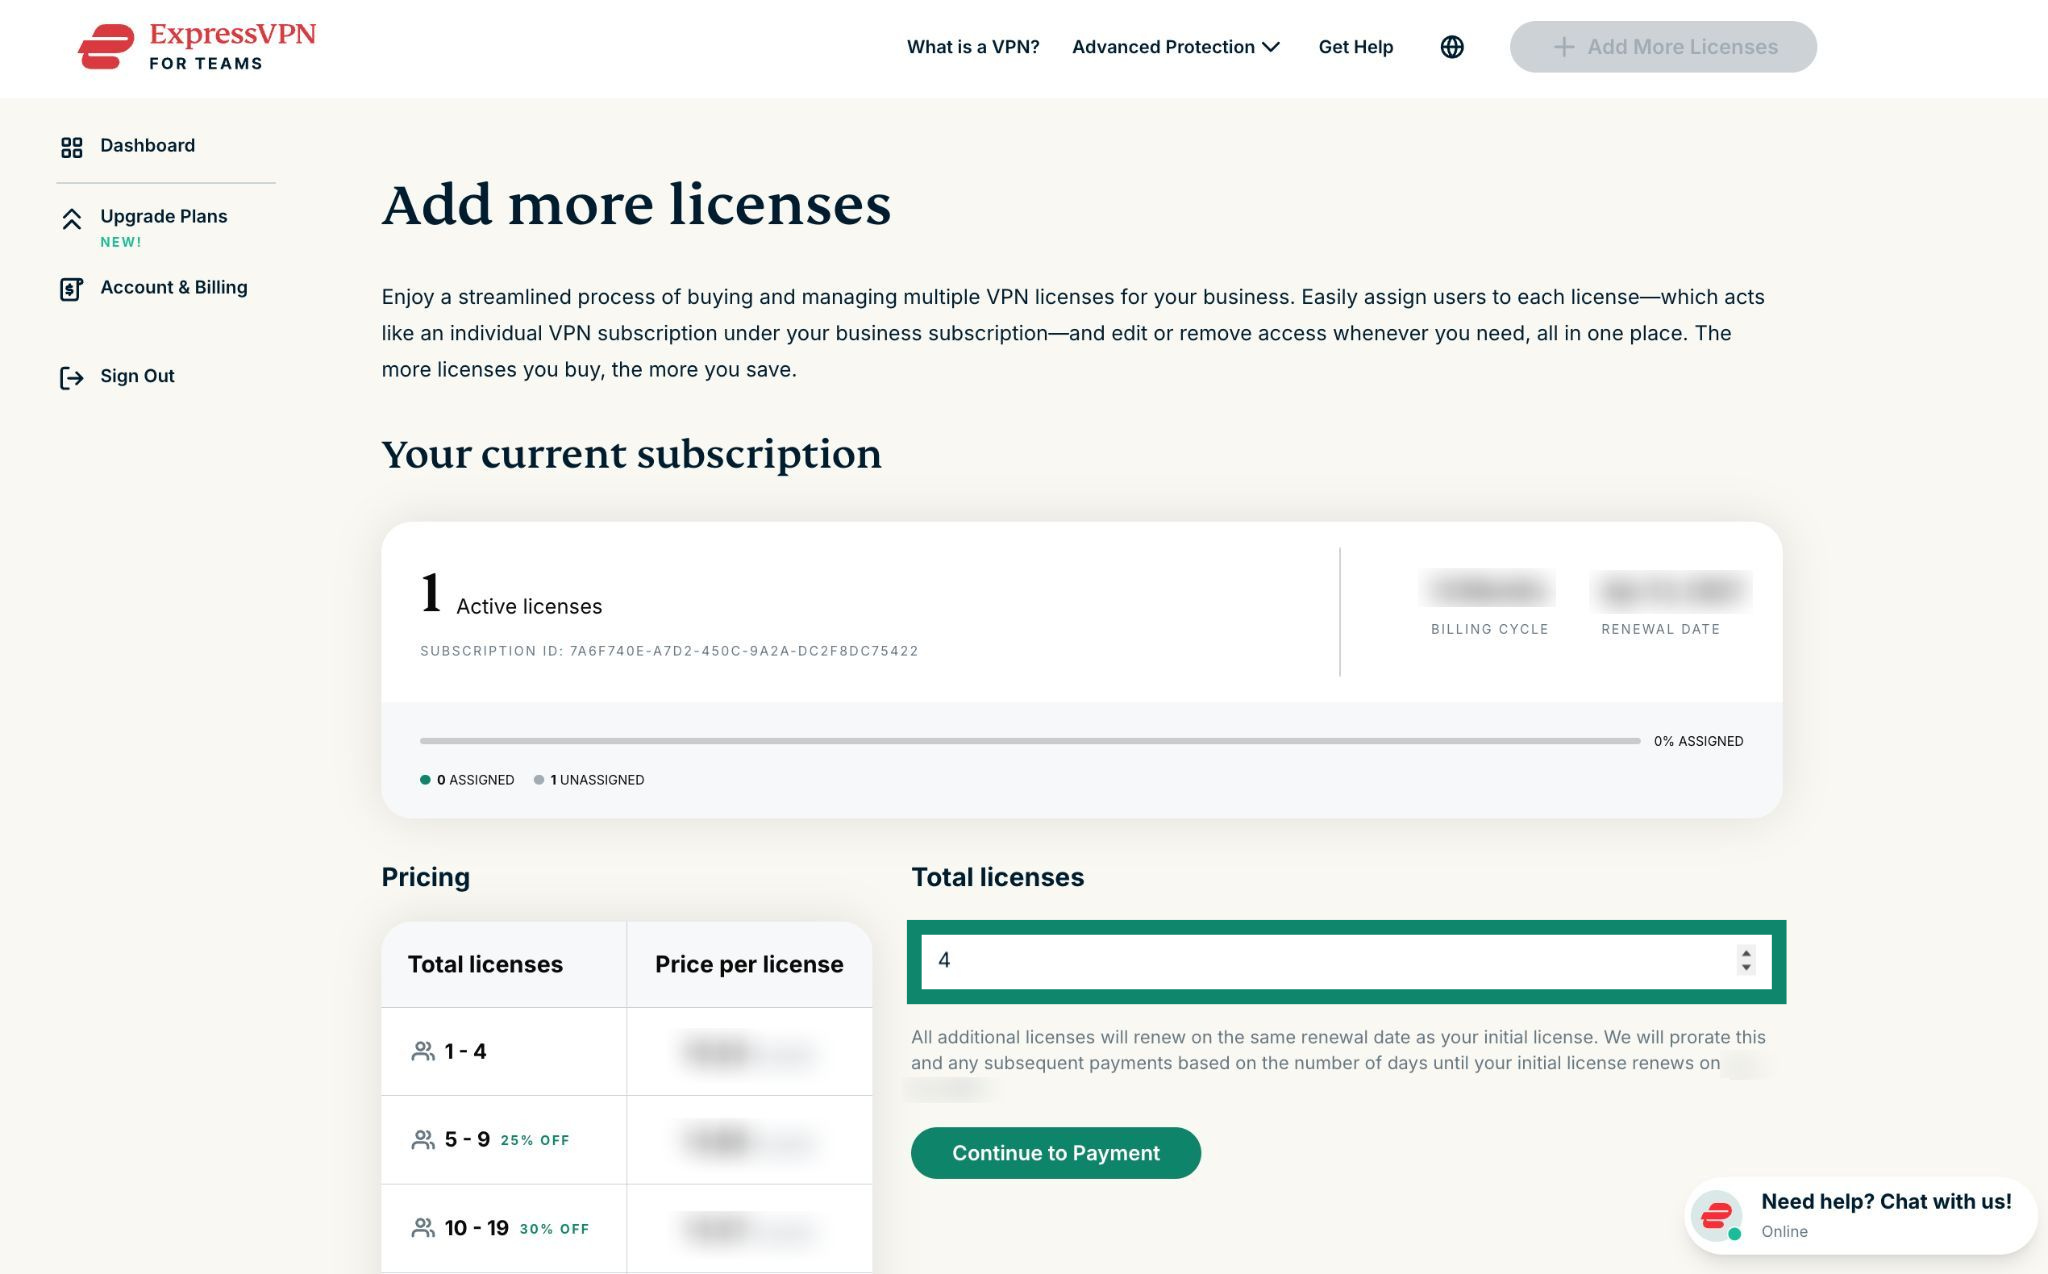
- Use the arrows below Total licenses to select the number of additional licenses you want to purchase.

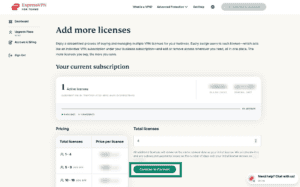
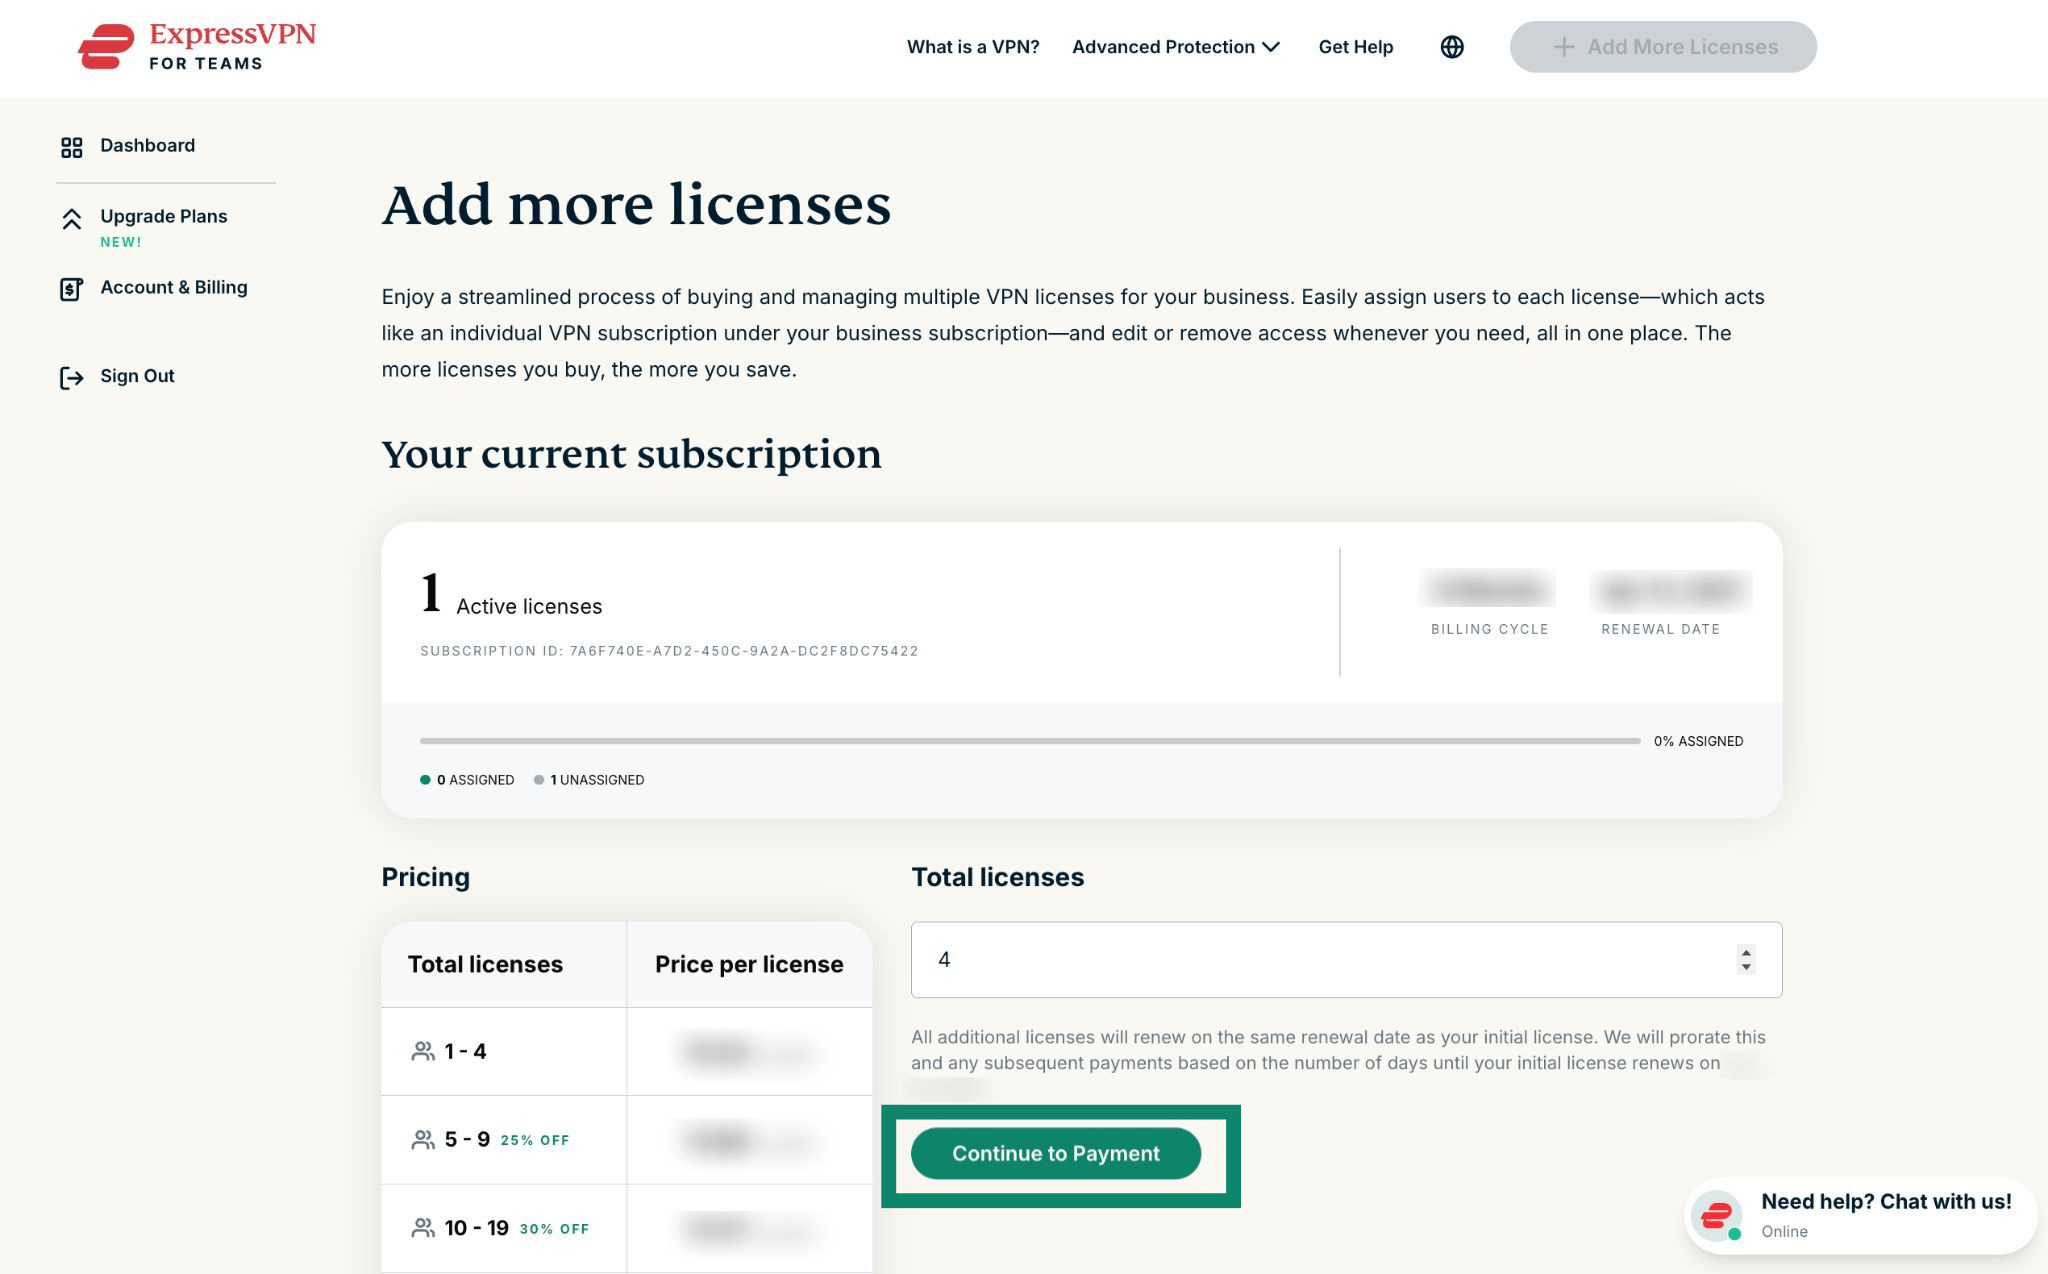
- Select Continue to payment.
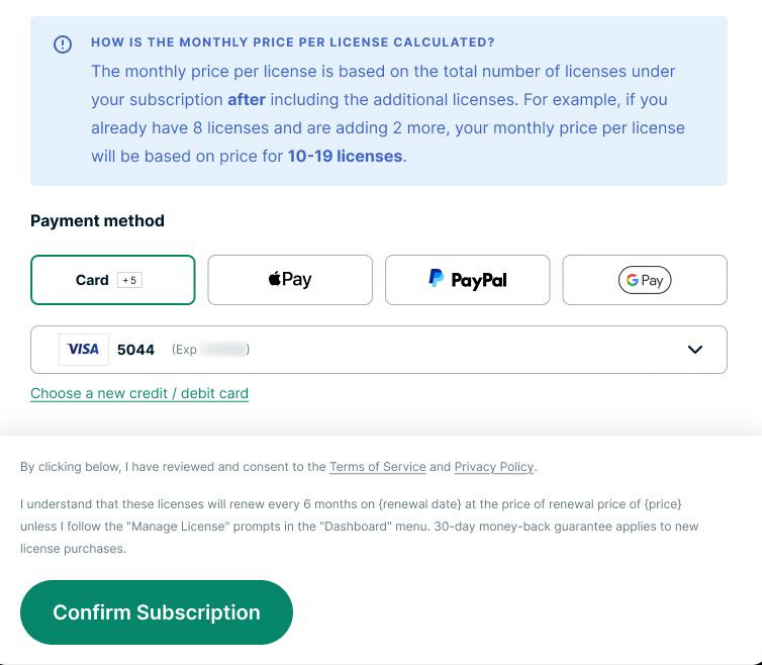
- On the checkout screen, select your preferred payment method, then click Confirm Subscription.
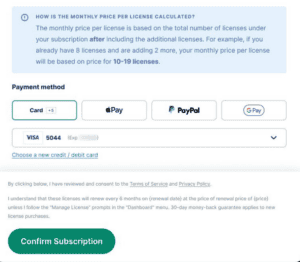

Your additional licenses will be added automatically and will be available to assign immediately.
Purchase licenses while assigning users
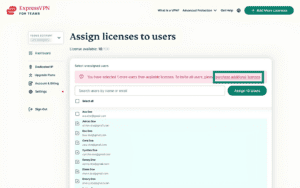
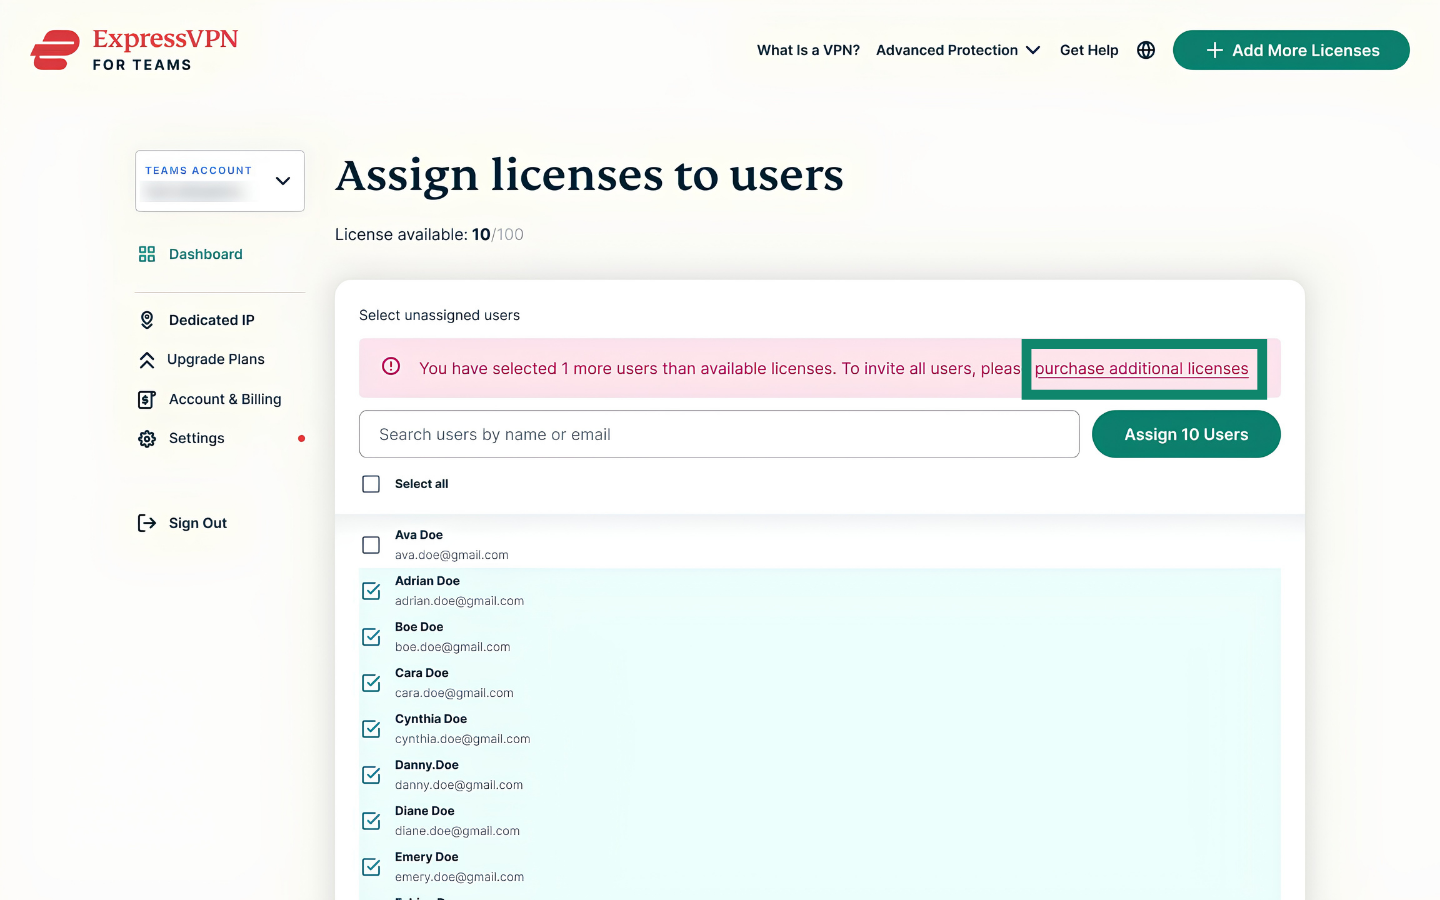
If you try to assign more licenses than you have available, you’ll need to purchase additional licenses. For example, if you try to assign licenses to 11 users but only have 10 available, a banner alert will appear prompting you to purchase additional licenses.
To do so:
- In the banner, select purchase additional licenses.
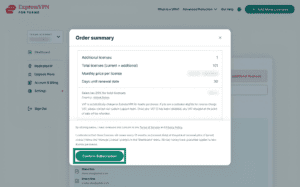
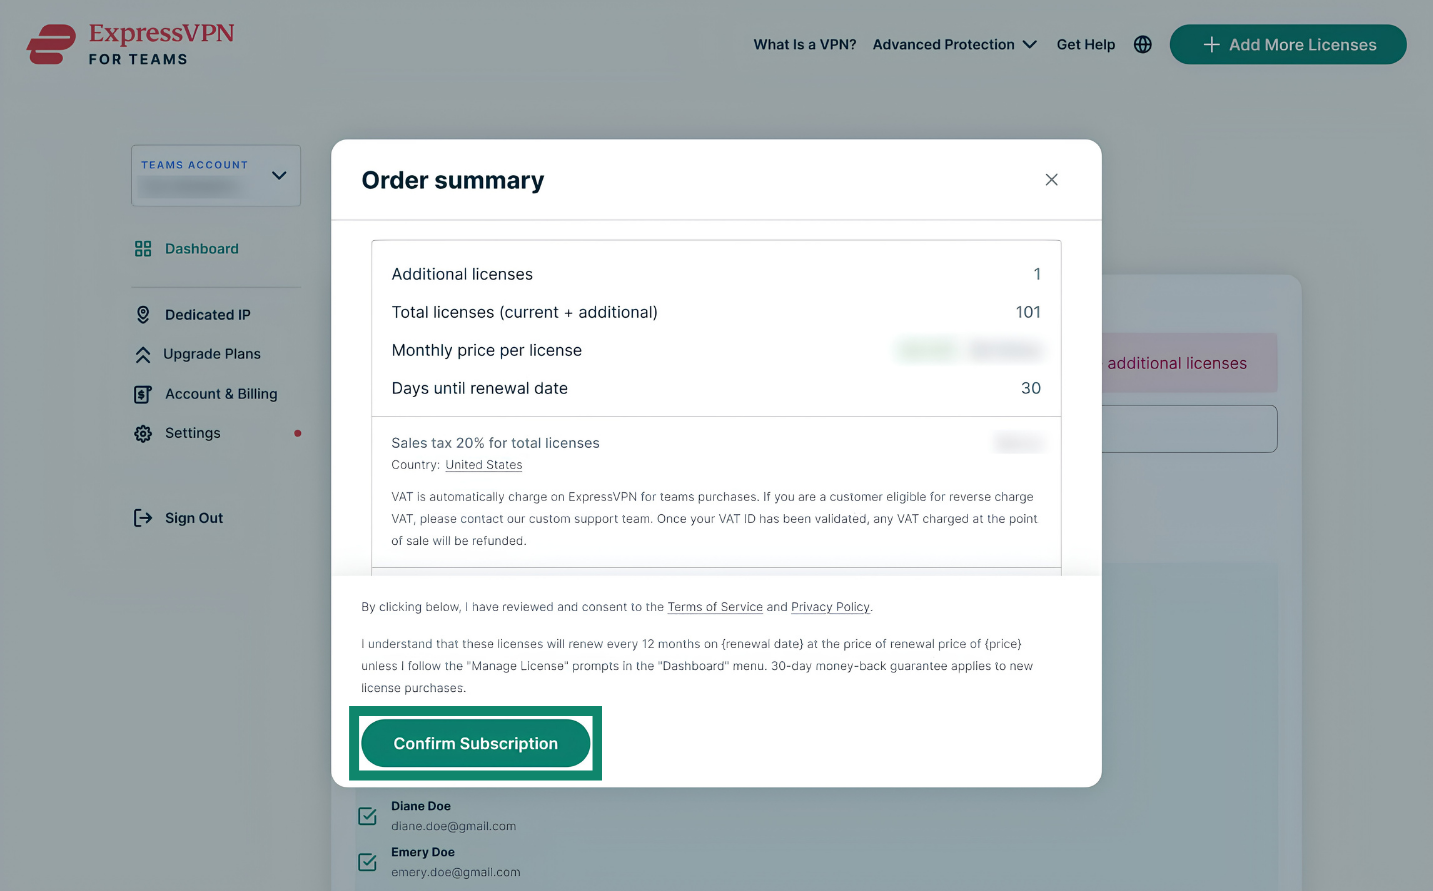
- Review the order summary, then select Confirm Subscription.
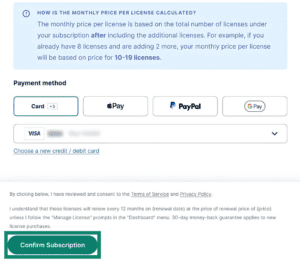
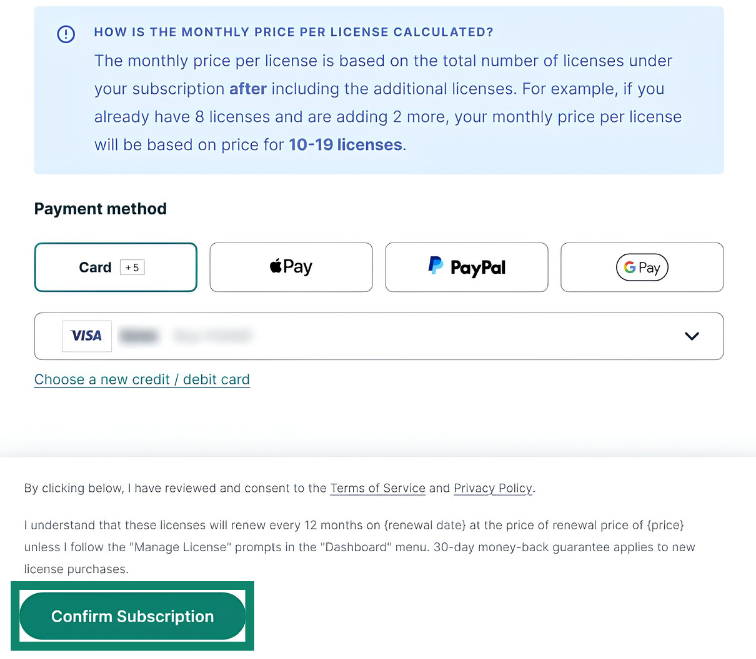
- On the checkout page, select your preferred payment method, then select Confirm subscription.

Need help? Contact the ExpressVPN Support Team for immediate assistance.
How to disconnect SCIM
- Sign into your ExpressVPN for Teams admin portal.
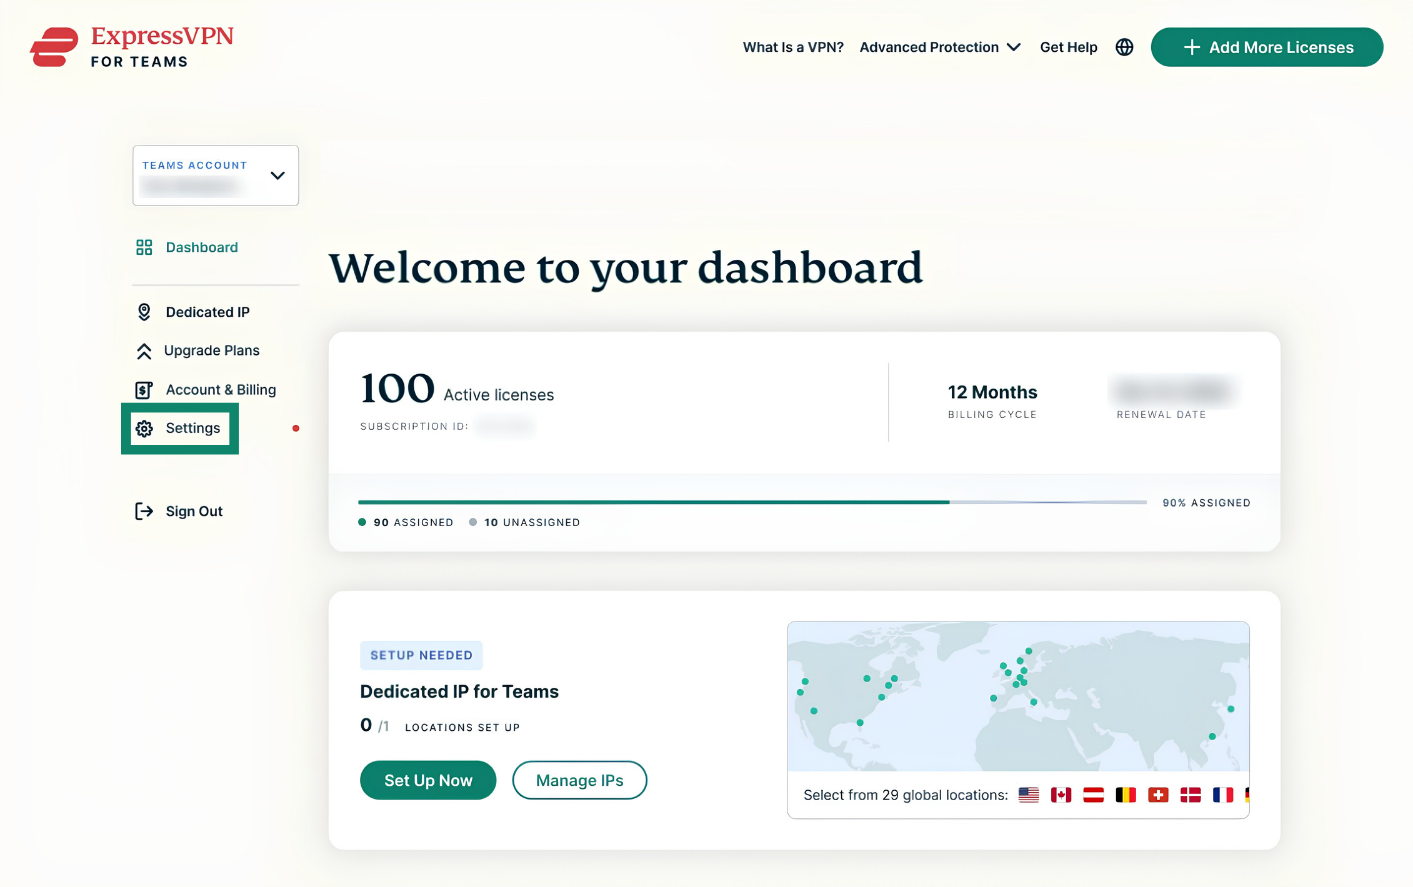
- On the dashboard, click Settings.
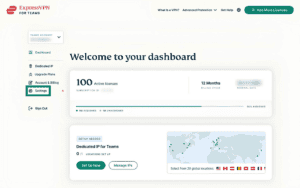
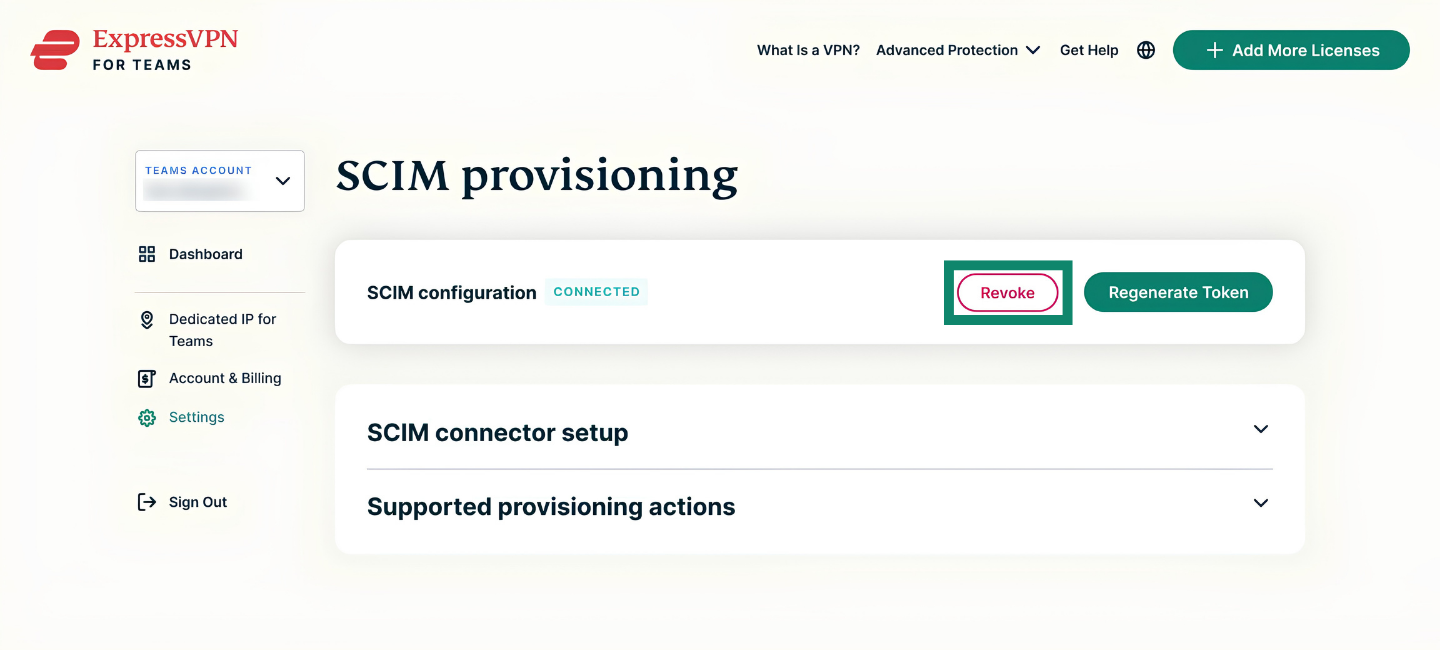
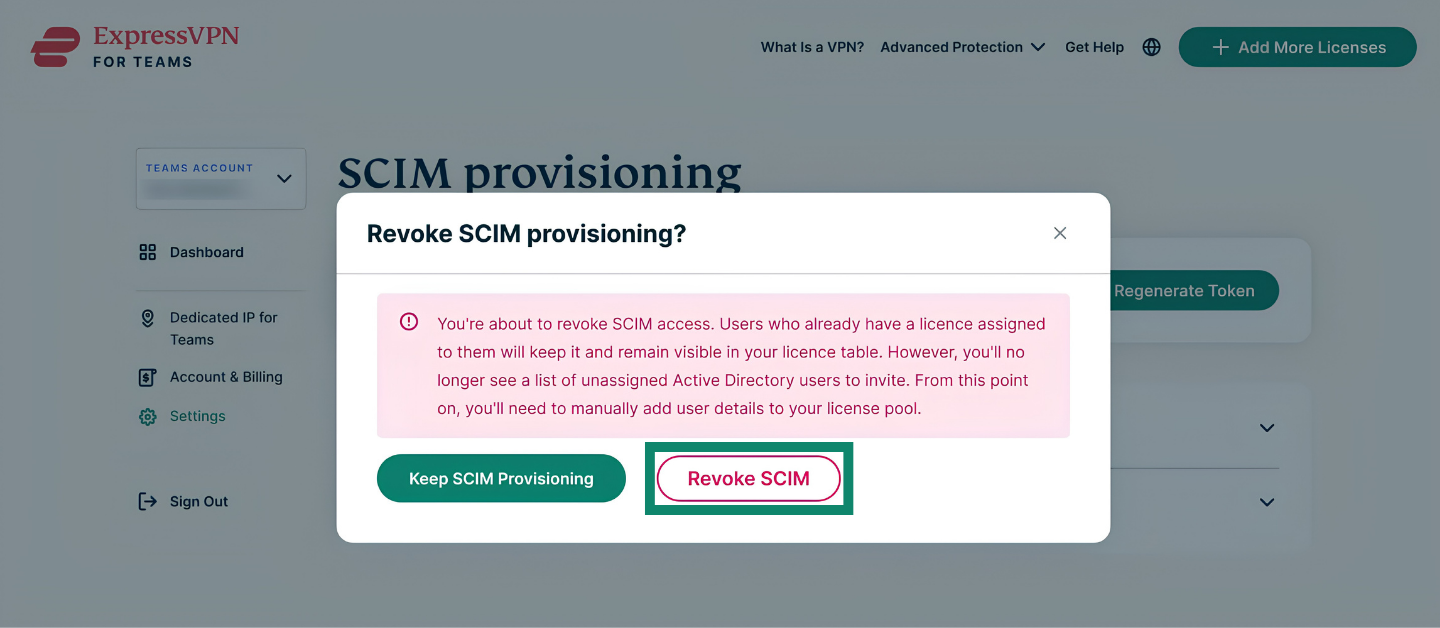
- Next to SCIM configuration, select Revoke.
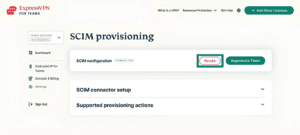

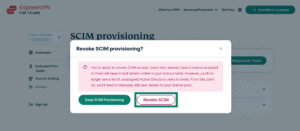
- Select Remove SCIM in the pop-up to confirm.

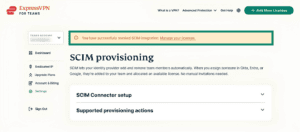
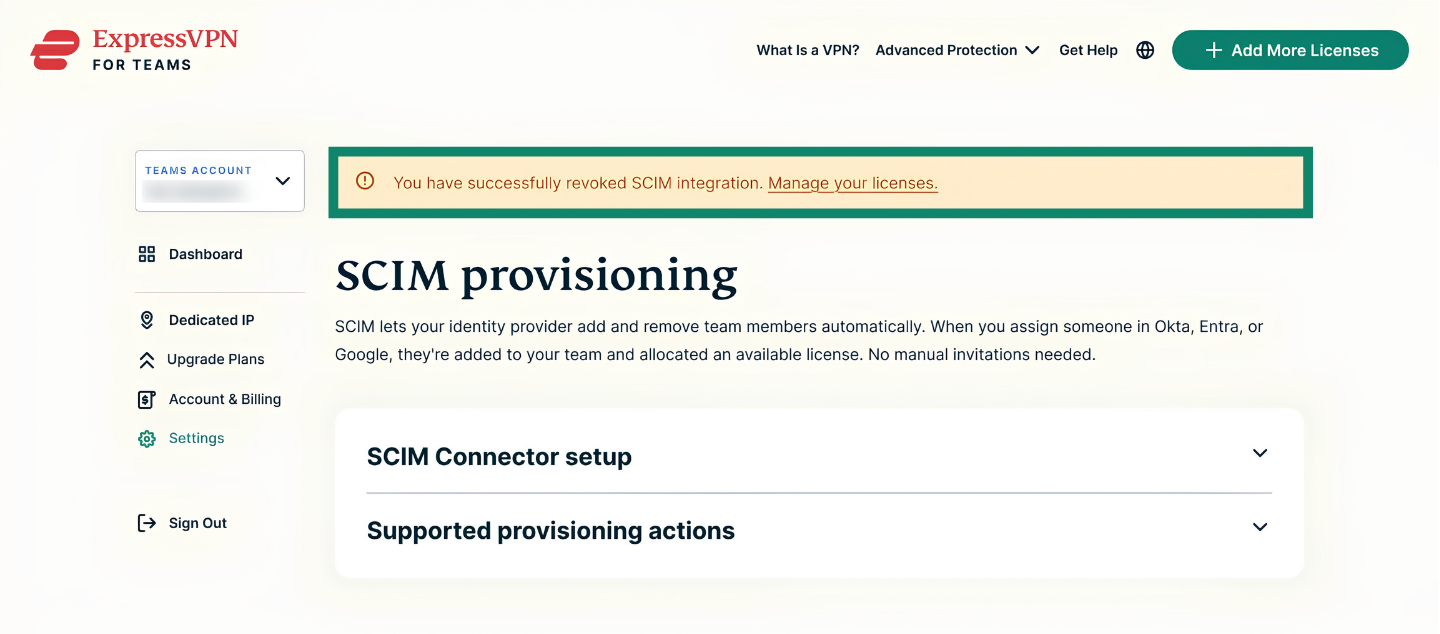
- You will then see a “You have successfully revoked SCIM integration” message at the top of the screen.

Need help? Contact the ExpressVPN Support Team for immediate assistance.