How to set up a VPN on iPhone: Complete step-by-step guide


Your iPhone has built-in support for VPNs, but setting one up isn’t always intuitive. Whether you’re using a VPN app or need to configure it manually, this guide will walk you through every step to help you get connected and secure in minutes.
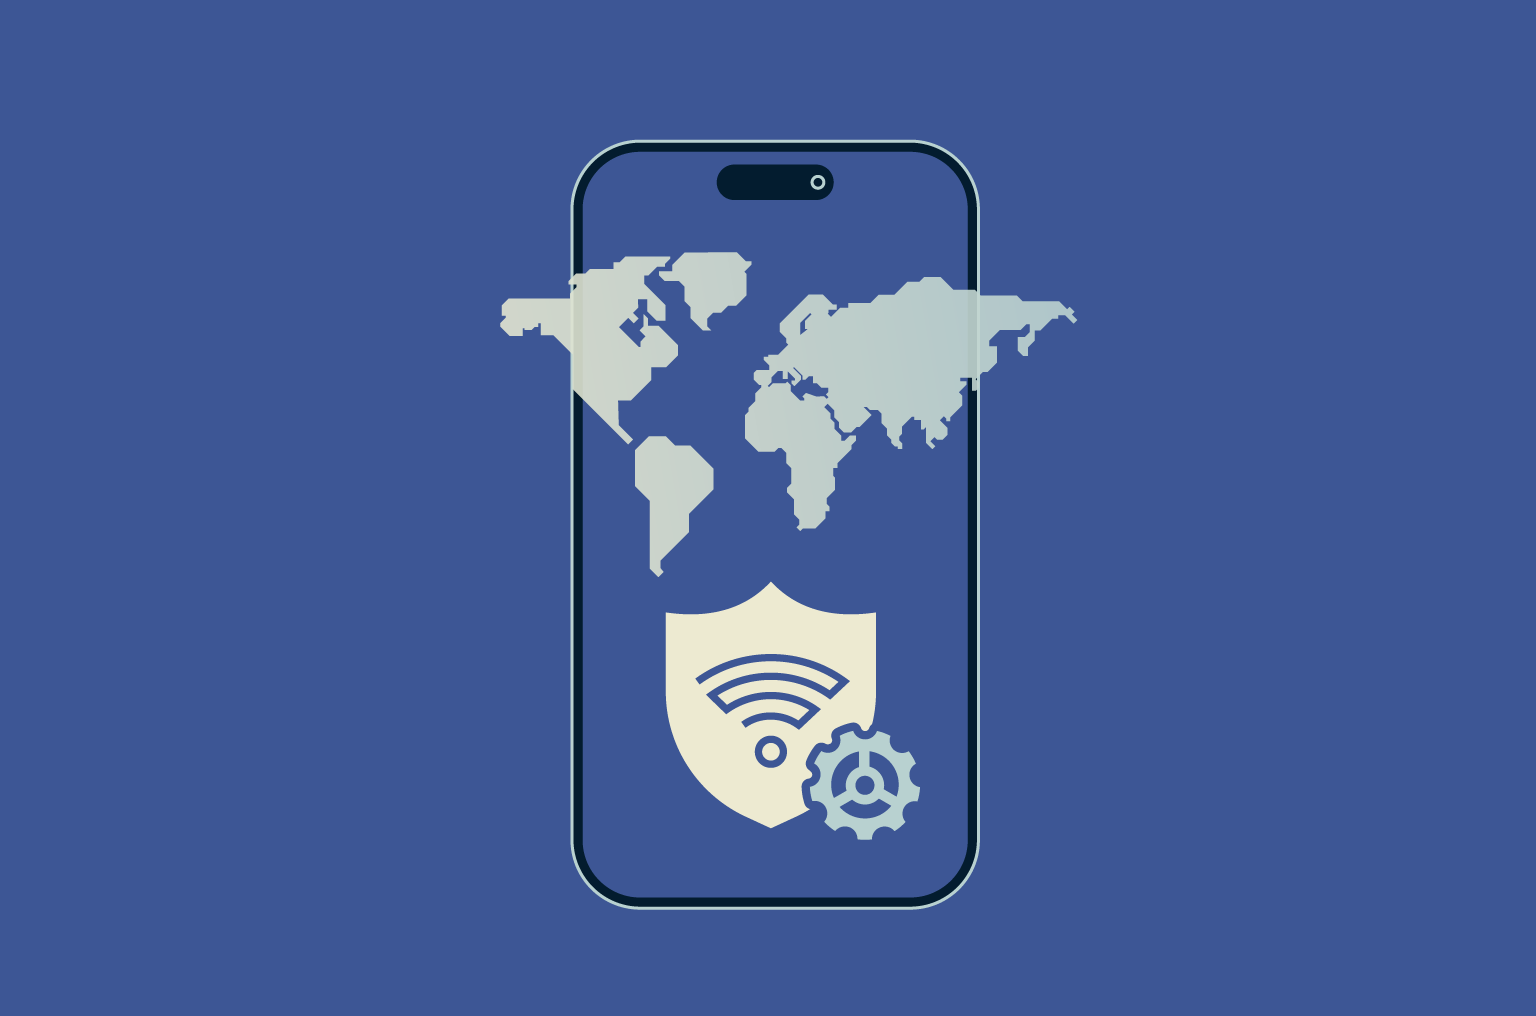
How to use a VPN on iPhone
The easiest way to get a VPN on iPhone is by using a reputable VPN app like ExpressVPN, but you can also configure it manually.
Manual setup takes more time and technical know-how. You’ll also miss out on all of the advanced features you’d get from a VPN app, like server switching, a kill switch, and split tunneling. But it’s a useful option if you need to connect to a custom or work VPN or if you want more control over how the VPN works.
Option 1: Using a VPN app (recommended)
- Download ExpressVPN: In the App Store, search for ExpressVPN, and press the Get button to install it on your phone.

- Create (or log into) your account: Launch the app and enter your login credentials. If you don’t have an account, you can sign up by selecting that option in the app.

- Connect to a server: On the main screen of the VPN app, tap the power button to connect to the fastest nearby server. Alternatively, you can choose a specific location from the server selection menu. That’s it! Your iPhone is now connected to the VPN, and your internet traffic is being protected.

Option 2: Manual configuration via iOS settings
Before you start with the manual setup, make sure you have the necessary VPN configuration details from your VPN provider, including the server, remote ID, and your login credentials. Then, do the following:
- Navigate to the VPN configuration screen: First, open the Settings app on your iPhone, navigate to General > VPN, and then tap Add VPN Configuration.

- Enter the VPN’s details: In the VPN configuration screen, select the type of VPN protocol your service provides. Fill in the required fields with the details provided by your VPN service, including a description, server, and login information. Tap Done.

How to know if the VPN is active
Most VPN apps will display a “connected” status or have some other obvious indicator that they’re working. You can also look for a small VPN icon in the iPhone status bar or check VPN status under Settings > General > VPN. Finally, you can verify that the VPN is active by using our IP lookup tool. If it’s working, the IP address and location shown should match the VPN server you’re connected to, not your real IP address or location.
Choosing the best VPN for iPhone
Regardless of the method you choose (automatic or manual), iPhone doesn’t have a built-in VPN you can enable, so you’ll need to pick a VPN provider first. However, not all VPNs are created equal, meaning that not all will give you the same level of security. Here are some key factors to consider when selecting a VPN for your iPhone.
- Strong encryption: The strength of a VPN’s encryption determines how securely your data is protected. ExpressVPN uses the post-quantum ML-KEM encryption standard for its proprietary Lightway protocol. It also has a kill switch to prevent data leaks in the event that your VPN connection drops unexpectedly.
- A strict no-logs policy: This means that the VPN provider doesn’t track your online activities. ExpressVPN’s no-logs policy undergoes regular independent audits to prove its authenticity.
- A large server network: Connecting to a nearby server will get you faster speeds. A VPN with servers all over the world will also give you more connection options. ExpressVPN has high-speed servers in 105 countries.
- Extra features: Some VPNs come with other features that’ll enhance your online experience. For example, ExpressVPN’s iPhone app comes with an ad blocker and a handy password manager.
Free vs. paid VPNs on iOS
If you’re looking for a VPN on iPhone, it’s easy to be tempted by free options, but the truth is, paid VPNs tend to offer more reliable performance, better privacy protections, and features that free apps often leave out.
Risks of free VPN apps
While this is not always the case, free VPNs often come with trade-offs. Many rely on ads to fund their service, and those ads can be invasive or even track your activity.
Some free VPNs limit what you can do, offering only a few servers or capping your data to push you toward a paid upgrade.
If you’re considering using a free VPN, make sure to carefully check its privacy policy. Look for details about what data it collects and who it shares it with.
It is also important to verify that the VPN provider uses secure encryption and offers basic protections, such as a kill switch or leak prevention. Without these, your information may not be as private as you think.
How to get a free trial from a trusted provider
If you’re not ready to commit to a paid VPN, some providers let you try the service with no risk. This can be in the form of a free trial or a money-back guarantee.
ExpressVPN, for example, offers a 30-day money-back guarantee. You can sign up, use the app and all of its features on your iPhone as much as you like, and request a full refund if it’s not what you expected.
How to set up different VPN protocols on iPhone
VPN protocols determine how your iPhone communicates securely with a VPN server. While most users never need to change these settings manually, some may want more control over performance, compatibility, or encryption methods.
Lightway setup
Lightway is ExpressVPN’s own protocol, designed to be fast, lightweight, and stable. It’s not configurable through iPhone’s settings. You can only use it via the ExpressVPN app.
To use Lightway:
- Open the ExpressVPN app and go to Profile, then tap VPN Protocol.

- Select Lightway – UDP or Lightway – TCP.

- Tap the power button on the home screen to connect.

There’s no manual configuration needed. Lightway is the default choice in most situations and works especially well for mobile users thanks to its ability to stay connected while switching networks or waking from sleep. It’s also built with future-proof cryptography and consumes less battery than other protocols.
IKEv2 configuration guide
IKEv2/IPSec is one of the fastest and most reliable protocols available for iPhone. iOS supports it natively, and ExpressVPN’s app uses it when selected automatically or manually.
To set it up manually:
- Go to General in Settings and tap VPN & Device Management.

- Tap VPN.

- Tap Add VPN Configuration.

- Choose IKEv2. Enter the server address, remote ID, and authentication details provided by your VPN service. Tap Done, then toggle the VPN on when ready.

IKEv2 is especially good on mobile because it reconnects quickly when switching between Wi-Fi and cellular networks. ExpressVPN supports multiple protocols on iOS, including IKEv2. If Lightway isn’t selected, the app may fall back to IKEv2 or another supported protocol, depending on what’s best for your connection.
OpenVPN setup
iOS doesn’t support OpenVPN through system settings, so you’ll need to select this protocol from your VPN app. ExpressVPN offers OpenVPN as one of the protocols you can use on iOS, so the setup is extremely simple. Here’s how it works, step by step:
- Open the ExpressVPN app and go to Profile, then tap VPN Protocol.

- Select OpenVPN – UDP or OpenVPN – TCP.

- Tap the power button on the home screen to connect.

WireGuard setup
WireGuard is a fast, modern protocol, but Apple’s iOS doesn’t include native support for it. You can, however, use WireGuard on iOS through the ExpressVPN iOS app. WireGuard is a fast and secure protocol, but what makes this integration stand out is that it’s post-quantum. To set it up:
- Open the ExpressVPN app and go to Profile, then tap VPN Protocol.

- Select WireGuard.

- Tap the power button on the home screen to connect.

L2TP/IPSec configuration guide
L2TP/IPSec is available in iOS settings, but it’s largely outdated and not supported by most modern VPN services, including ExpressVPN. If your VPN provider still offers this protocol:
- As shown above, go to Settings > General > VPN and tap Add VPN Configuration. This time, under Type, choose L2TP, then enter the server and login details provided by your VPN service. Then tap Done to save and toggle the VPN on to connect.

Important note: Keep in mind that L2TP is slower and significantly less secure than modern alternatives. We recommend using IKEv2 or newer protocols instead.
FAQ: Common questions about setting up a VPN on iPhone
Should I leave my VPN on all the time?
Keeping your VPN on all the time can help protect your data, especially on public Wi-Fi or when switching between networks. Modern protocols like Lightway are built to reconnect quickly and minimize disruptions. If privacy is a priority, leaving it on is usually the safest choice.
What’s the best VPN app for iPhone?
There’s no single “best” app for everyone, but a trusted VPN should offer strong encryption, a clear privacy policy, good performance on iOS, and reliable customer support. ExpressVPN, for example, is known for its fast Lightway protocol and ease of use on iPhone.
Can I use a VPN without an app?
Yes. iOS lets you configure certain VPN protocols manually, like IKEv2/IPSec or L2TP/IPSec, through the system settings. You’ll need to enter your server and login details manually, usually provided by your VPN provider.
What are the downsides of using a VPN on iOS?
VPNs can slightly reduce your internet speed because your data has to be encrypted and routed through a remote server. If the VPN server is far from your actual location or if you’re using a low-quality provider, the slowdown can be more noticeable. Still, trusted services usually keep this to a minimum.
Which VPN protocol should I choose for manual setup?
If your provider supports it, IKEv2 is usually the best manual option for iPhone. It’s fast, stable, and built into iOS.
Take the first step to protect yourself online. Try ExpressVPN risk-free.
Get ExpressVPN